How to Build a Plugin
Plugins are typically designed and built as public packages, distributable via the first-party Plugin Store. You can also create private plugins in lieu of a module when the full suite of features are desirable (i.e. control panel navigation, settings, and project config) but the added functionality is still project-specific.
At a technical level, plugins are a type of Yii module (opens new window) that are registered with Craft and initialized alongside the application, giving them an opportunity to supplement, change, or observe what the application does.
#Preparation
Your first task is to decide on a few characteristics that will dictate how your plugin is scaffolded:
- Package name
Used to name your Composer package for the plugin. (See Composer’s documentation (opens new window) for details.) We recommend prefixing the second segment (after the
/) withcraft-, to help identify that this is a Craft plugin. For example,pixelandtonic/craft-recipes.- Namespace
The root namespace that your plugin’s classes will live in. (See the PSR-4 (opens new window) autoloading specification for details.) Note that this should not begin with
craft\; use something that identifies you, the developer or vendor.- Plugin handle
Something that uniquely identifies your plugin within the Craft ecosystem. (Plugin handles must begin with a letter and contain only lowercase letters, numbers, and dashes. They should be
kebab-cased.)- Plugin name
What your plugin will be called within the control panel. This should be a clear and consistent identifier throughout its design and digital presence (if you choose to distribute it). Consider the longevity of your name, and how it fits with these guidelines:
- Don’t reference the Craft version in your plugin’s name, folder, or repository URL. It’ll require more work and licensing considerations if you update it for another major Craft release.
Example:craft-foo, notcraft3-foo. - Do add
craft-as a prefix in your GitHub repository name. This helps differentiate any Craft plugins from other projects.
Example:craft-foo, notfoo-plugin. - Do keep your Composer package name reasonably concise. Developers will see (and type) the package name when installing the plugin.
Example:composer require acme/craft-thinginator, notcomposer require acme/craft-super-advanced-thinginator-by-acme.
Your plugin’s name must not begin with “Craft”, or include an edition-sounding word like “Lite”, “Plus”, or “Pro”.
- Don’t reference the Craft version in your plugin’s name, folder, or repository URL. It’ll require more work and licensing considerations if you update it for another major Craft release.
#Private Plugins
A plugin can be made “private”
4.4.0+ by prefixing its handle with an underscore (like _my-private-plugin). Private plugins have all the same features as regular plugins, but are excluded from license verification (and are ineligible for listing on the Plugin Store); you can even publish a private plugin to GitHub or Packagist and share it between multiple projects, taking advantage of features like migration tracks.
Private plugins can be scaffolded with the Generator. 1.3.0+
#Scaffolding
If this is your first time setting up a plugin, consider using the Generator—it will prompt you for all of the required information, and leave you with a nicely-organized workspace.
To create a plugin, create a new directory for it somewhere on your computer. A common approach is to store them in a ~/dev/ folder alongside your Craft projects:
~/dev
├── my-project
│   └── ...
└── my-plugin
    ├── CHANGELOG.md
    ├── LICENSE.md
    ├── README.md
    ├── composer.json
    └── src
        └── Plugin.php
The name of your plugin directory doesn’t matter. Just choose something that is easy to identify.
#composer.json
Create a composer.json file at the root of your plugin directory, and use this template as a starting point:
{
  "name": "package/name",
  "description": "Your plugin’s package description",
  "type": "craft-plugin",
  "keywords": ["some", "keywords", "here"],
  "license": "MIT",
  "authors": [
    {
      "name": "Developer Name",
      "homepage": "https://developer-website.tld"
    }
  ],
  "support": {
    "email": "email@developer-website.tld",
    "issues": "https://github.com/developer/repo/issues?state=open",
    "source": "https://github.com/developer/repo",
    "docs": "https://github.com/developer/repo/blob/master/README.md"
  },
  "require": {
    "craftcms/cms": "^4.11.0"
  },
  "autoload": {
    "psr-4": {
      "namespace\\prefix\\": "src/"
    }
  },
  "extra": {
    "name": "Plugin Name",
    "handle": "my-plugin-handle"
  }
}
Replace:
package/namewith your package name.Developer Namewith your name, or the organization name that the plugin should be attributed to.https://developer-website.tldwith the URL to the website the developer name should link to in the control panel.email@developer-website.tldwith your support email.developer/repowith the actual GitHub account and repository names where the plugin will live.masterwith the actual primary branch name of your GitHub repository.namespace\\prefix\\with your namespace prefix. (Use double-backslashes because this is JSON, and note this must end with\\.)Plugin Namewith your plugin name.my-plugin-handlewith your plugin handle.MITwithproprietaryif you plan to use Craft License (opens new window) (see Choose a License on the “Publishing to the Plugin Store” page).
In addition to name and handle (which are both required), there are a few other things you can include in that extra object:
class– The Plugin class name. If not set, the installer will look for aPlugin.phpfile at each of theautoloadpath roots.description– The plugin description. If not set, the maindescriptionproperty will be used.developer– The developer name. If not set, the first author’snamewill be used (via theauthorsproperty).developerUrl– The developer URL. If not set, thehomepageproperty will be used, or the first author’shomepage(via theauthorsproperty).developerEmail– The support email. If not set, thesupport.emailproperty will be used.documentationUrl– The plugin’s documentation URL. If not set, thesupport.docsproperty will be used.
If you’re updating a Craft 2 plugin, make sure to remove the composer/installers dependency if it has one.
#The Plugin Class
The src/Plugin.php file is your plugin’s entry point for the system. It will get instantiated at the beginning of every request. Its init() method is the best place to register event listeners, and any other steps it needs to take to initialize itself.
Use this template as a starting point for your Plugin.php file:
namespace mynamespace;

class Plugin extends \craft\base\Plugin
{
    public function init()
    {
        parent::init();

        // Custom initialization code goes here...
    }
}
#Initialization
Most initialization logic belongs in your plugin’s init() method. However, there are some situations in which parts of the application aren’t ready yet (like another plugin)—in particular, creating element queries or causing the Twig environment to be loaded prematurely can result in race conditions and incomplete initialization.
namespace mynamespace;

use Craft;

class Plugin extends \craft\base\Plugin
{
    public function init(): void
    {
        // ...

        // Defer some setup tasks until Craft is fully initialized:
        Craft::$app->onInit(function() {
            // ...
        });
    }

    // ...
}
If Craft has already fully initialized, your callback will be invoked immediately.
Conversely, there are cases in which attaching event listeners in onInit() may be too late—by the time your callback is invoked, those events may have already happened.
#Loading your plugin into a Craft project
To get Craft to see your plugin, you will need to install it as a Composer dependency of your Craft project. There are multiple ways to do that:
#Path Repository
During development, the easiest way to work on your plugin is with a path repository (opens new window), which will tell Composer to symlink your plugin into the vendor/ folder right alongside other dependencies.
To set it up, open your Craft project’s composer.json file and make the following changes:
- Set minimum-stability (opens new window) to
"dev" - Set prefer-stable (opens new window) to
true - Add a new path repository (opens new window) record, pointed at your plugin’s root directory.
{
  "minimum-stability": "dev",
  "prefer-stable": true,
  "repositories": [
    {
      "type": "path",
      "url": "../my-plugin"
    }
  ]
}
Set the url value to the absolute or relative path to your plugin’s source directory. (The ../my-plugin example value assumes that the plugin lives in a folder alongside the project’s folder.)
In your terminal, go to your Craft project and tell Composer to require your plugin. (Use the same package name you gave your plugin in its composer.json file.)
# go to the project directory
cd /path/to/my-project

# require the plugin package
composer require package/name
Composer’s installation log should indicate that the package was installed via a symlink:
- Installing package/name (X.Y.Z): Symlinking from ../my-plugin
One caveat of path Composer repositories is that Composer may ignore path-based dependencies when you run composer update. So any time you change anything in composer.json, such as your plugin’s dependency requirements or its plugin information, you might need to completely remove and re-require your plugin in your project for those changes to take effect.
# go to the project directory
cd /path/to/my-project

# remove the plugin package
composer remove package/name

# re-require the plugin package
composer require package/name
#Packagist
If you’re ready to publicly release your plugin, register it as a new Composer package on Packagist (opens new window). Then you can install it like any other package, by just passing its package name to Composer’s require command.
# go to the project directory
cd /path/to/my-project

# require the plugin package
composer require package/name
#Plugin Icons
Plugins can provide an icon, which will be visible on the Settings → Plugins page.
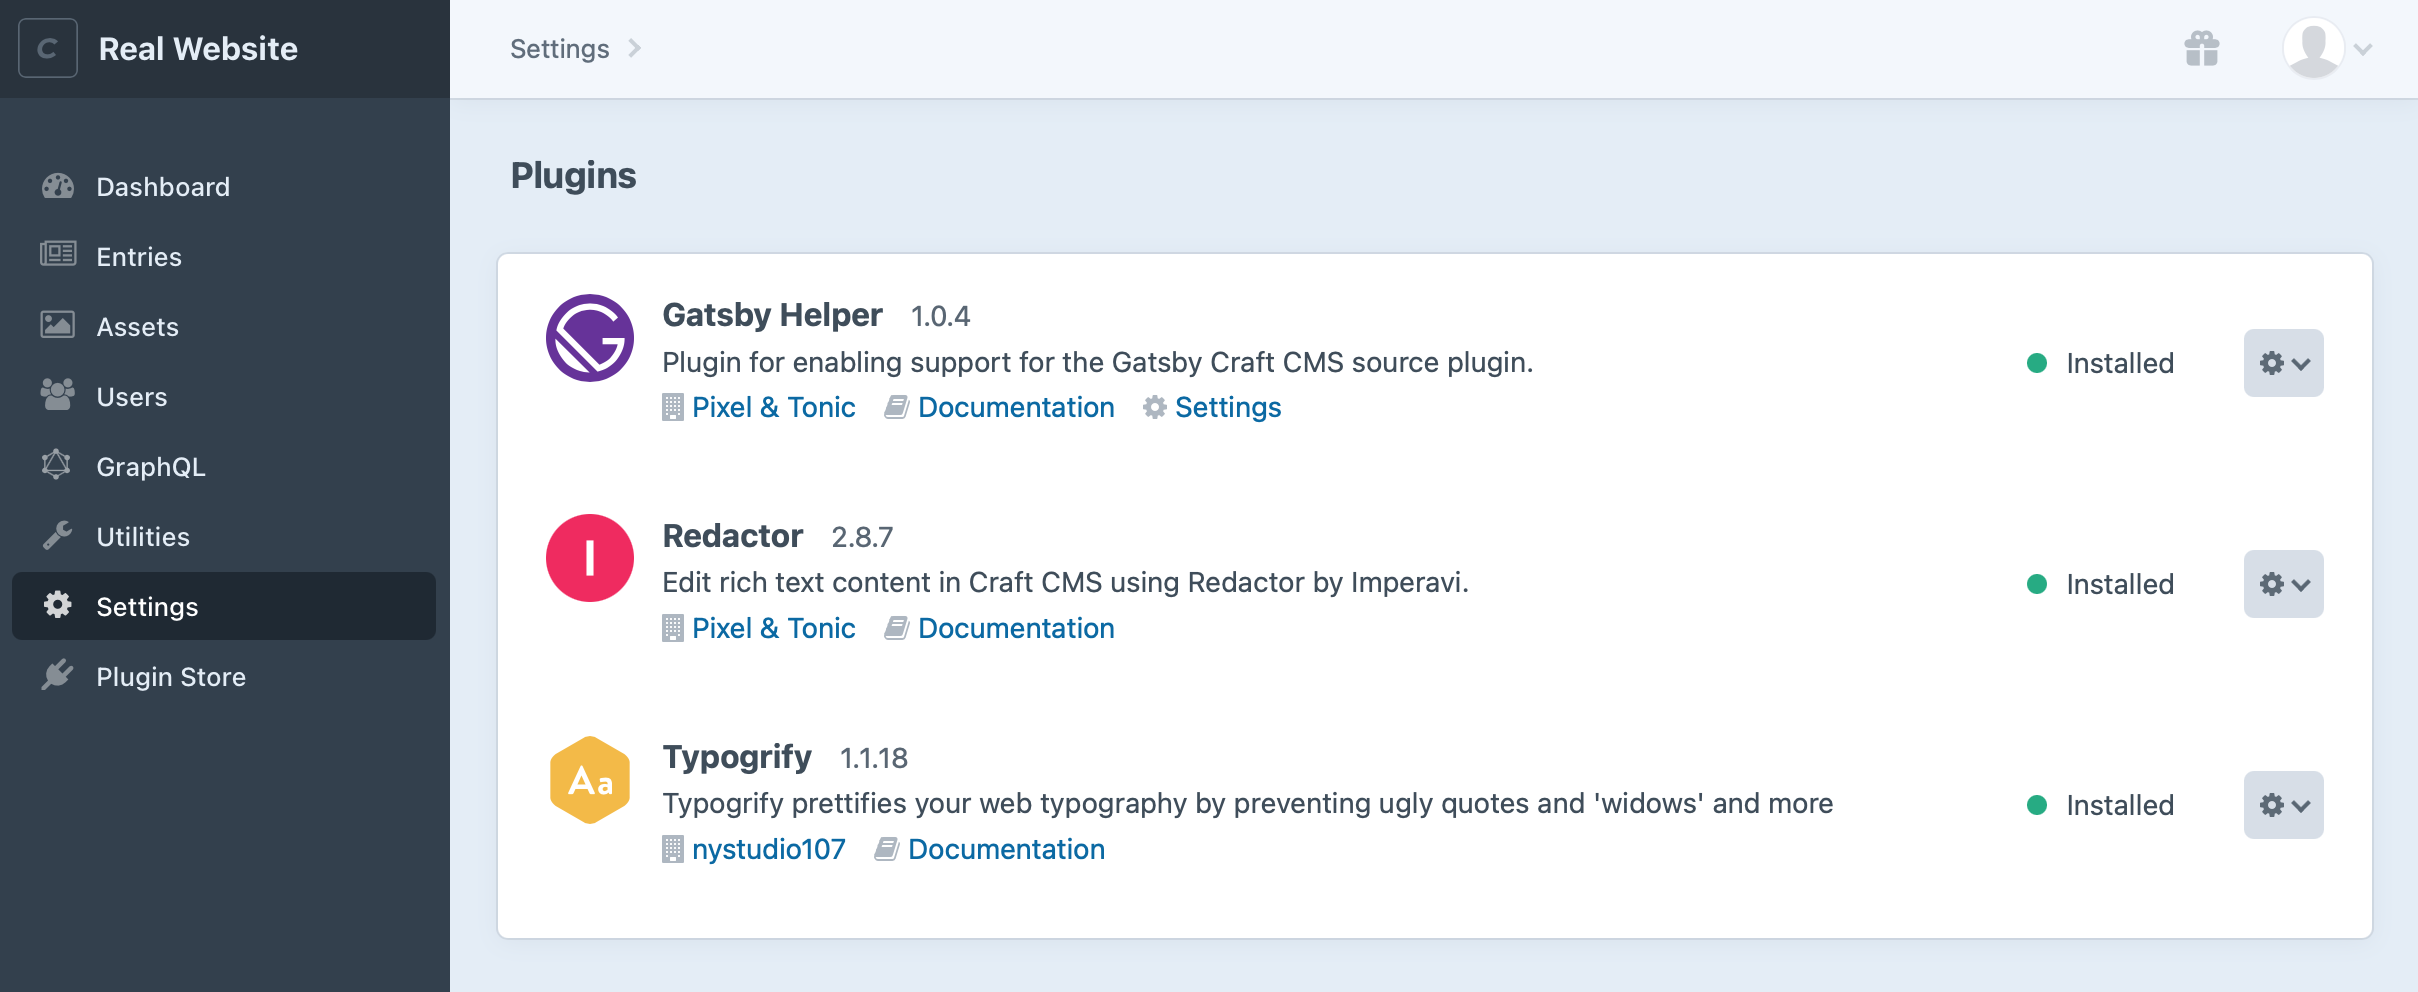
Plugin icons must be square SVG files, saved as icon.svg at the root of your plugin’s source directory (e.g src/).
If your plugin has a control panel section, you can also give its global nav item a custom icon by saving an icon-mask.svg file in the root of your plugin’s source directory. Note that this icon cannot contain strokes, and will always be displayed in a solid color (respecting alpha transparency).