Authoring Content
Our blog is starting to take shape! Let’s pause for a moment and look at the editing tools we’ve set up, from the perspective of a content author.
#Add a Blog Post
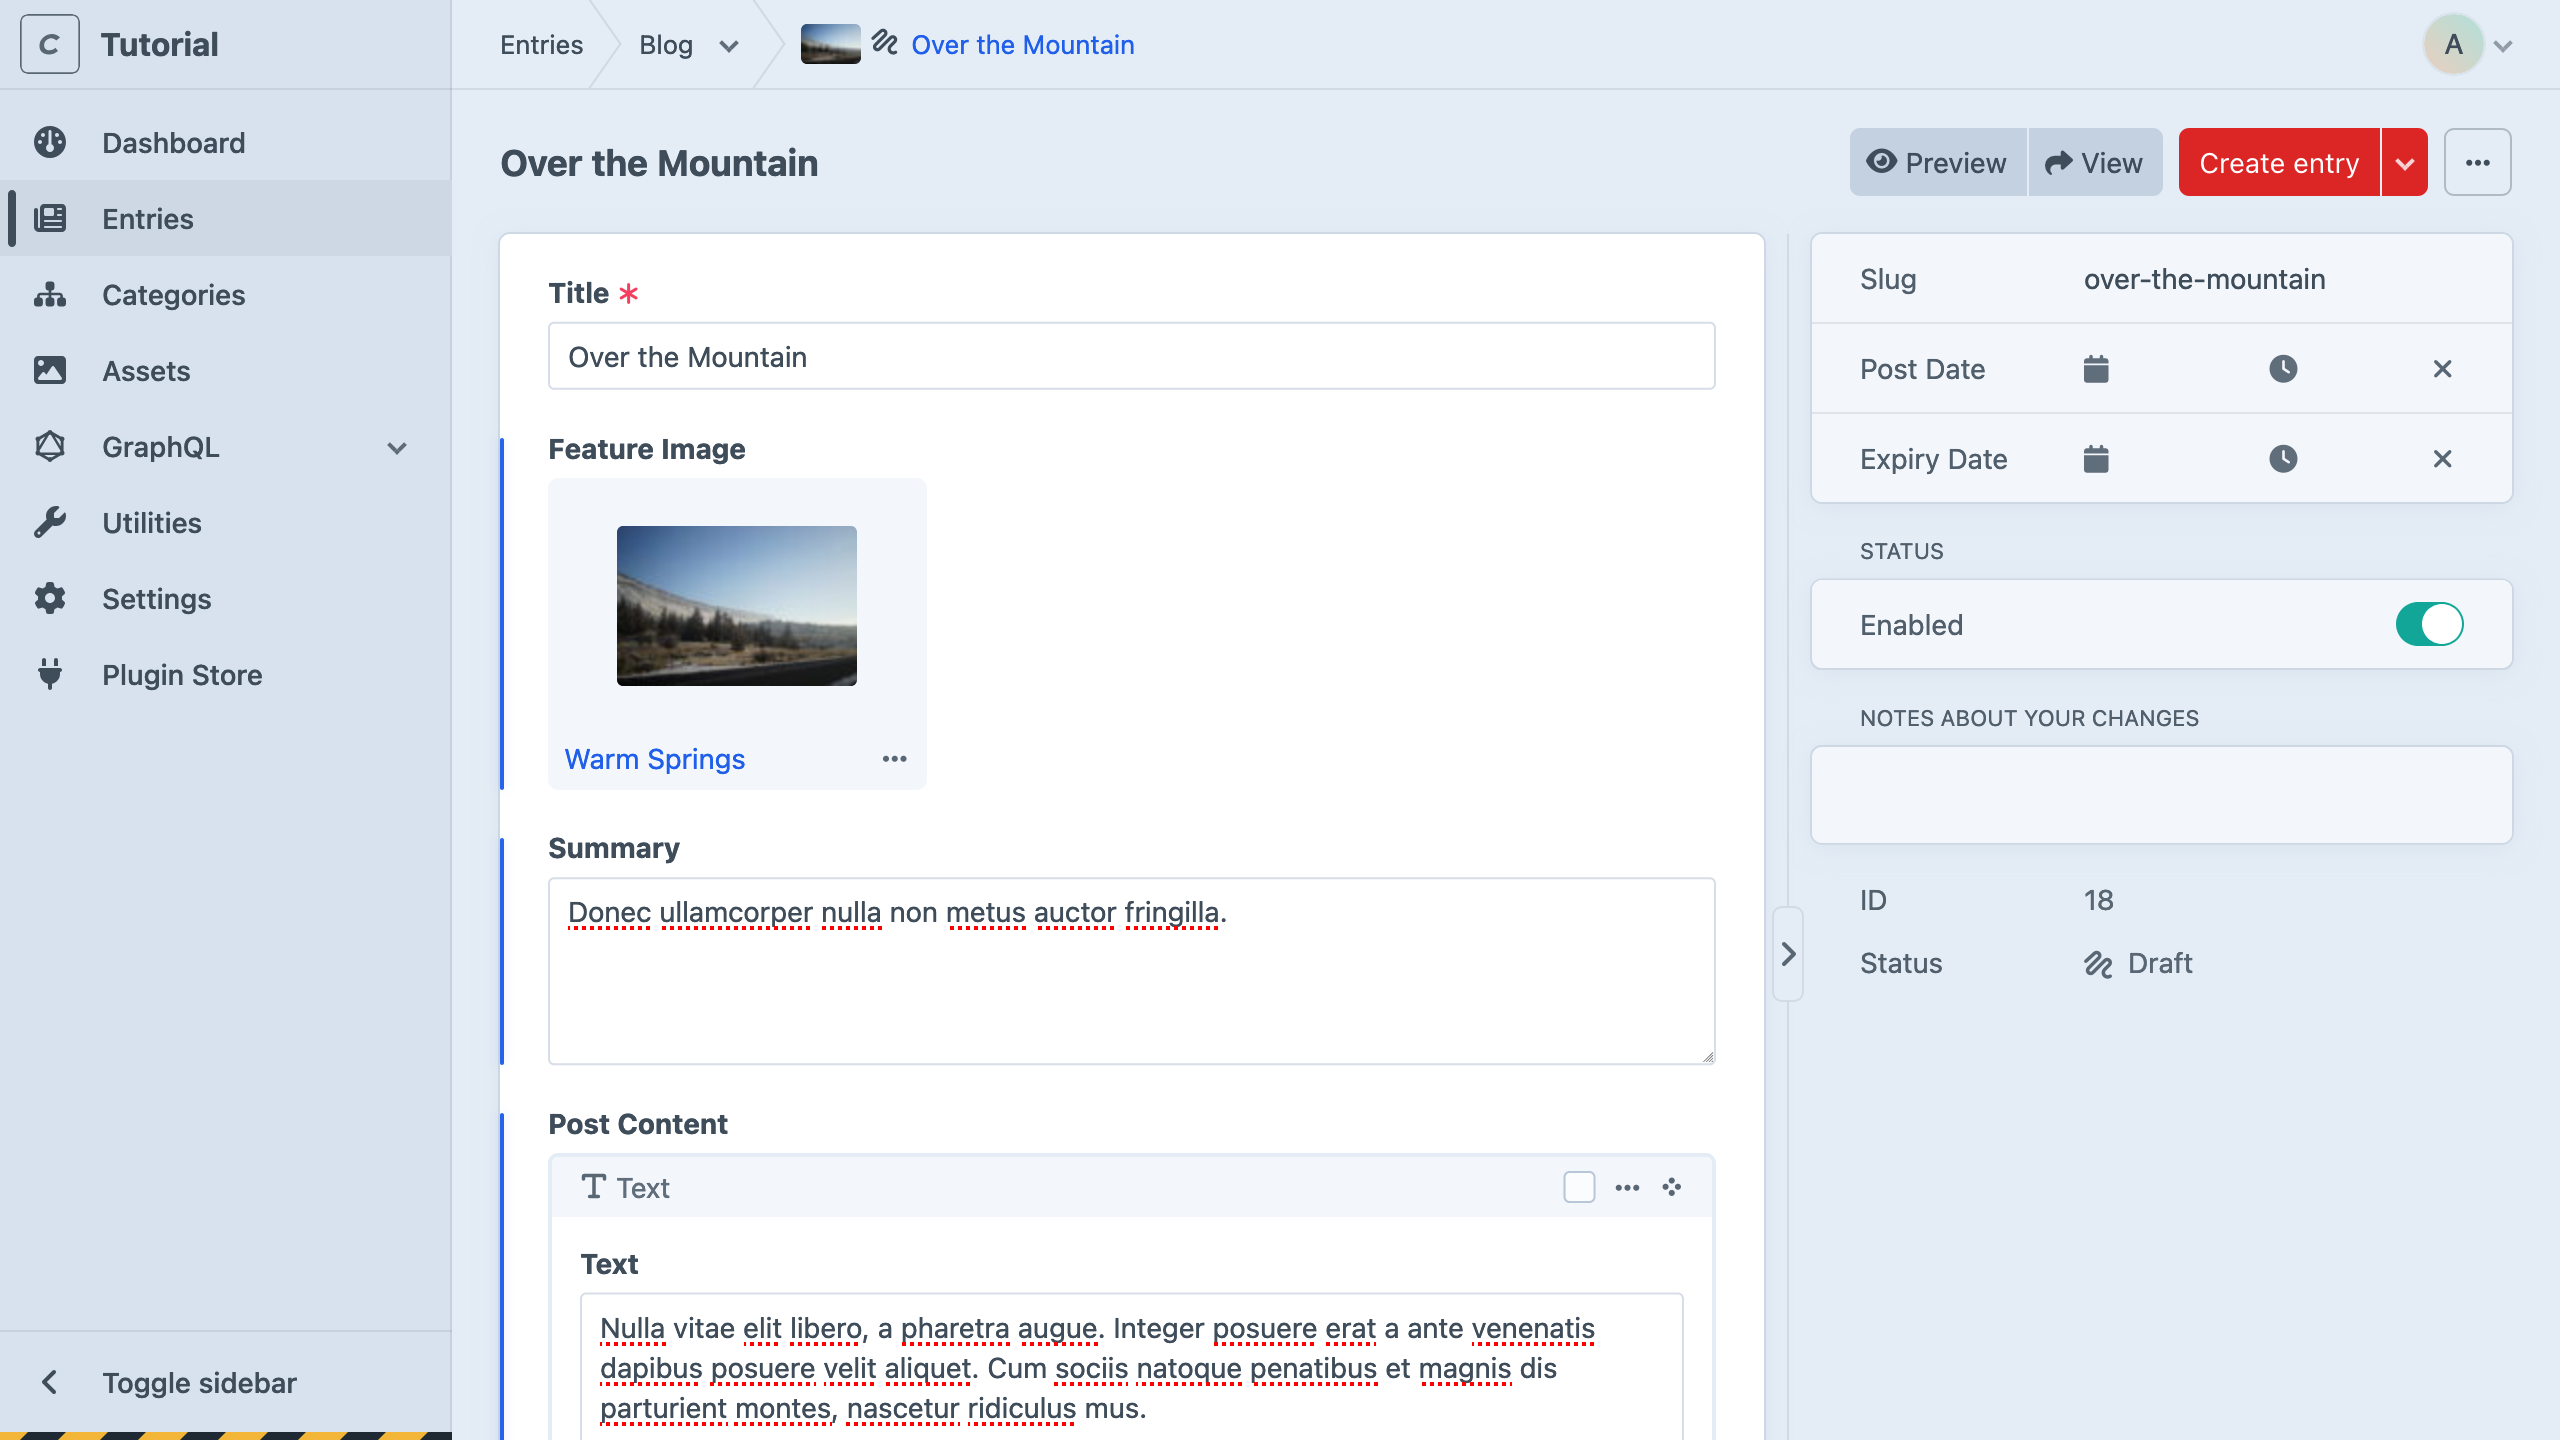
If you haven’t already, navigate to Entries and click + New entry to create your first post. Here’s what it’ll look like with a bit of content added:
#Explore Editing Features
Working with content in Craft is usually pretty intuitive—after all, you just designed the authoring experience! Here are a few things to look out for, as you get started:
#Auto-saving
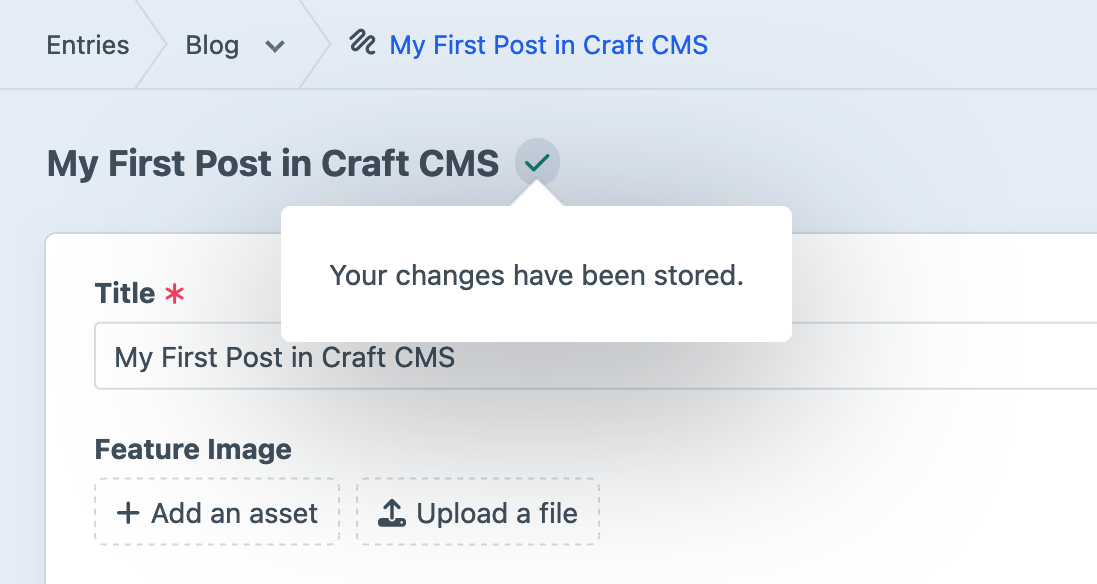
As soon as you arrive on an edit screen (for new entries) or make any kind of edit (to an existing entry), Craft creates a provisional draft and begins autosaving your changes. When you’re ready to apply those changes, click Save.
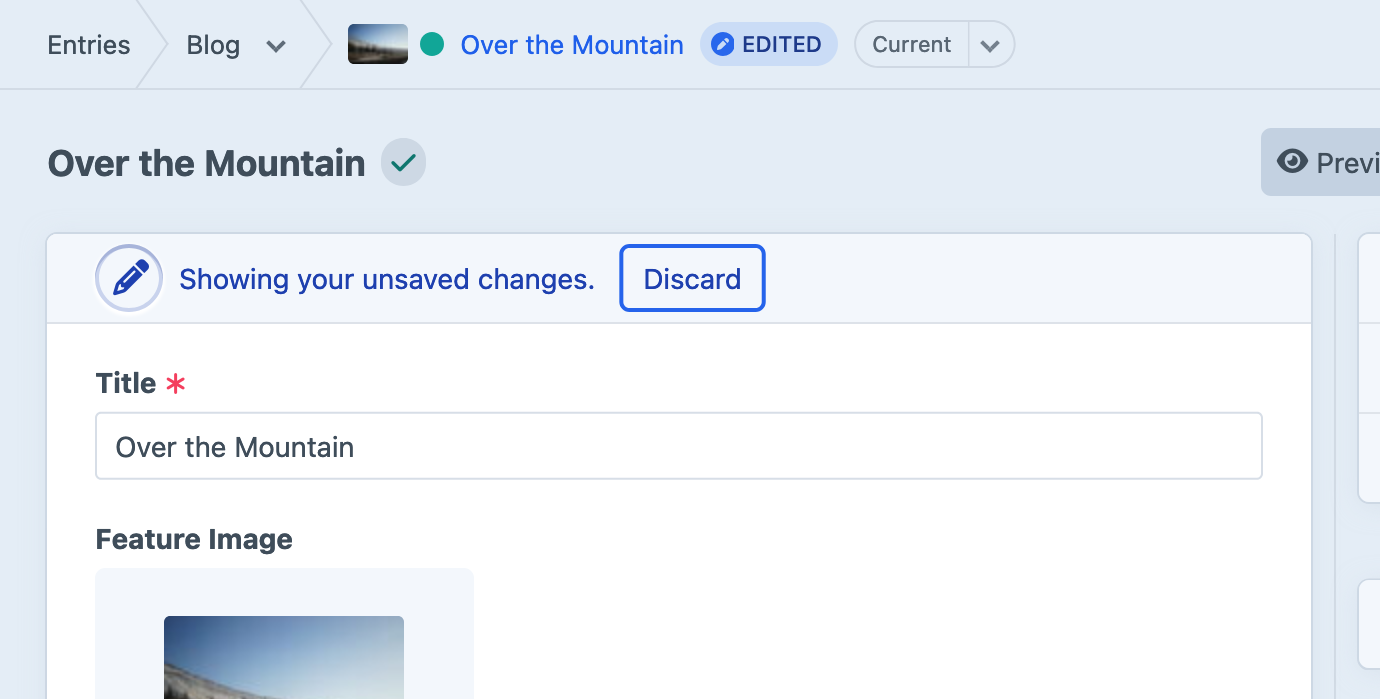
If you would like to turn your edits into a draft so other users can review them, click Create draft instead of Save. You can go back to editing the live entry via the Revisions menu in the breadcrumbs; whenever you save changes to a live entry, Craft will merge them back into any drafts the next time they’re accessed via the control panel.
Provisional drafts are tied to your user, and any entries you’ve edited (but not saved or turned into a proper draft) will display an Edited chip, wherever it’s visible in the control panel.
#Assets
Assets can be attached or uploaded in a variety of ways:
- From an entry page, click the + Add an Asset button, then Upload Files in the modal;
- Drag a file from a folder on your computer into the browser and drop it on the field;
- Visit the Assets screen of the control panel and click Upload Files;
This last method is a great way to seed your project with an asset library.
#Categories
Our Post Categories field is backed by categories, which are managed similarly to entries and assets—this is because they are both types of elements.
Categories are attached by clicking + Add a category, then selecting an existing category (or clicking New Topics category) in the modal.
#Slideouts
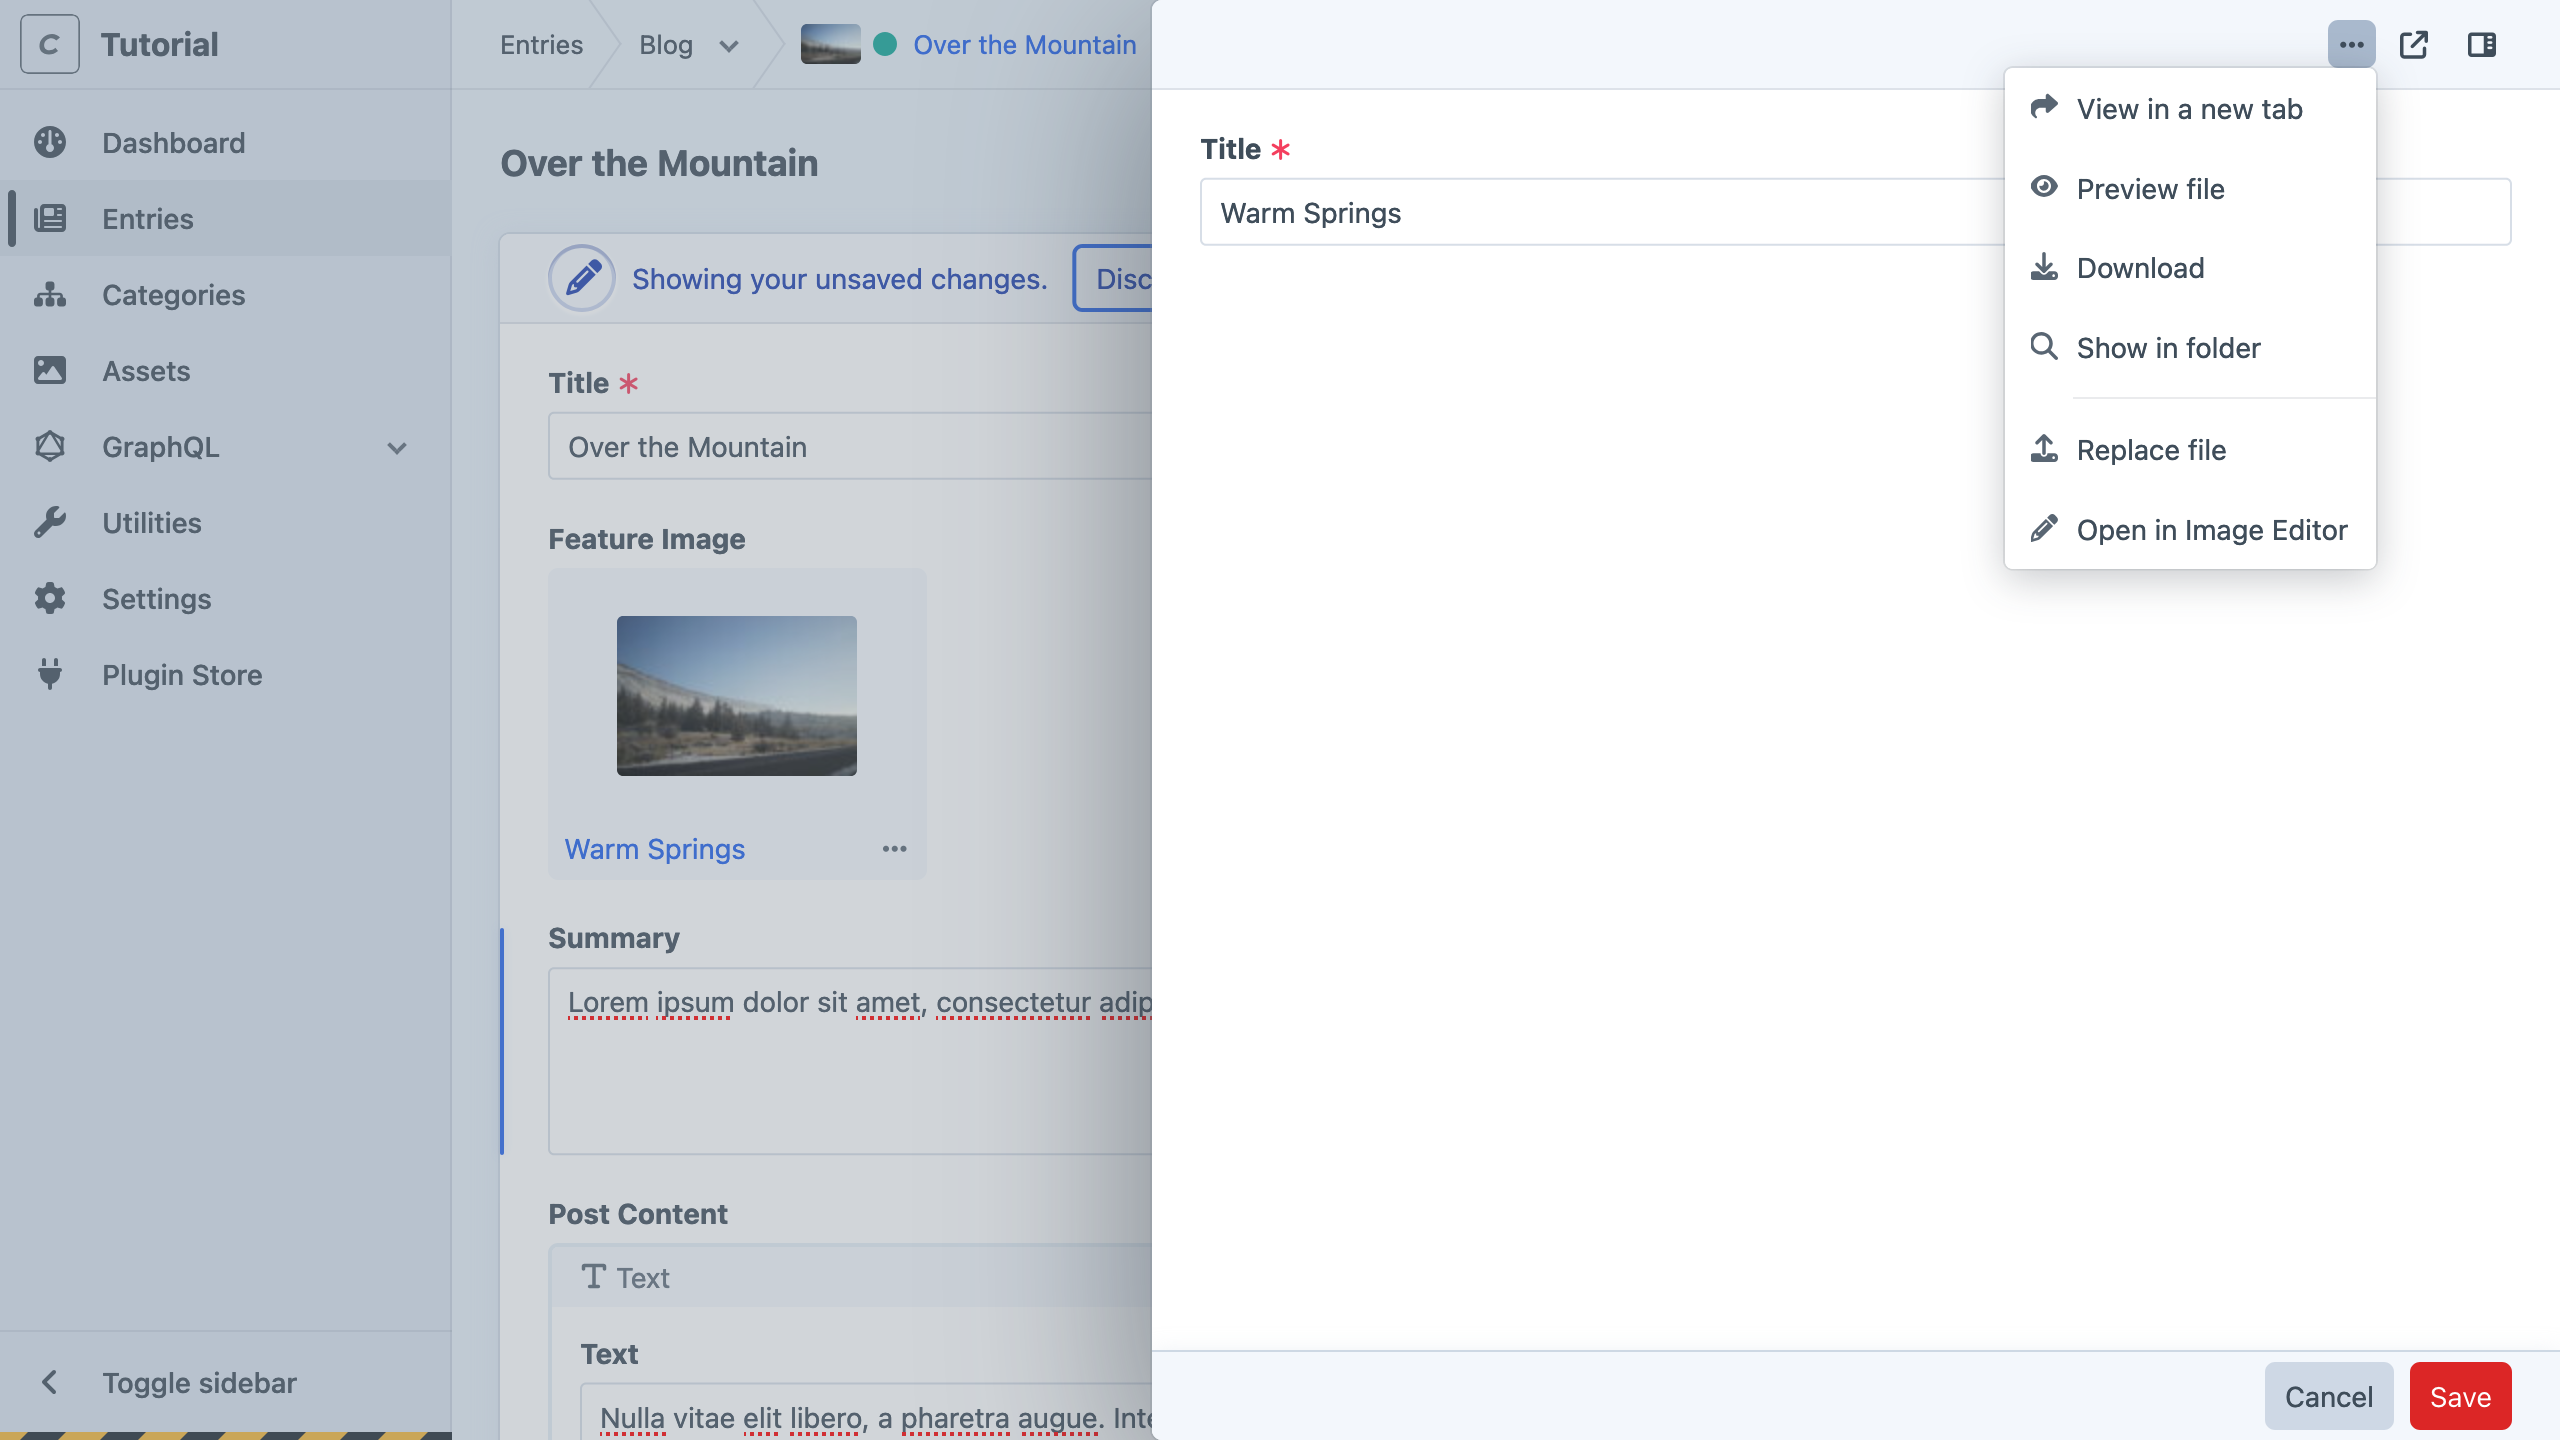
Double-click any attached element (like the asset in our Featured Image field, or the category in our Topics field) to edit it in a slideout. Here, we’ve taken the opportunity to clean up the uploaded image’s Title :
Click the sidebar button to view and edit additional details (like the asset’s filename), or click Save to save your changes and close the slideout.
Edits made in this way affect the element anywhere else it’s used. For example: if you also attached the asset to a block in the Post Content field with the intention of outputting its title as a caption or credit in both places it’s used, updating its title in either place (or via the top-level Assets section of the control panel) affects all instances.
Craft’s control panel is routinely audited for accessibility against WCAG 2.2 (general web accessibility guidelines) and ATAG 2.0 (specific to content authoring tools). To help your editors (and users!), add the native Alternative Text field layout element to all your asset volumes.
We’ll take another look at alternative text as we begin using images in templates.
#Matrix
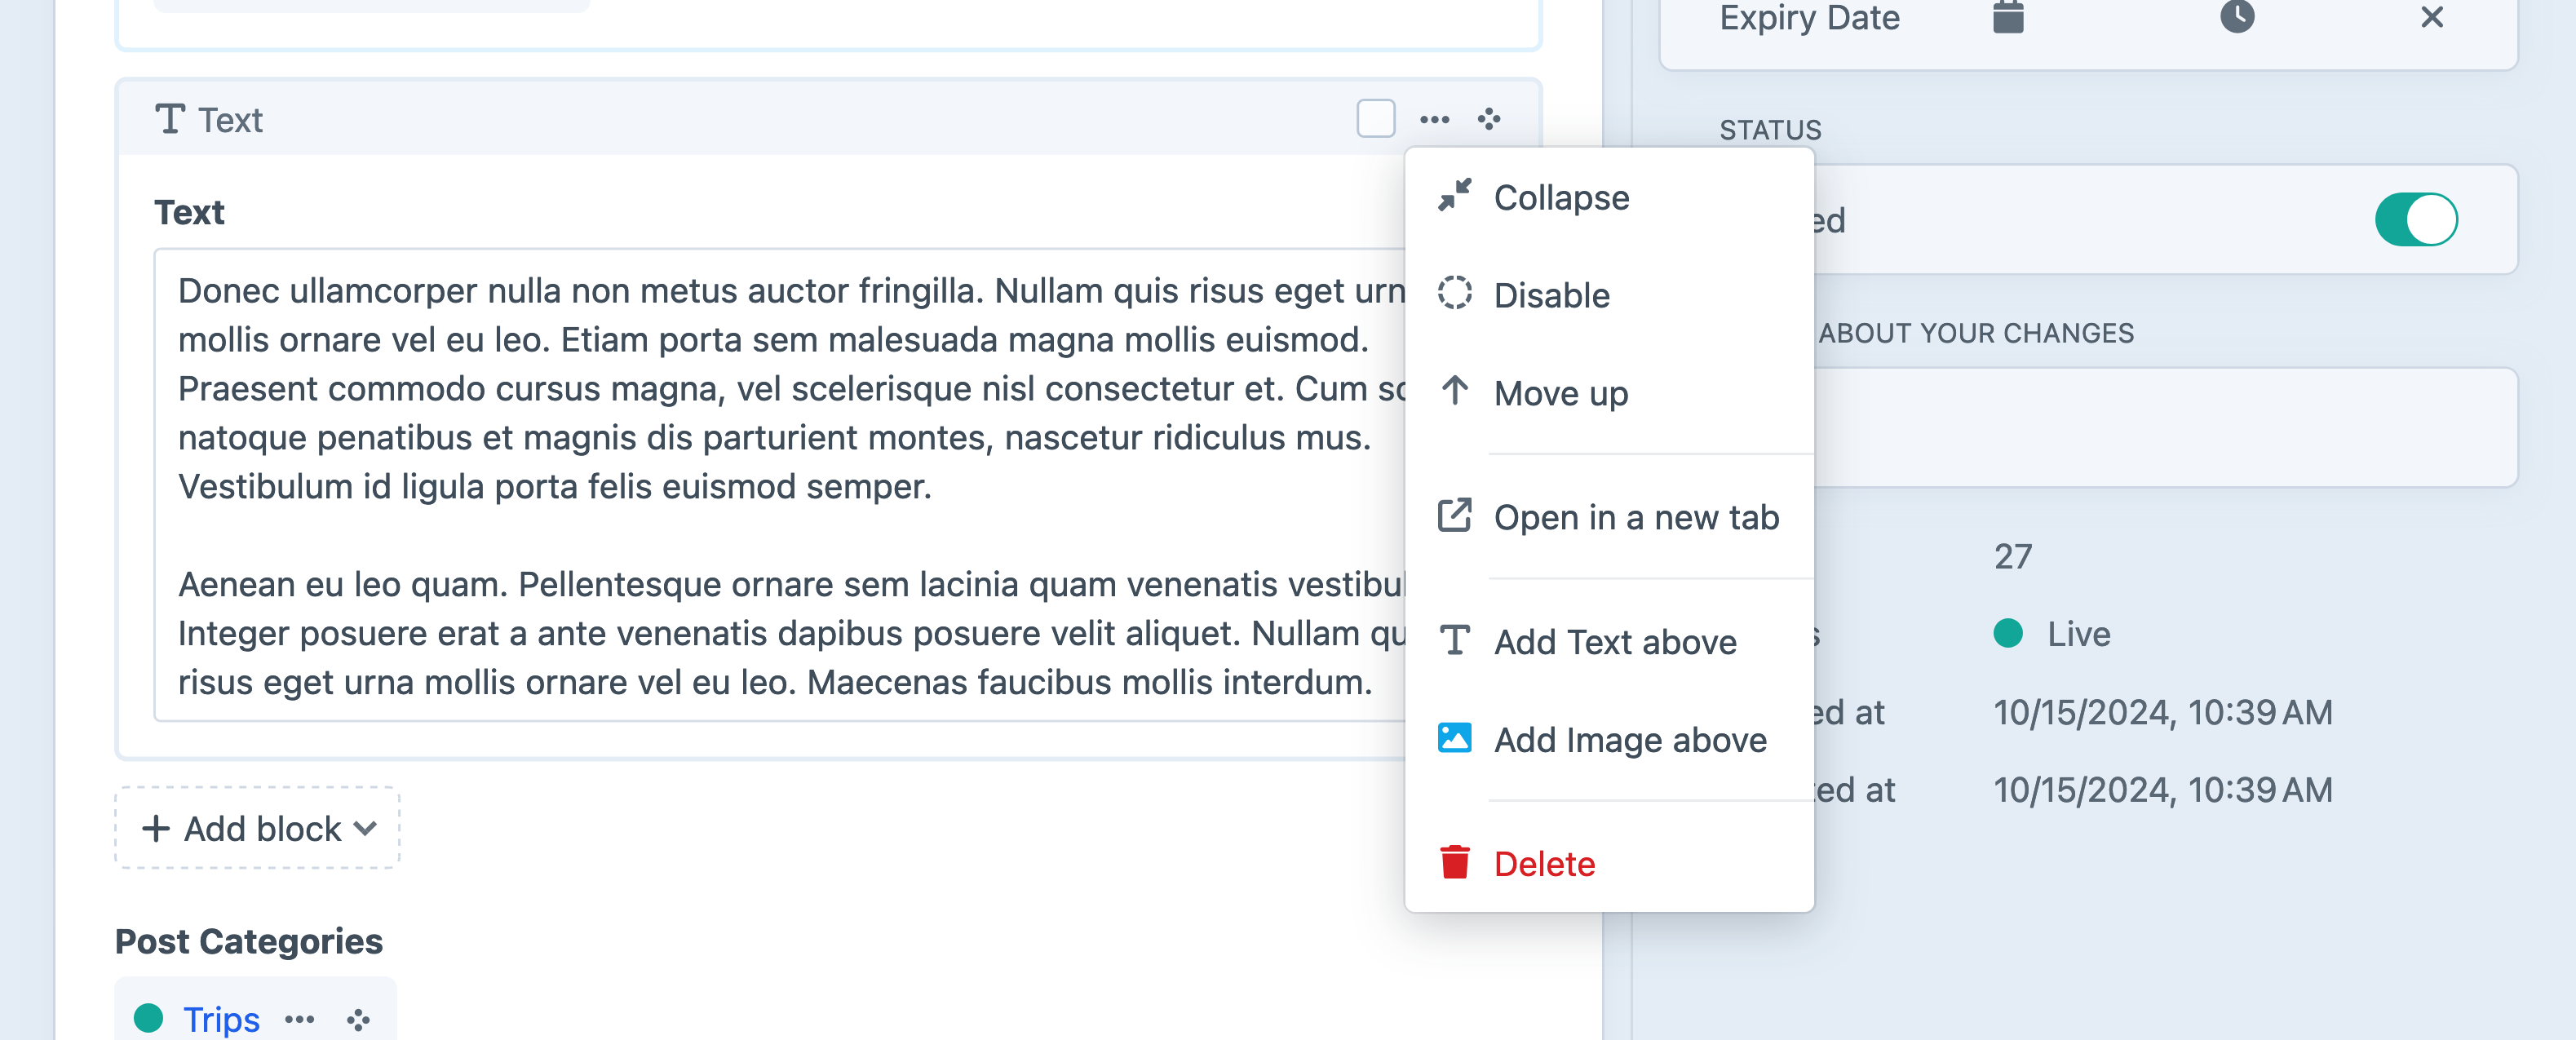
You can grab the handle
#Publishing
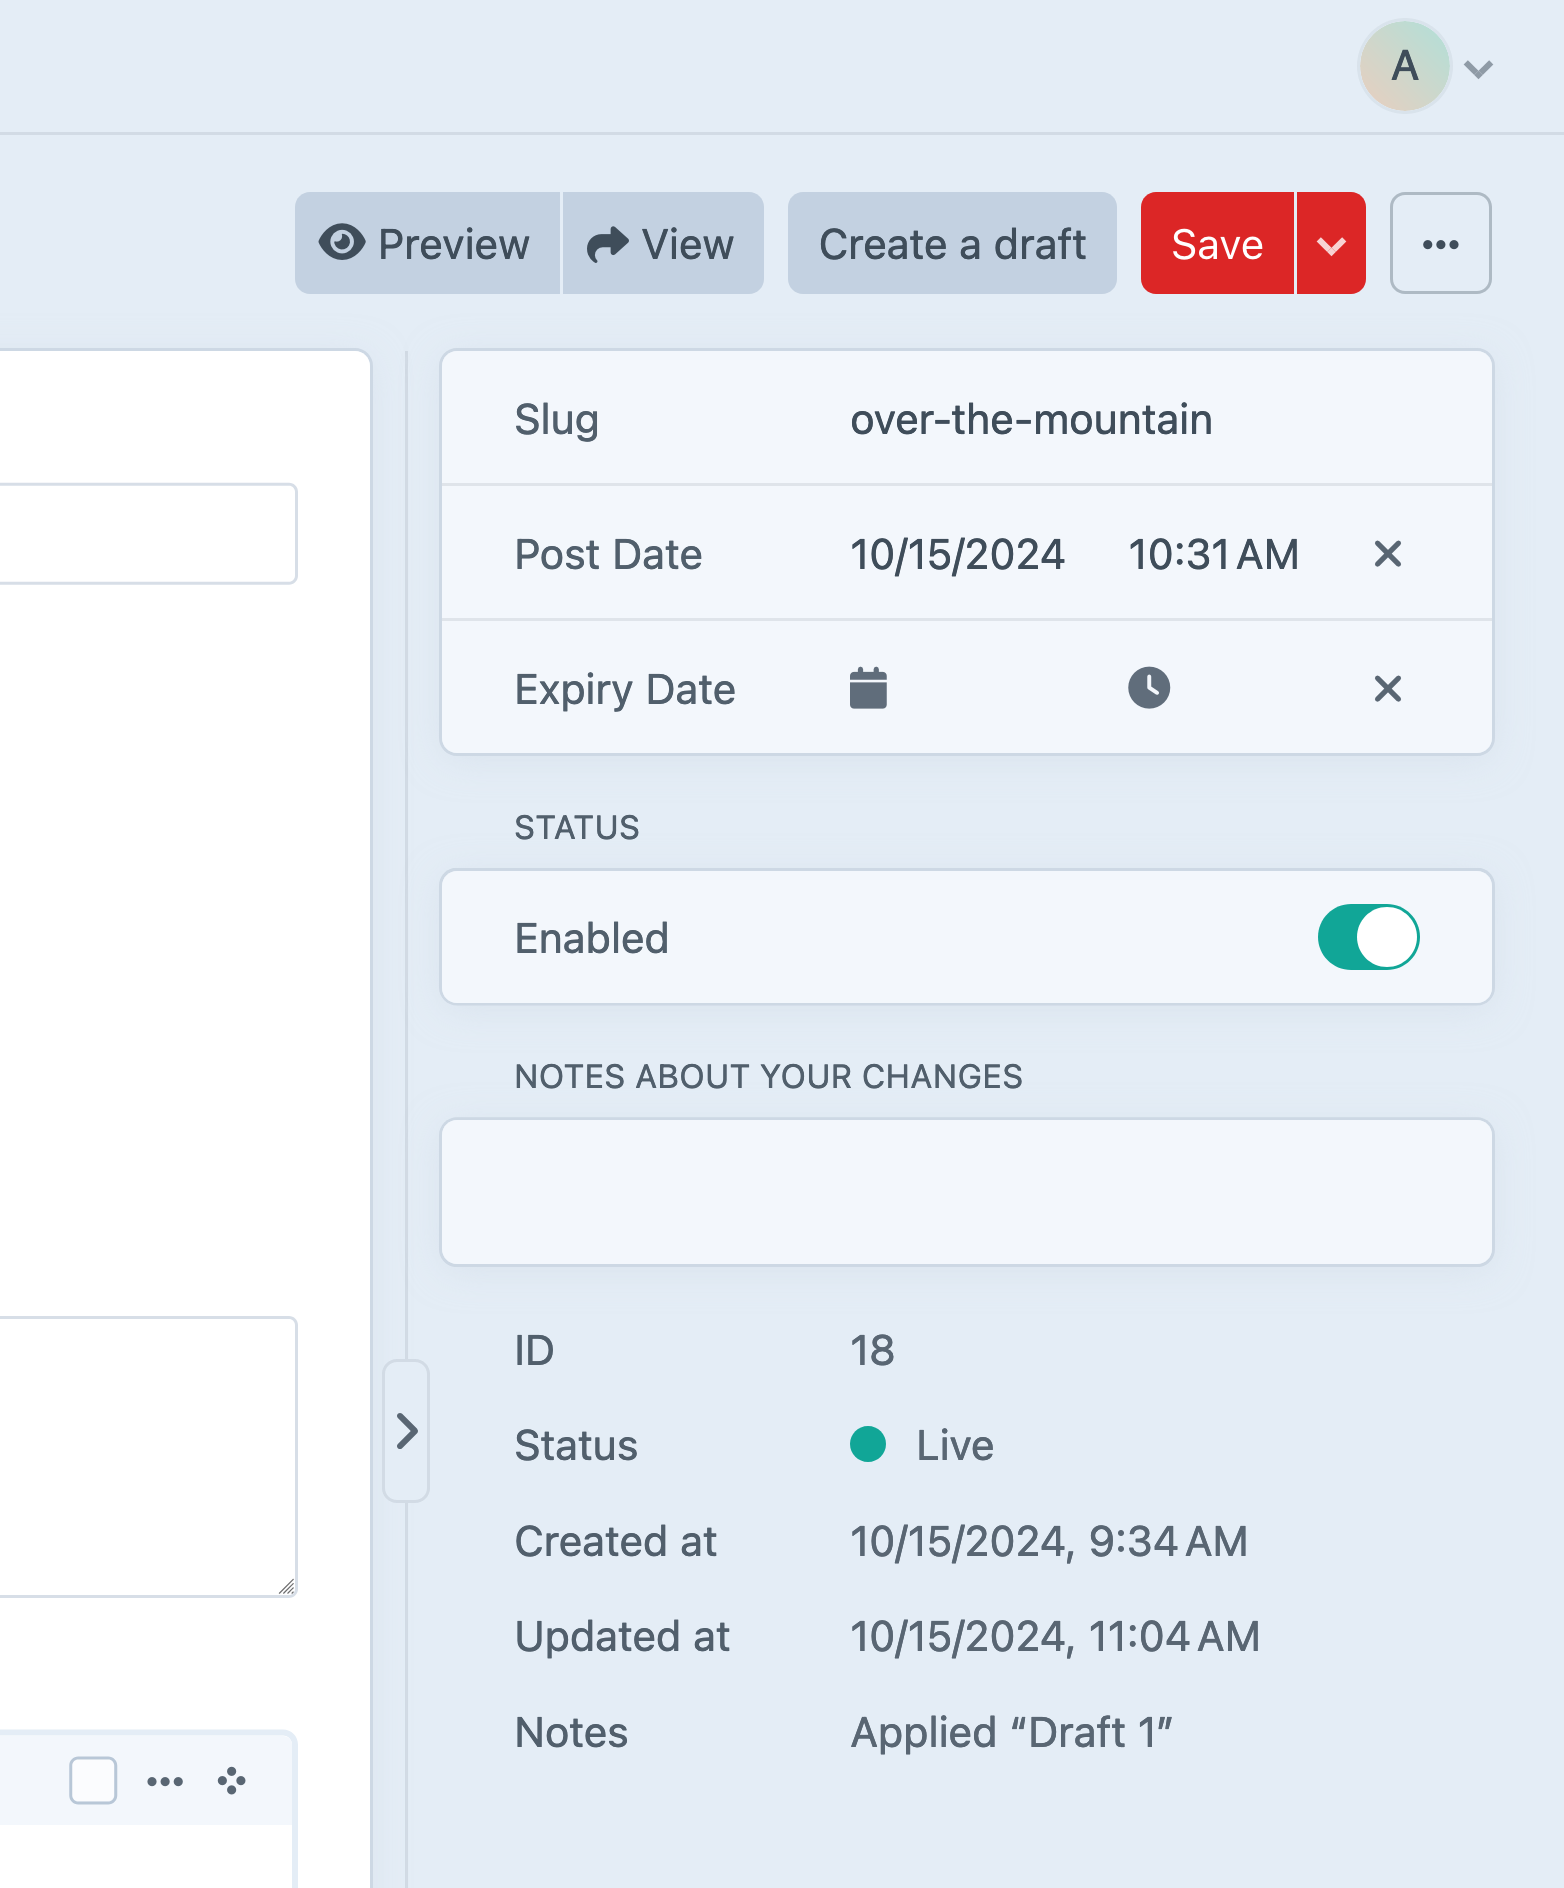
For new entries, Craft will generate slugs based on the entry’s title. Our Blog section’s URI Format (blog/{slug}) incorporates that slug, meaning it will appear as part of the entry’s public URL. If you wish to edit the slug manually, it appears at the top of the sidebar.
You can set an entry’s Post Date to be in the future to prevent it from being available on the front-end, and optionally add an Expiry Date to have it disappear, later. You can always turn off the Enabled switch to be certain the post will be hidden publicly, regardless of other settings.
#Previewing
Choosing View from the header opens the entry in a new tab—even if it isn’t enabled. In this case, Craft generates get a private, temporary (but sharable) URL.
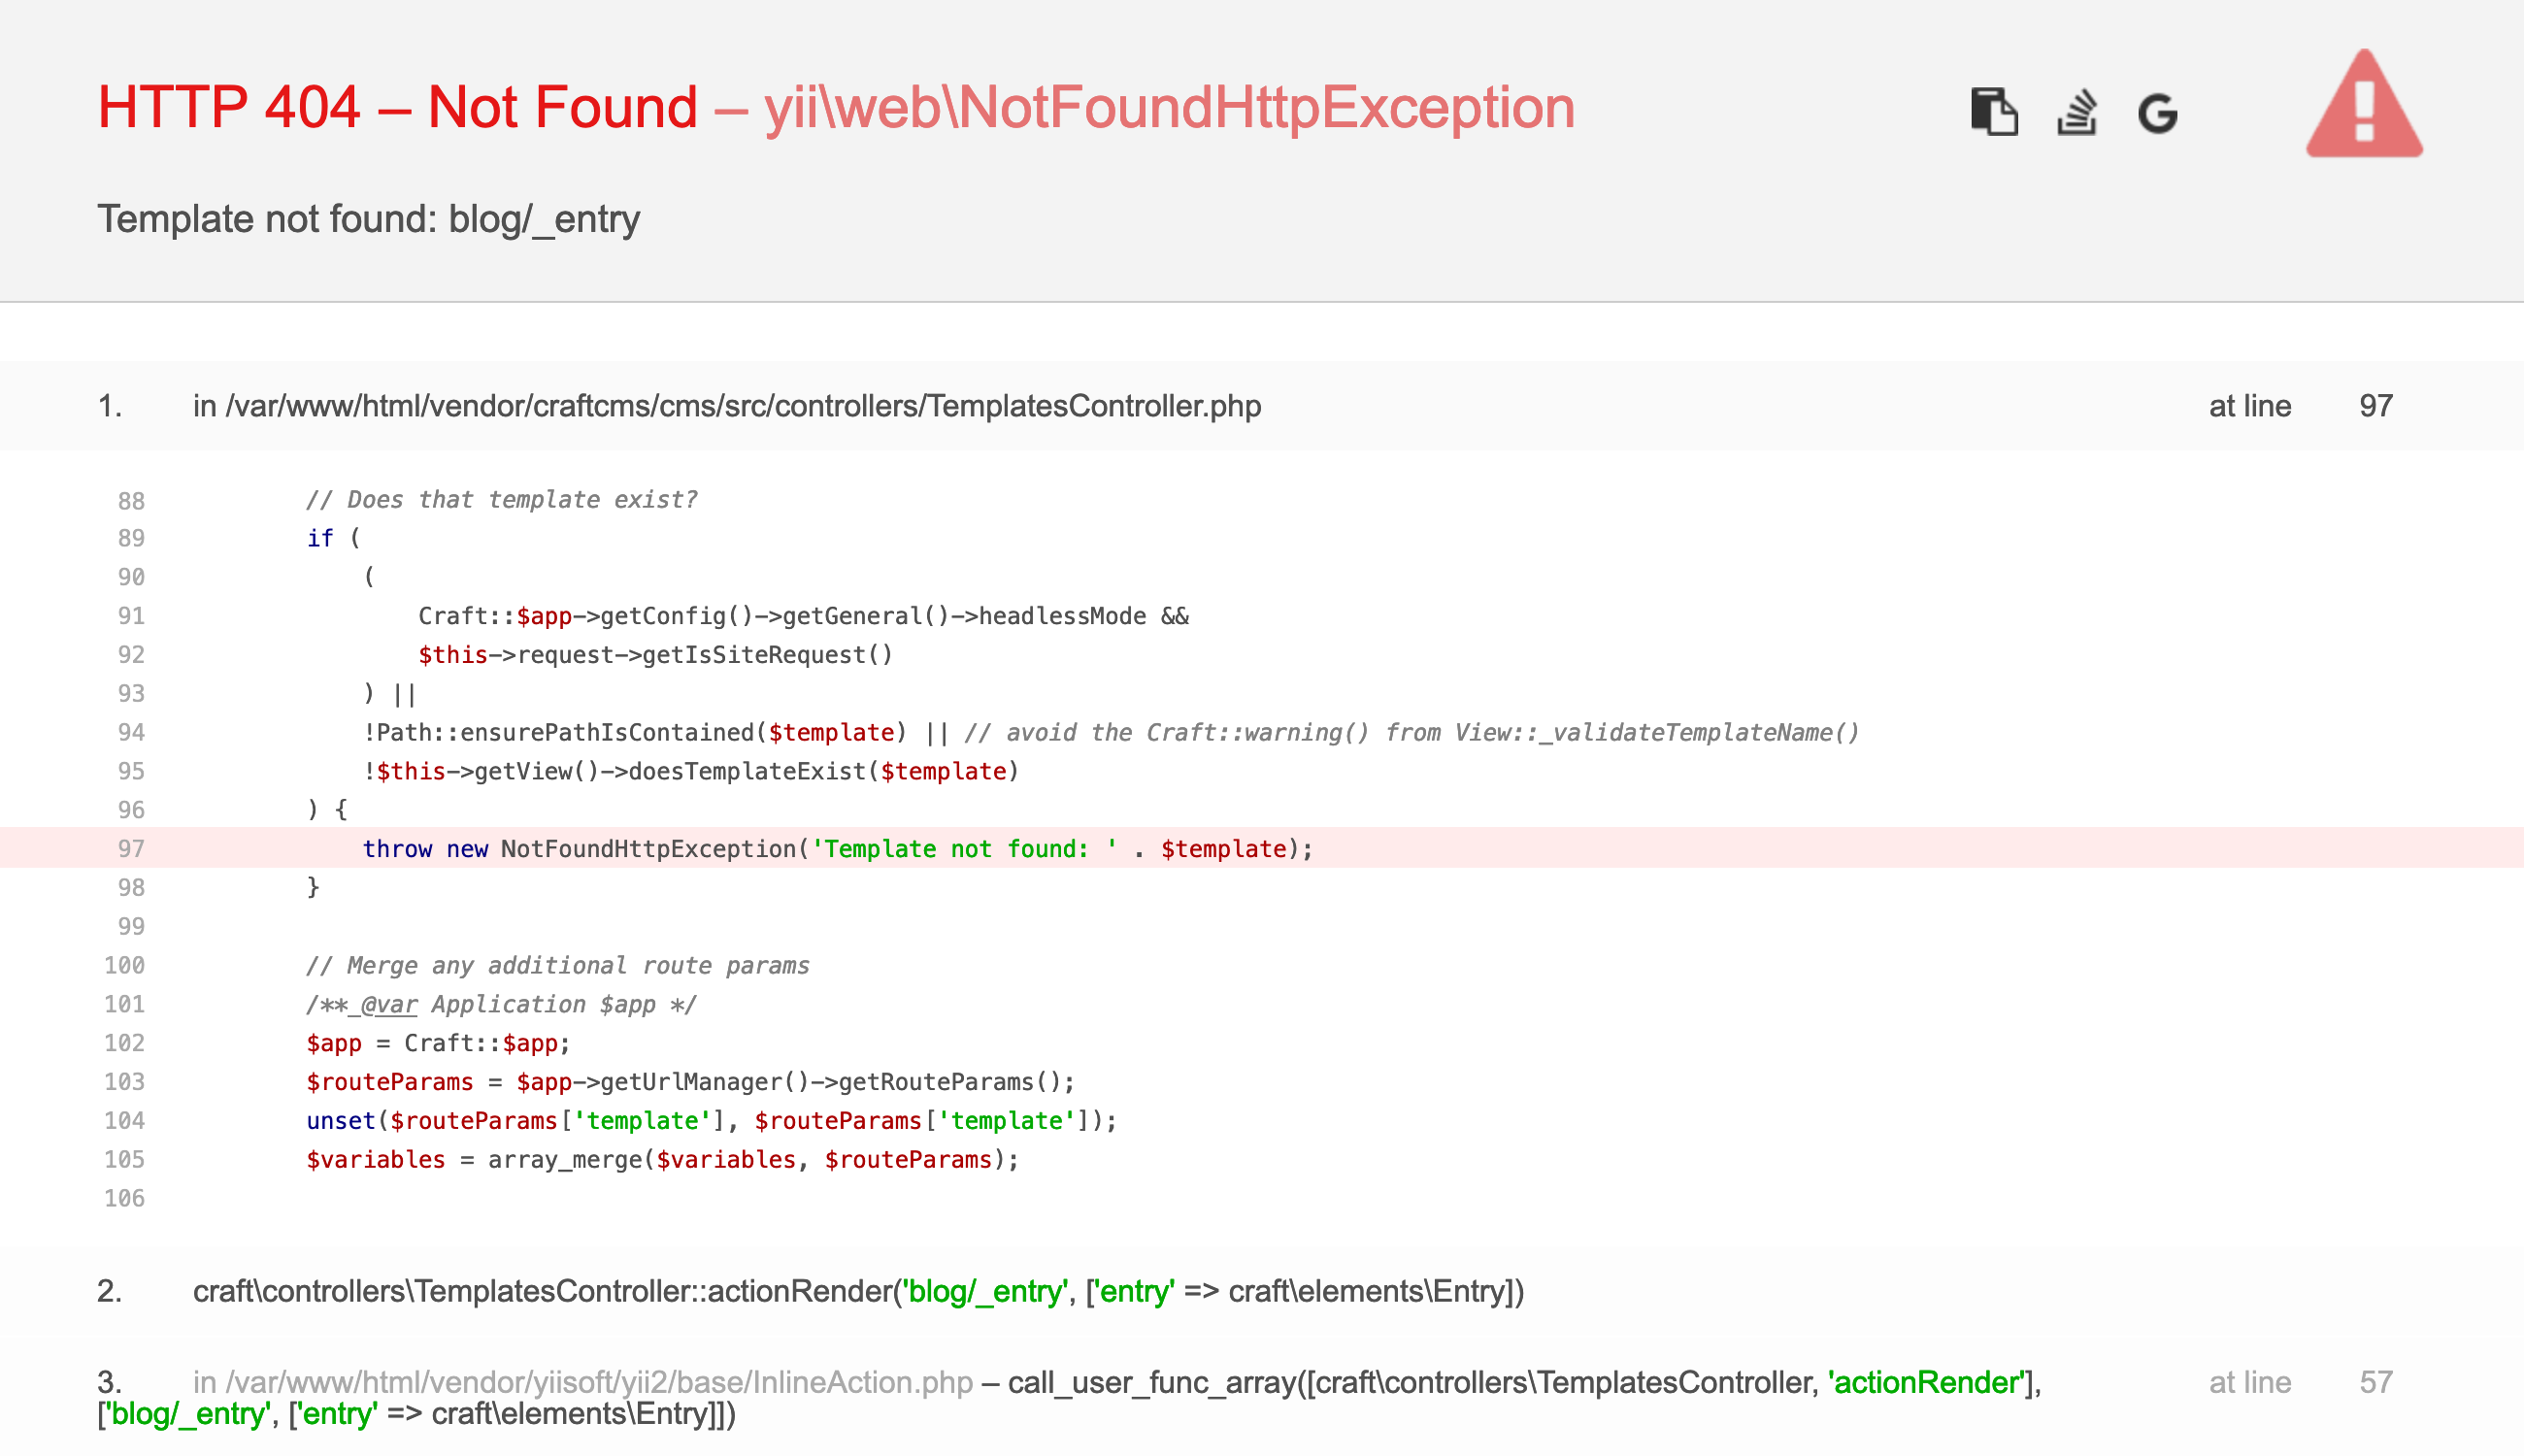
If you were to click this button right now, you’d get something that looks like this:
This looks scarier than it is! In fact, it tells us exactly what the problem is: we haven’t created the template that our blog post entries are expecting to exist. Let’s fix this.
