Installation
# Step 1: Download Craft
Craft can be downloaded with Composer or by manually downloading a zip or tar.gz archive. The end result will be the same, so go with whichever route you feel more comfortable with.
# Downloading with Composer
You should be running Composer 1.3.0 or later. You can find out your installed version of Composer by running composer -V from your terminal. If that outputs something lower than 1.3.0, run composer self-update to update your Composer installation.
To create a new Craft project, run this command (substituting path/to/my-project with the path where Composer should create the project):
composer create-project "craftcms/craft:^3" path/to/my/project
Composer will take a few minutes to load everything. Once it’s done you’ll see a success message:
# Downloading an Archive File Manually
Download the archive format you prefer to work with:
Extract the archive wherever you want your new Craft project to live.
If you’re on macOS, be careful not to lose the hidden files in there (.env, .env.example, .gitignore, and web/.htaccess). You can press Command+Shift+. to toggle hidden file visibility in Finder.
# Directory Structure
Once Craft’s files are in place, your project directory should have a directory structure like this:
my-project
├── config
│   └── ...
├── modules
│   └── ...
├── storage
│   └── ...
├── templates
│   └── ...
├── vendor
│   └── ...
├── web
│   └── ...
├── .env
├── .env.example
├── .gitignore
├── composer.json
├── composer.lock
└── craft
The web/ folder represents your site’s web root, and it can be renamed to whatever you want (www/, public/, public_html/, etc.).
See Moving Craft’s Files Below the Web Root (opens new window) if your hosting setup does not allow Craft’s files to exist outside the web root.
See the Directory Structure page to learn what these folders and files are for and how you can customize them.
# Step 2: Set the File Permissions
If you used Composer to download Craft, you can probably safely skip this step.
For Craft to run properly, PHP needs to be able to write to the following places:
.envcomposer.jsoncomposer.lockconfig/license.keyconfig/project/*storage/*vendor/*web/cpresources/*
The exact permissions you should be setting depends on the relationship between the system user that runs PHP and whoever owns the folders and files.
- If they’re the same user, use
744. - If they’re in the same group, use
774. - If you’re not sure and enjoy life on the edge, use
777.
HEY IIS FANS
Make sure your site’s AppPool account has write permissions to these folders and files.
# Step 3: Set a Security Key
If you used Composer to download Craft, you can probably safely skip this step.
Each Craft project should have a unique security key, which is shared between each of the environments that the project is installed on.
You can generate and assign the key manually, or have Craft do it for you with a terminal command.
# Set the Key Manually
First generate a cryptographically secure key, ideally using a password generator like 1Password (opens new window). (There’s no length limit.)
Then open up your .env file (you may need to use an app like Transmit (opens new window) to do this if you’re running macOS), and find this line:
SECURITY_KEY=""
Paste your security key inside the quotes and save the file.
# Set the Key from Your Terminal
In your terminal, go to your project’s root directory and run the following command:
php craft setup/security-key
# Step 4: Create a Database
Next up, you need to create a database for your Craft project. Craft 3 supports both MySQL 5.5+ and PostgreSQL 9.5+.
If you’re given a choice, we recommend the following database settings in most cases:
MySQL
- Default Character Set:
utf8 - Default Collation:
utf8_unicode_ci
- Default Character Set:
PostgreSQL
- Character Set:
UTF8
- Character Set:
# Step 5: Set up the Web Server
Create a new web server to host your Craft project. Its document root (or “web root”) should point to your web/ directory (or whatever you’ve renamed it to).
You’ll also need to update your system’s hosts file so requests to your chosen hostname (e.g. my-project.tld) should be routed locally.
- macOS/Linux/Unix:
/etc/hosts - Windows:
\Windows\System32\drivers\etc\hosts
Some local development tools such as DDEV (opens new window) will update your hosts file automatically for you.
You can test whether you set everything up correctly by pointing your web browser to https://<Hostname>/index.php?p=admin/install (substituting <Hostname> with your web server’s hostname). If Craft’s Setup Wizard is shown, the hostname is correctly resolving to your Craft installation.
We recommend using the .test TLD for local development, and specifically not .local on macOS since conflicts with Bonjour can lead to performance issues (opens new window).
# Step 6: Run the Setup Wizard
Finally, it’s time to run Craft’s Setup Wizard from either your terminal or your web browser.
If you used composer create-project earlier and chose to continue setup there, you can head straight to https://my-project.tld/admin.
# Terminal Setup
In your terminal, go to your project’s root directory and run the following command to kick off the Setup Wizard:
php craft setup
The command will ask a few questions about your database connection and kick off Craft’s installer. Once it’s done, you should be able to access your new Craft site from your web browser.
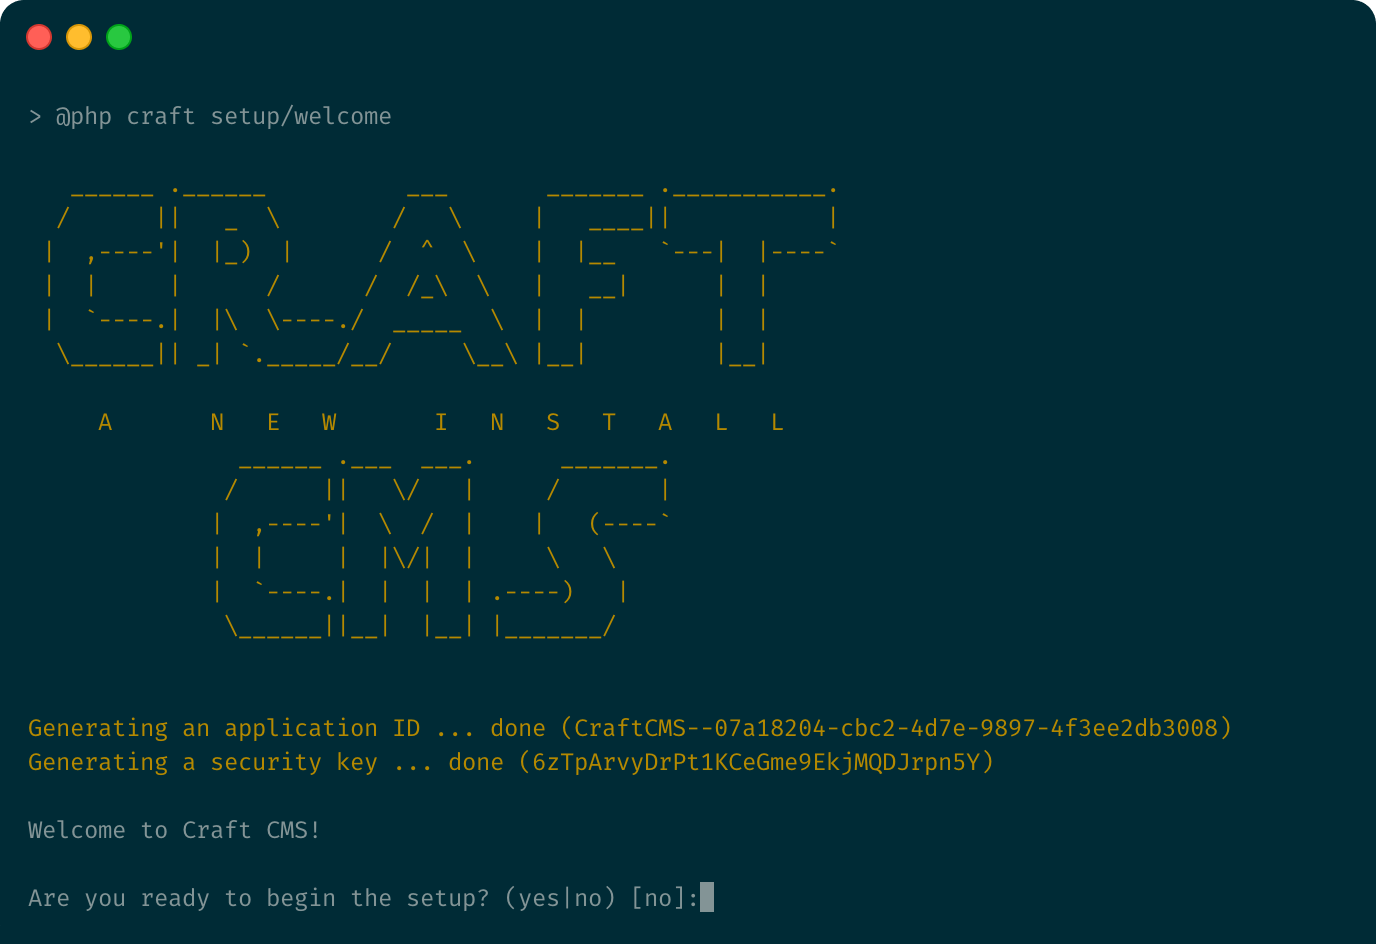
# Web Browser Setup
In your web browser, go to https://my-project.tld/index.php?p=admin/install (substituting my-project.tld with your web server’s hostname). If you’ve done everything right so far, you should be greeted by Craft’s Setup Wizard:

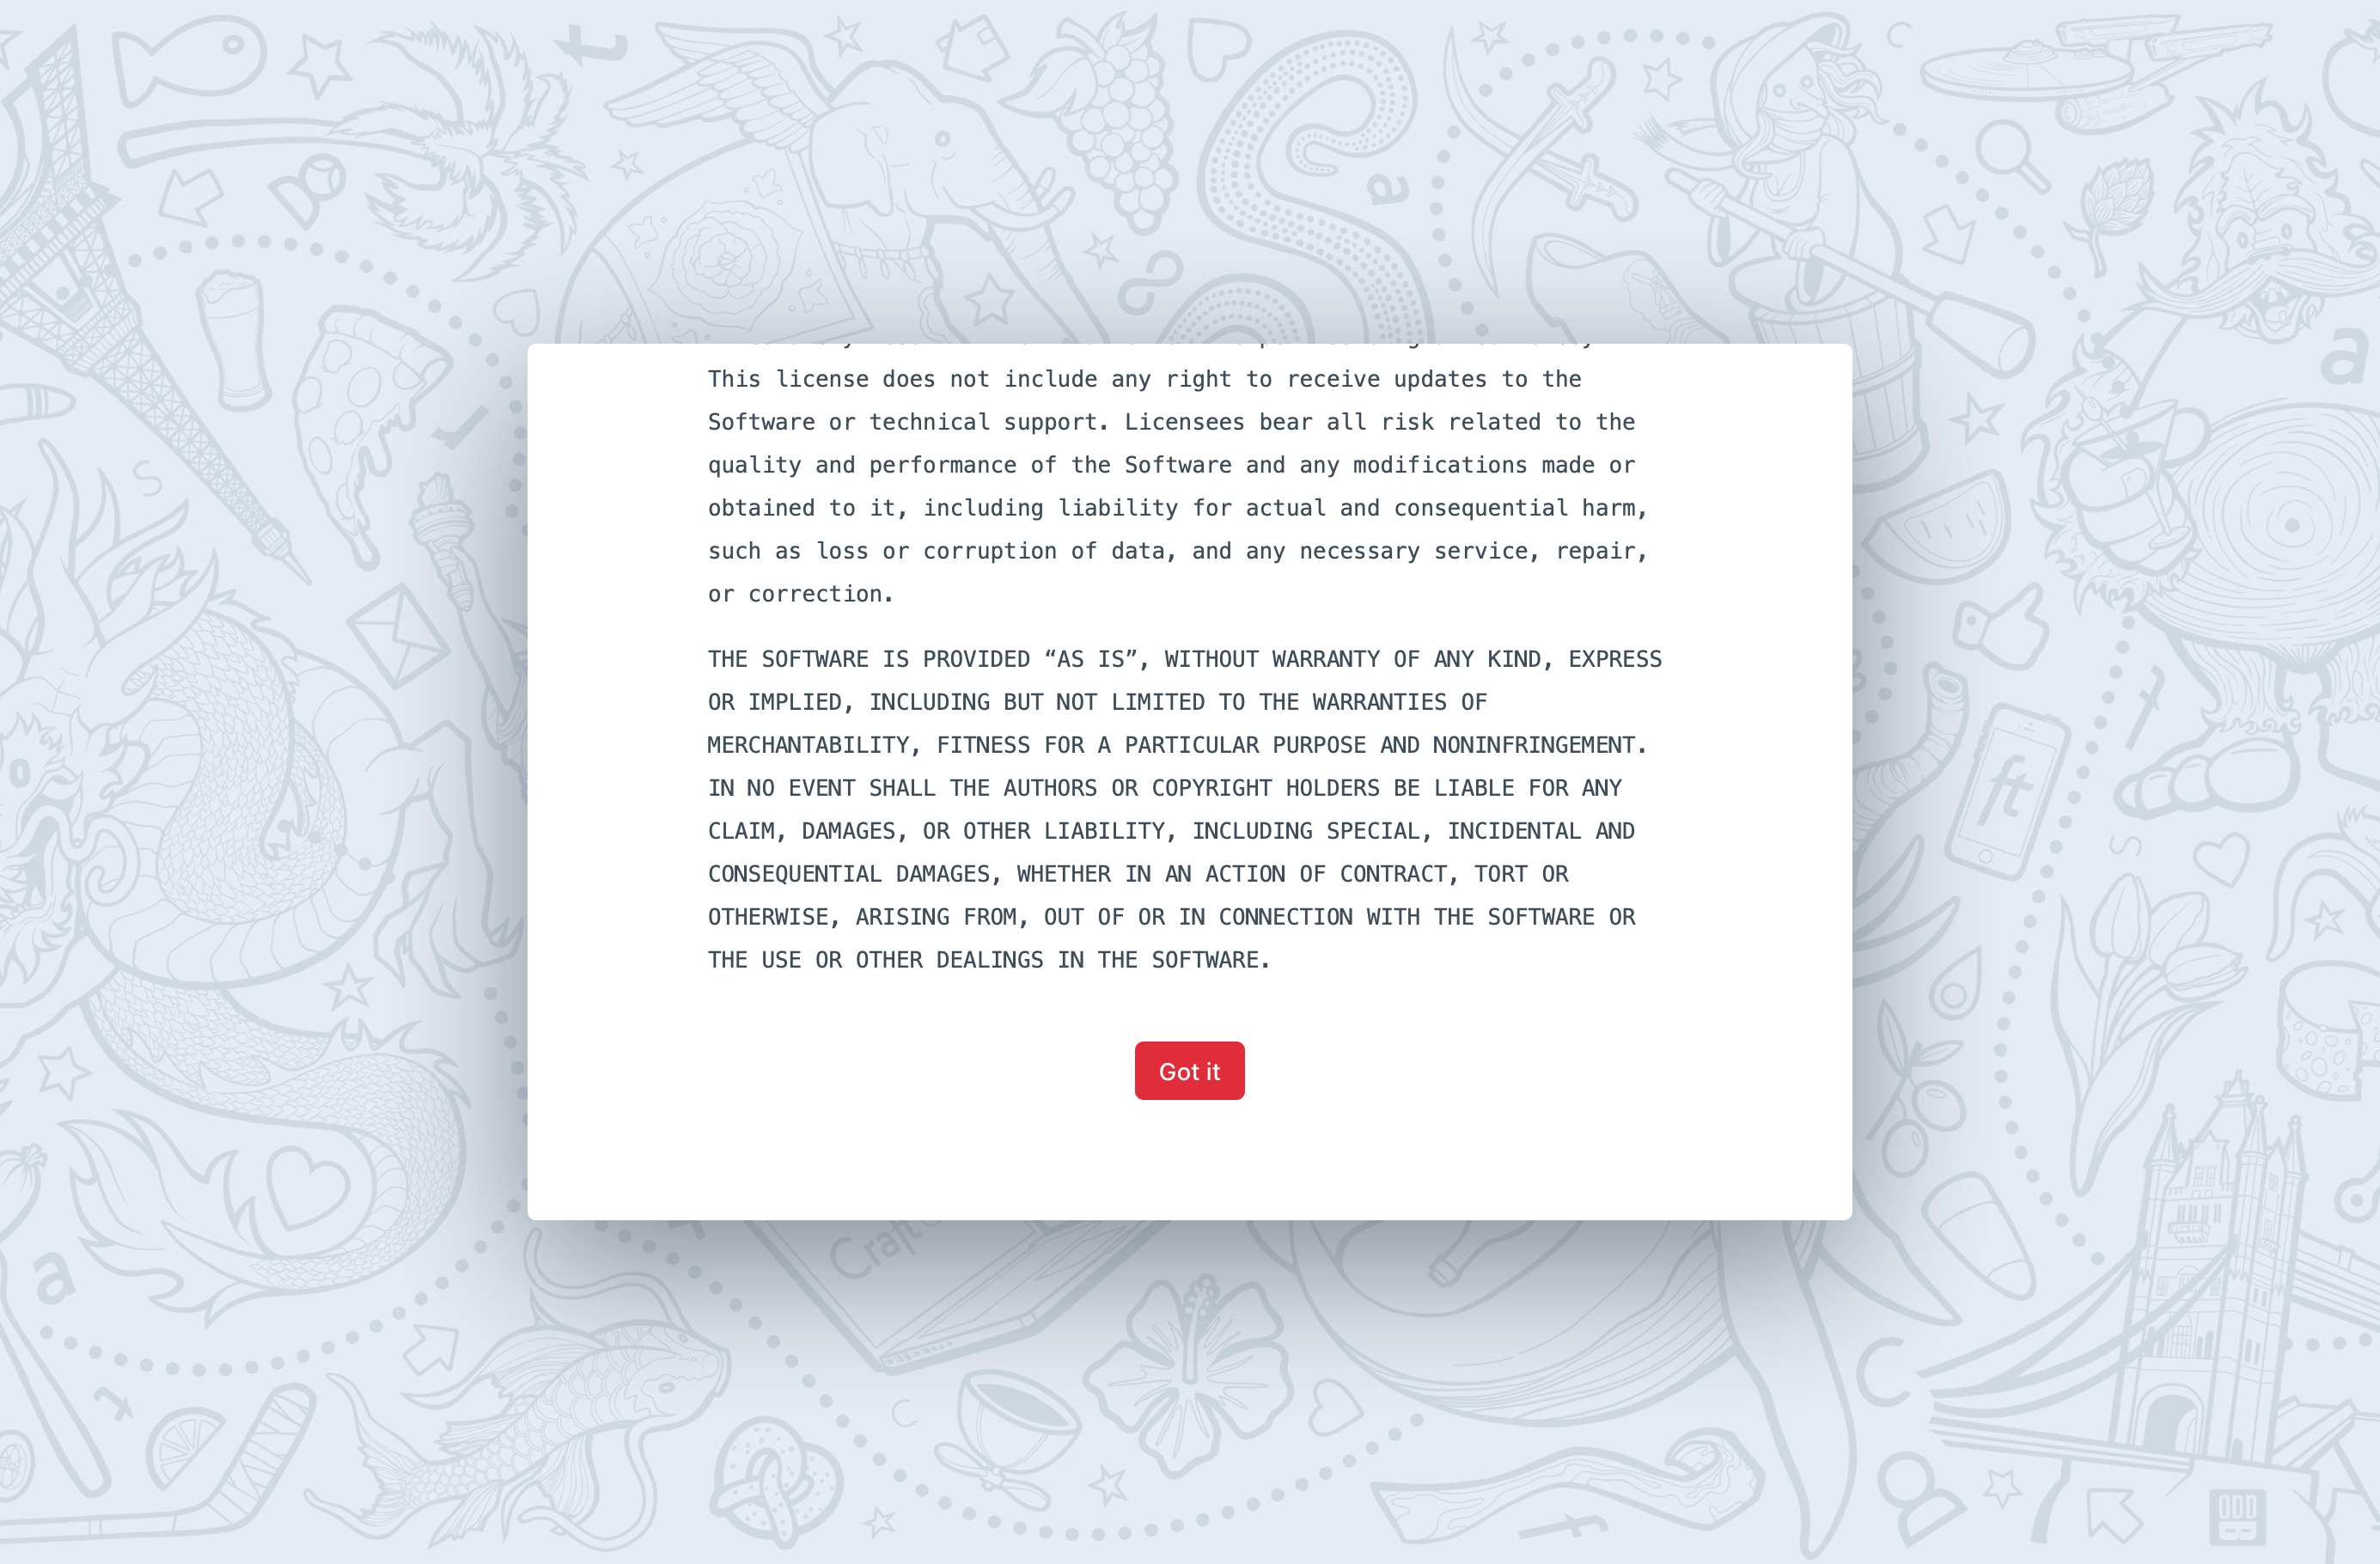
The first step of the installer is to accept the license agreement (opens new window). Scroll down through the agreement (reading it all, of course) and press Got it to accept:
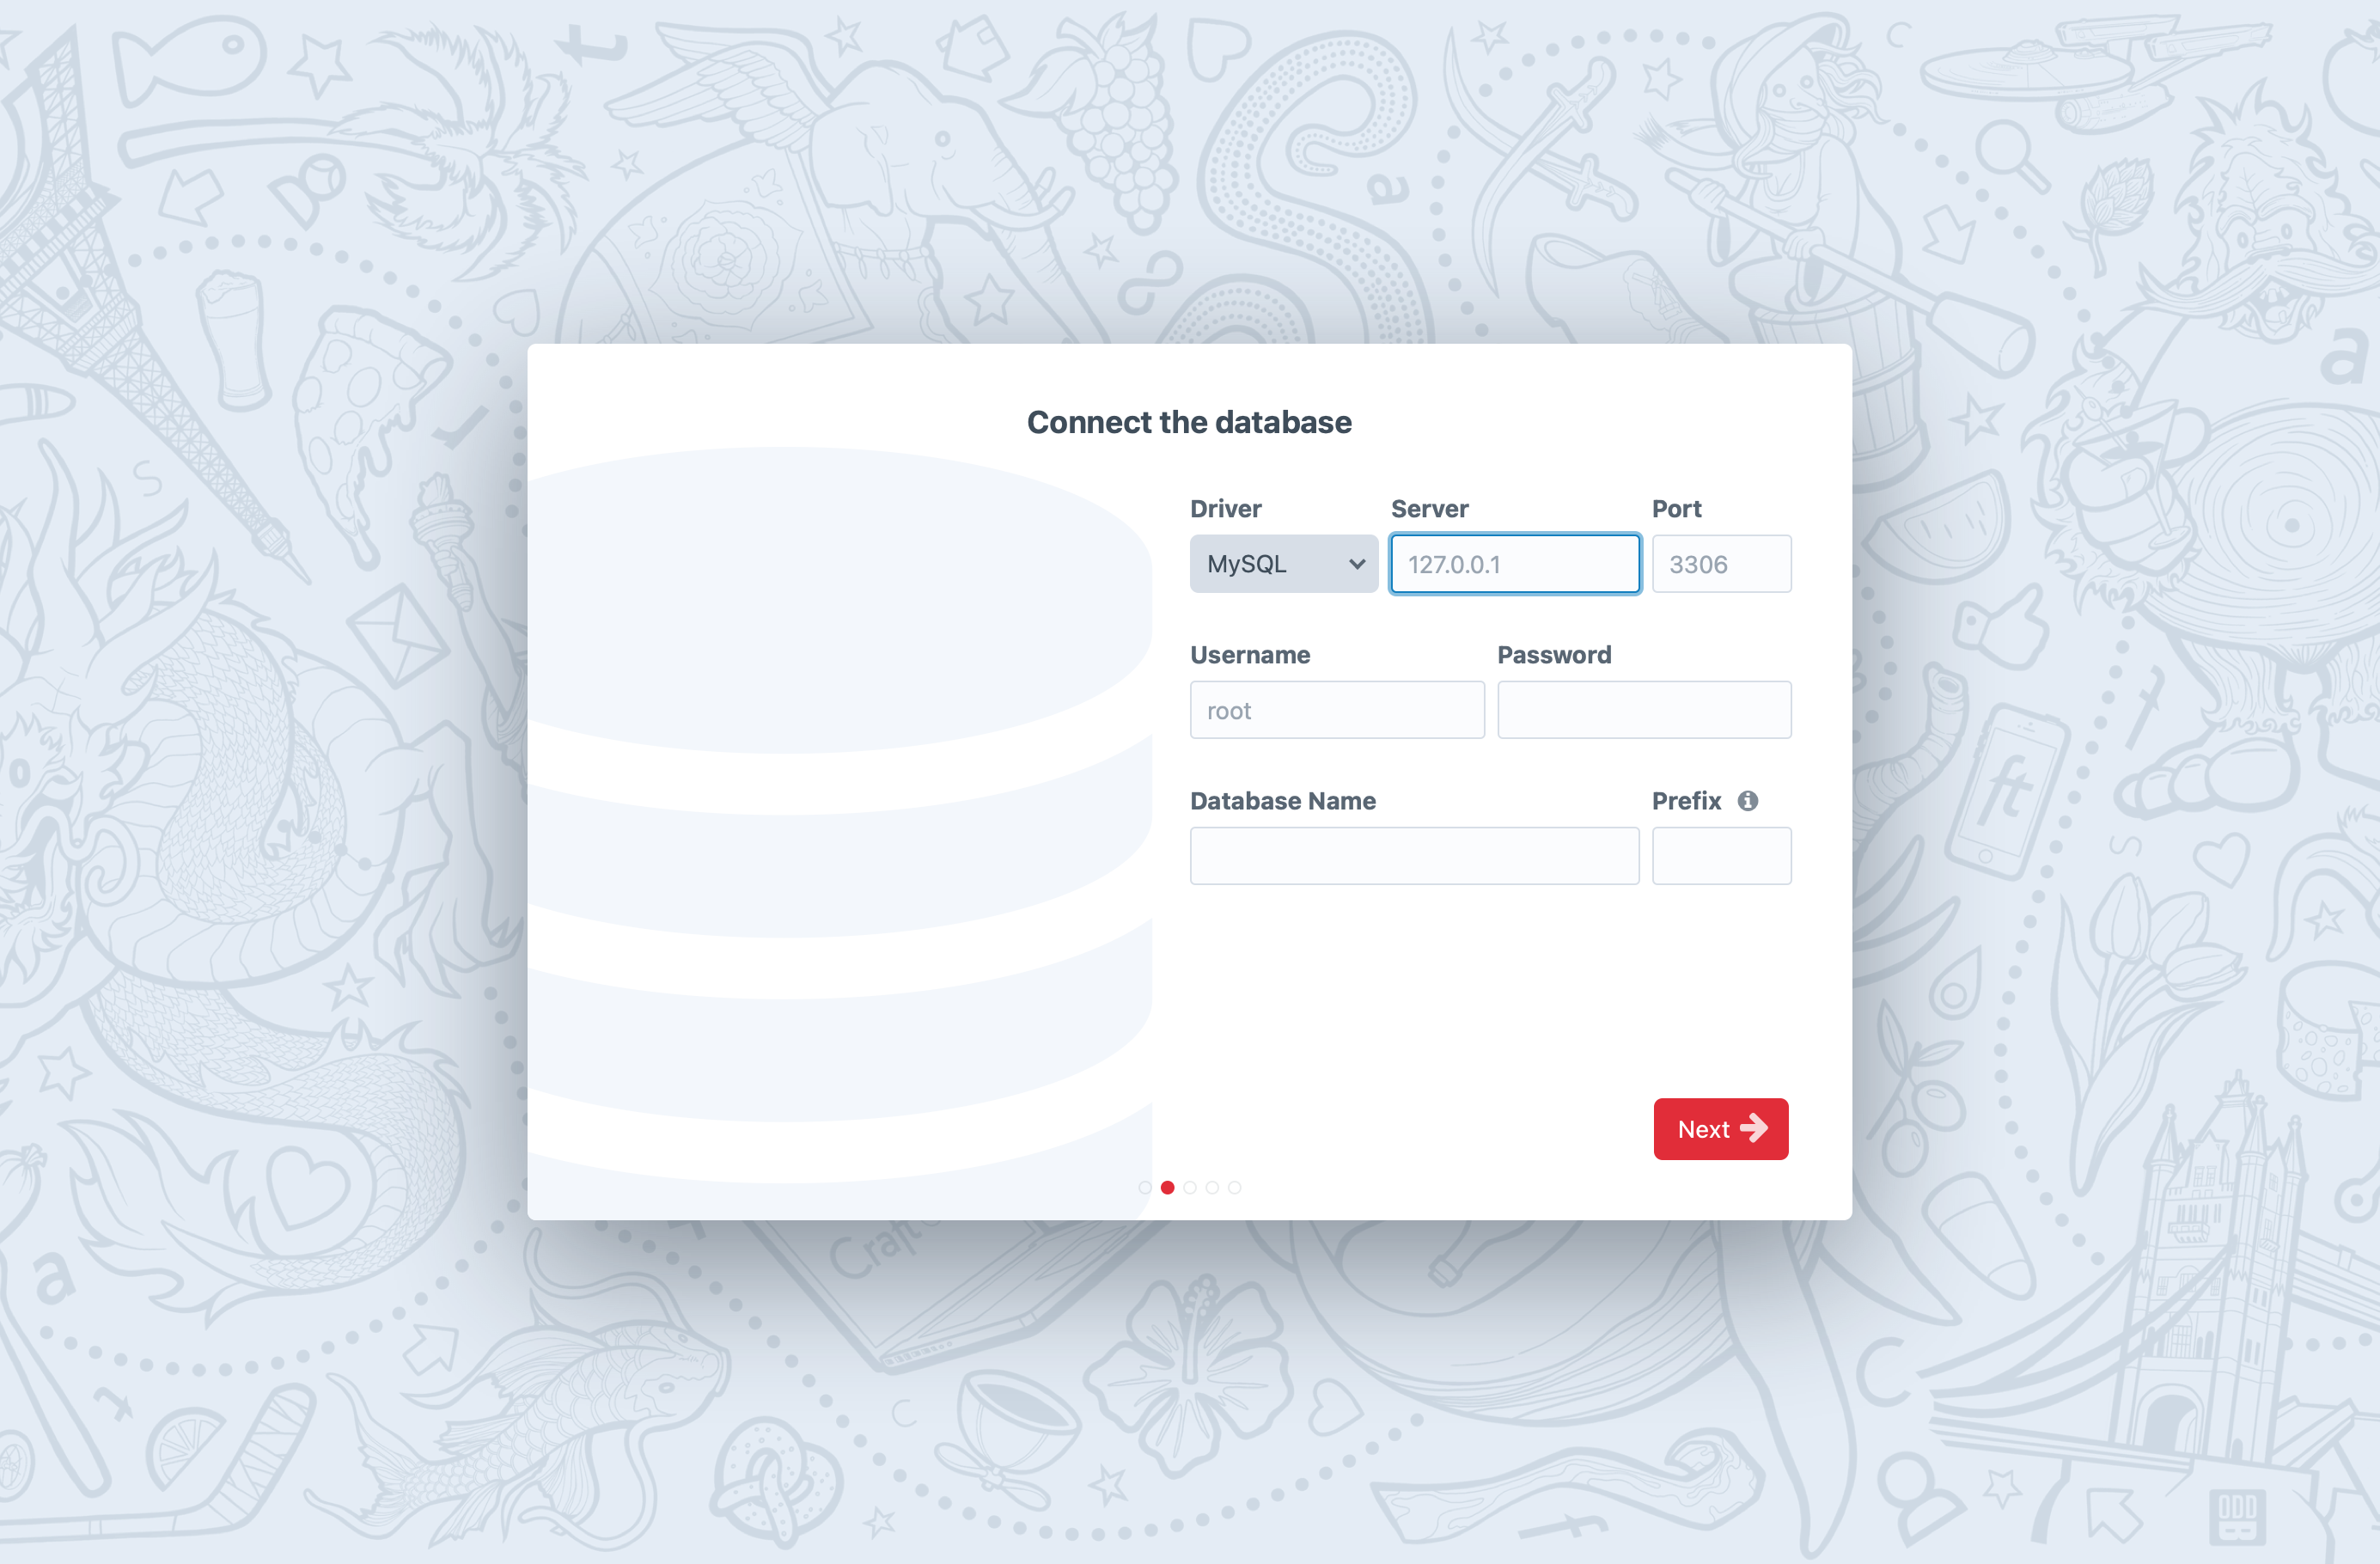
The second step is to enter your database connection information:
If the Setup Wizard skips this step, it’s because Craft is already able to connect to your database.
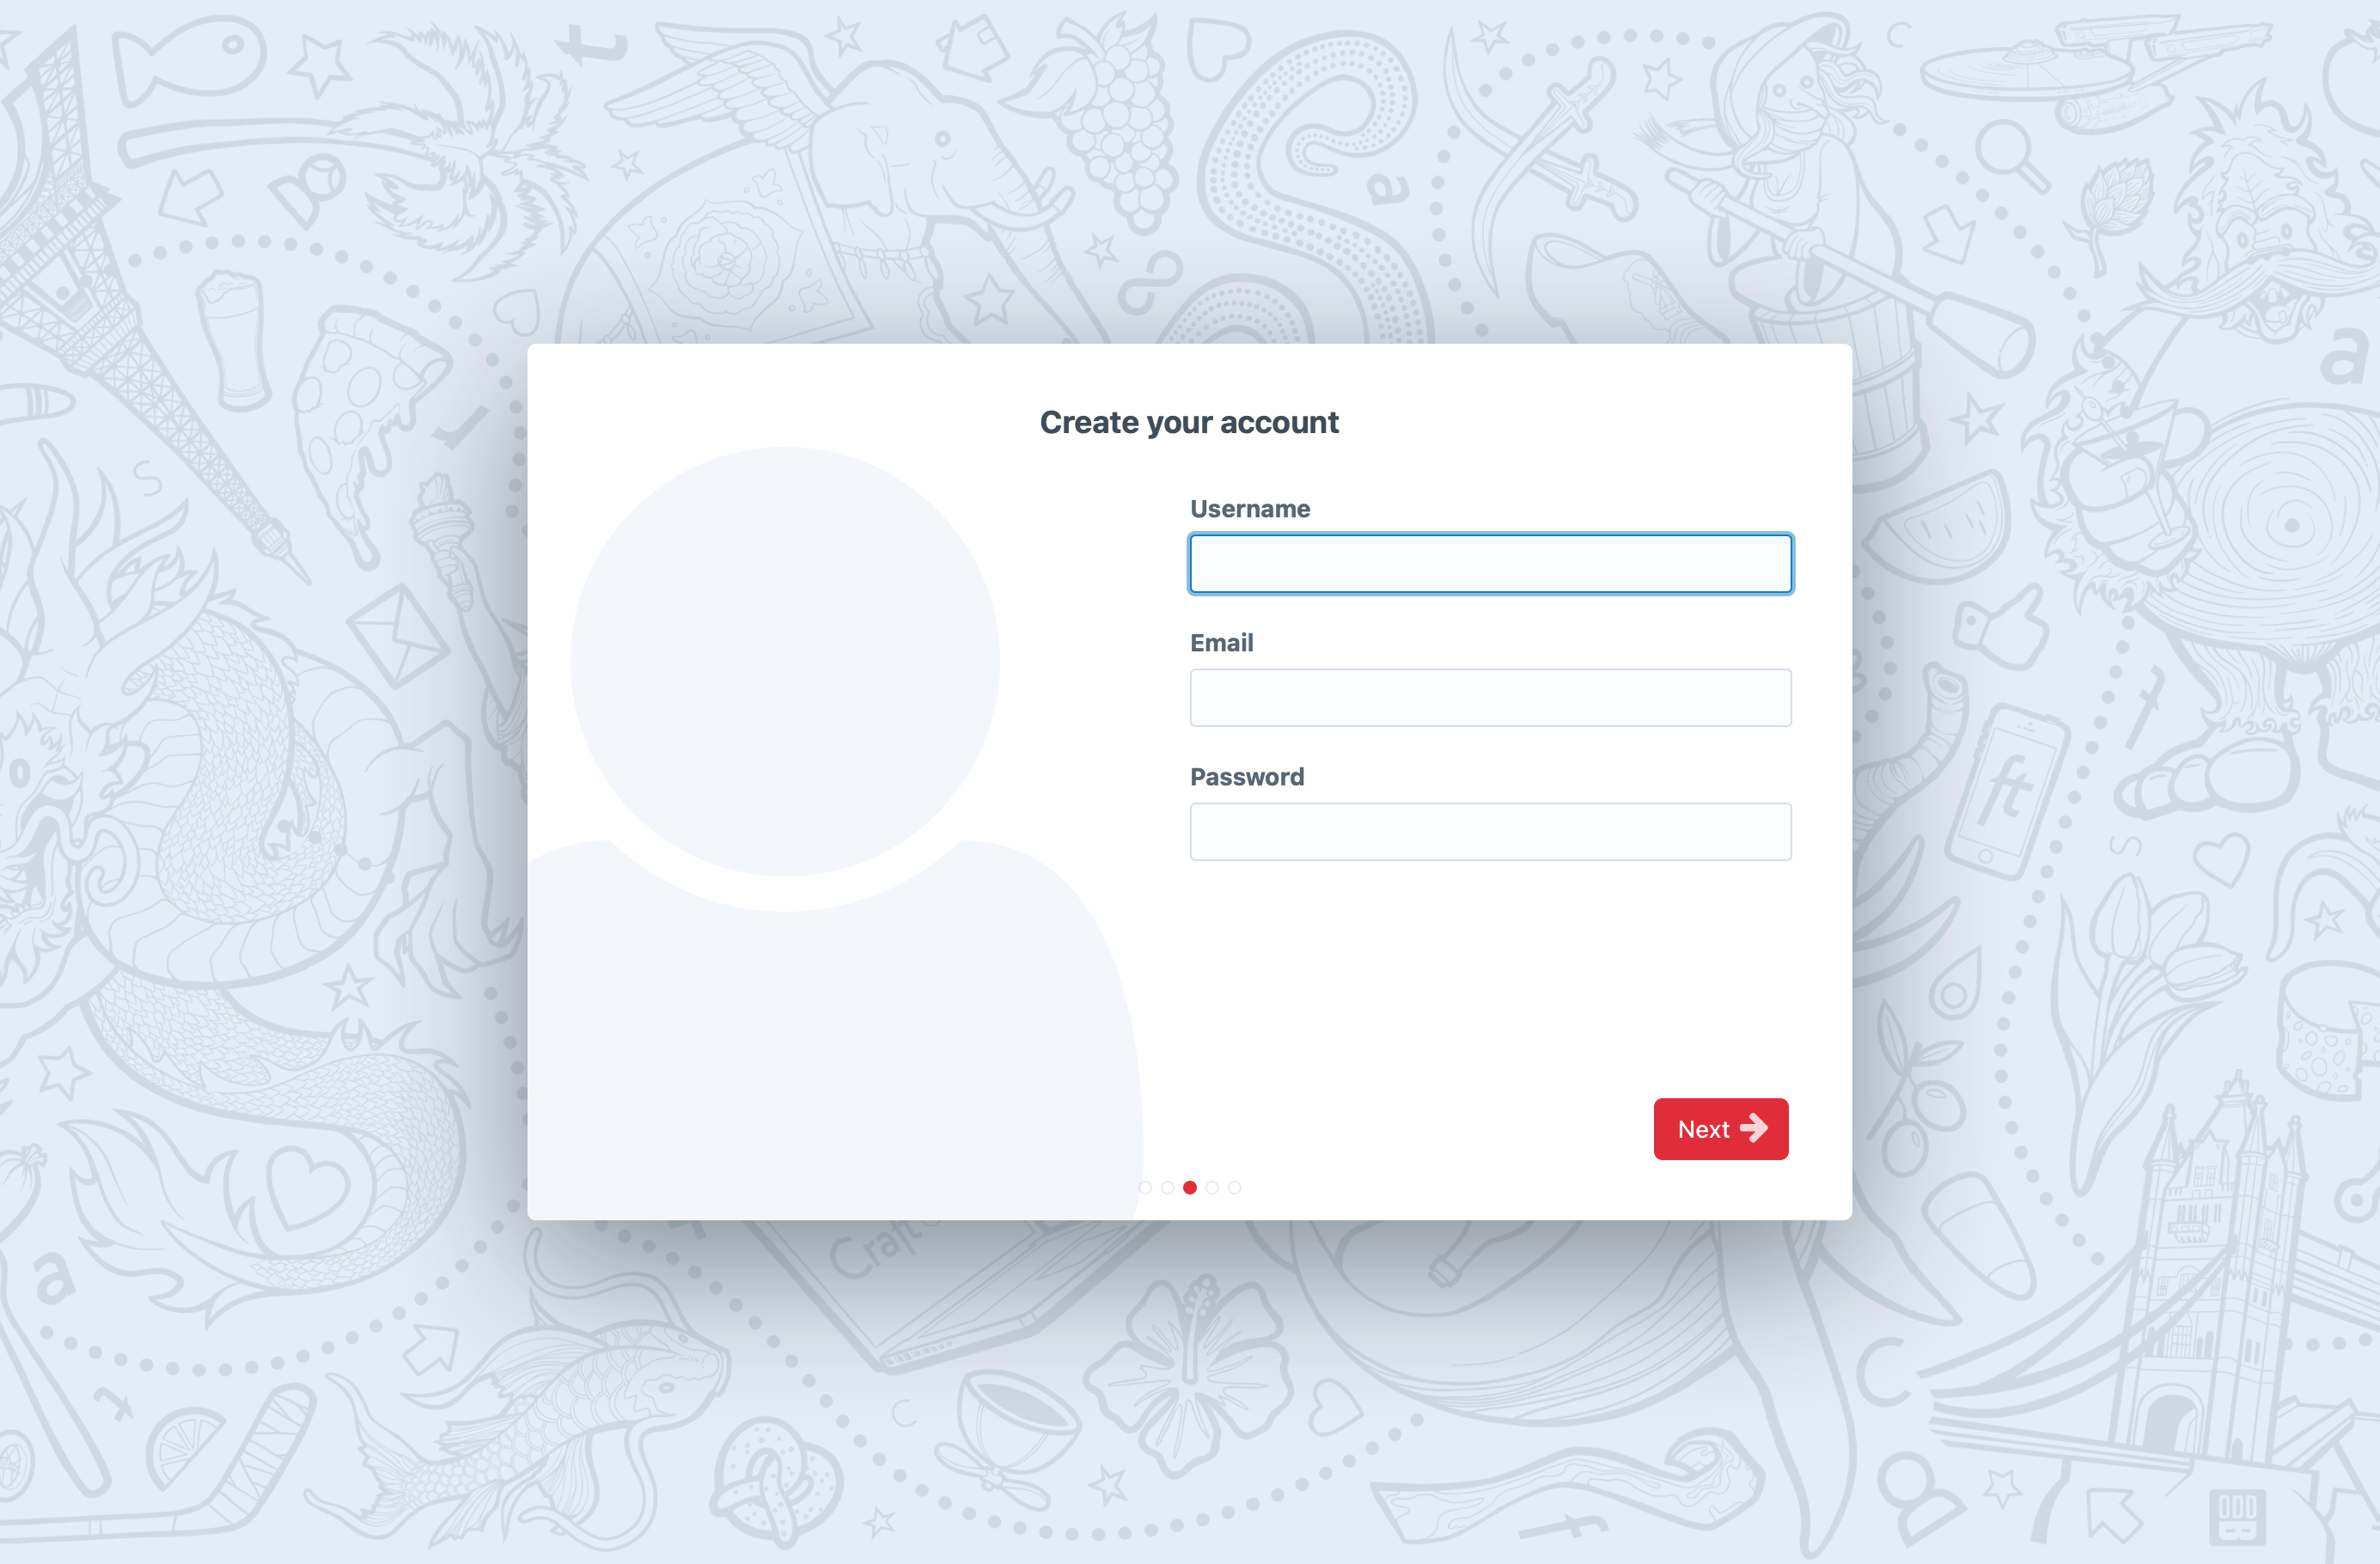
The third step is to create an admin account. Don’t be one of those people—be sure to pick a strong password:
The final step is to define your System Name, Base URL, and Language:
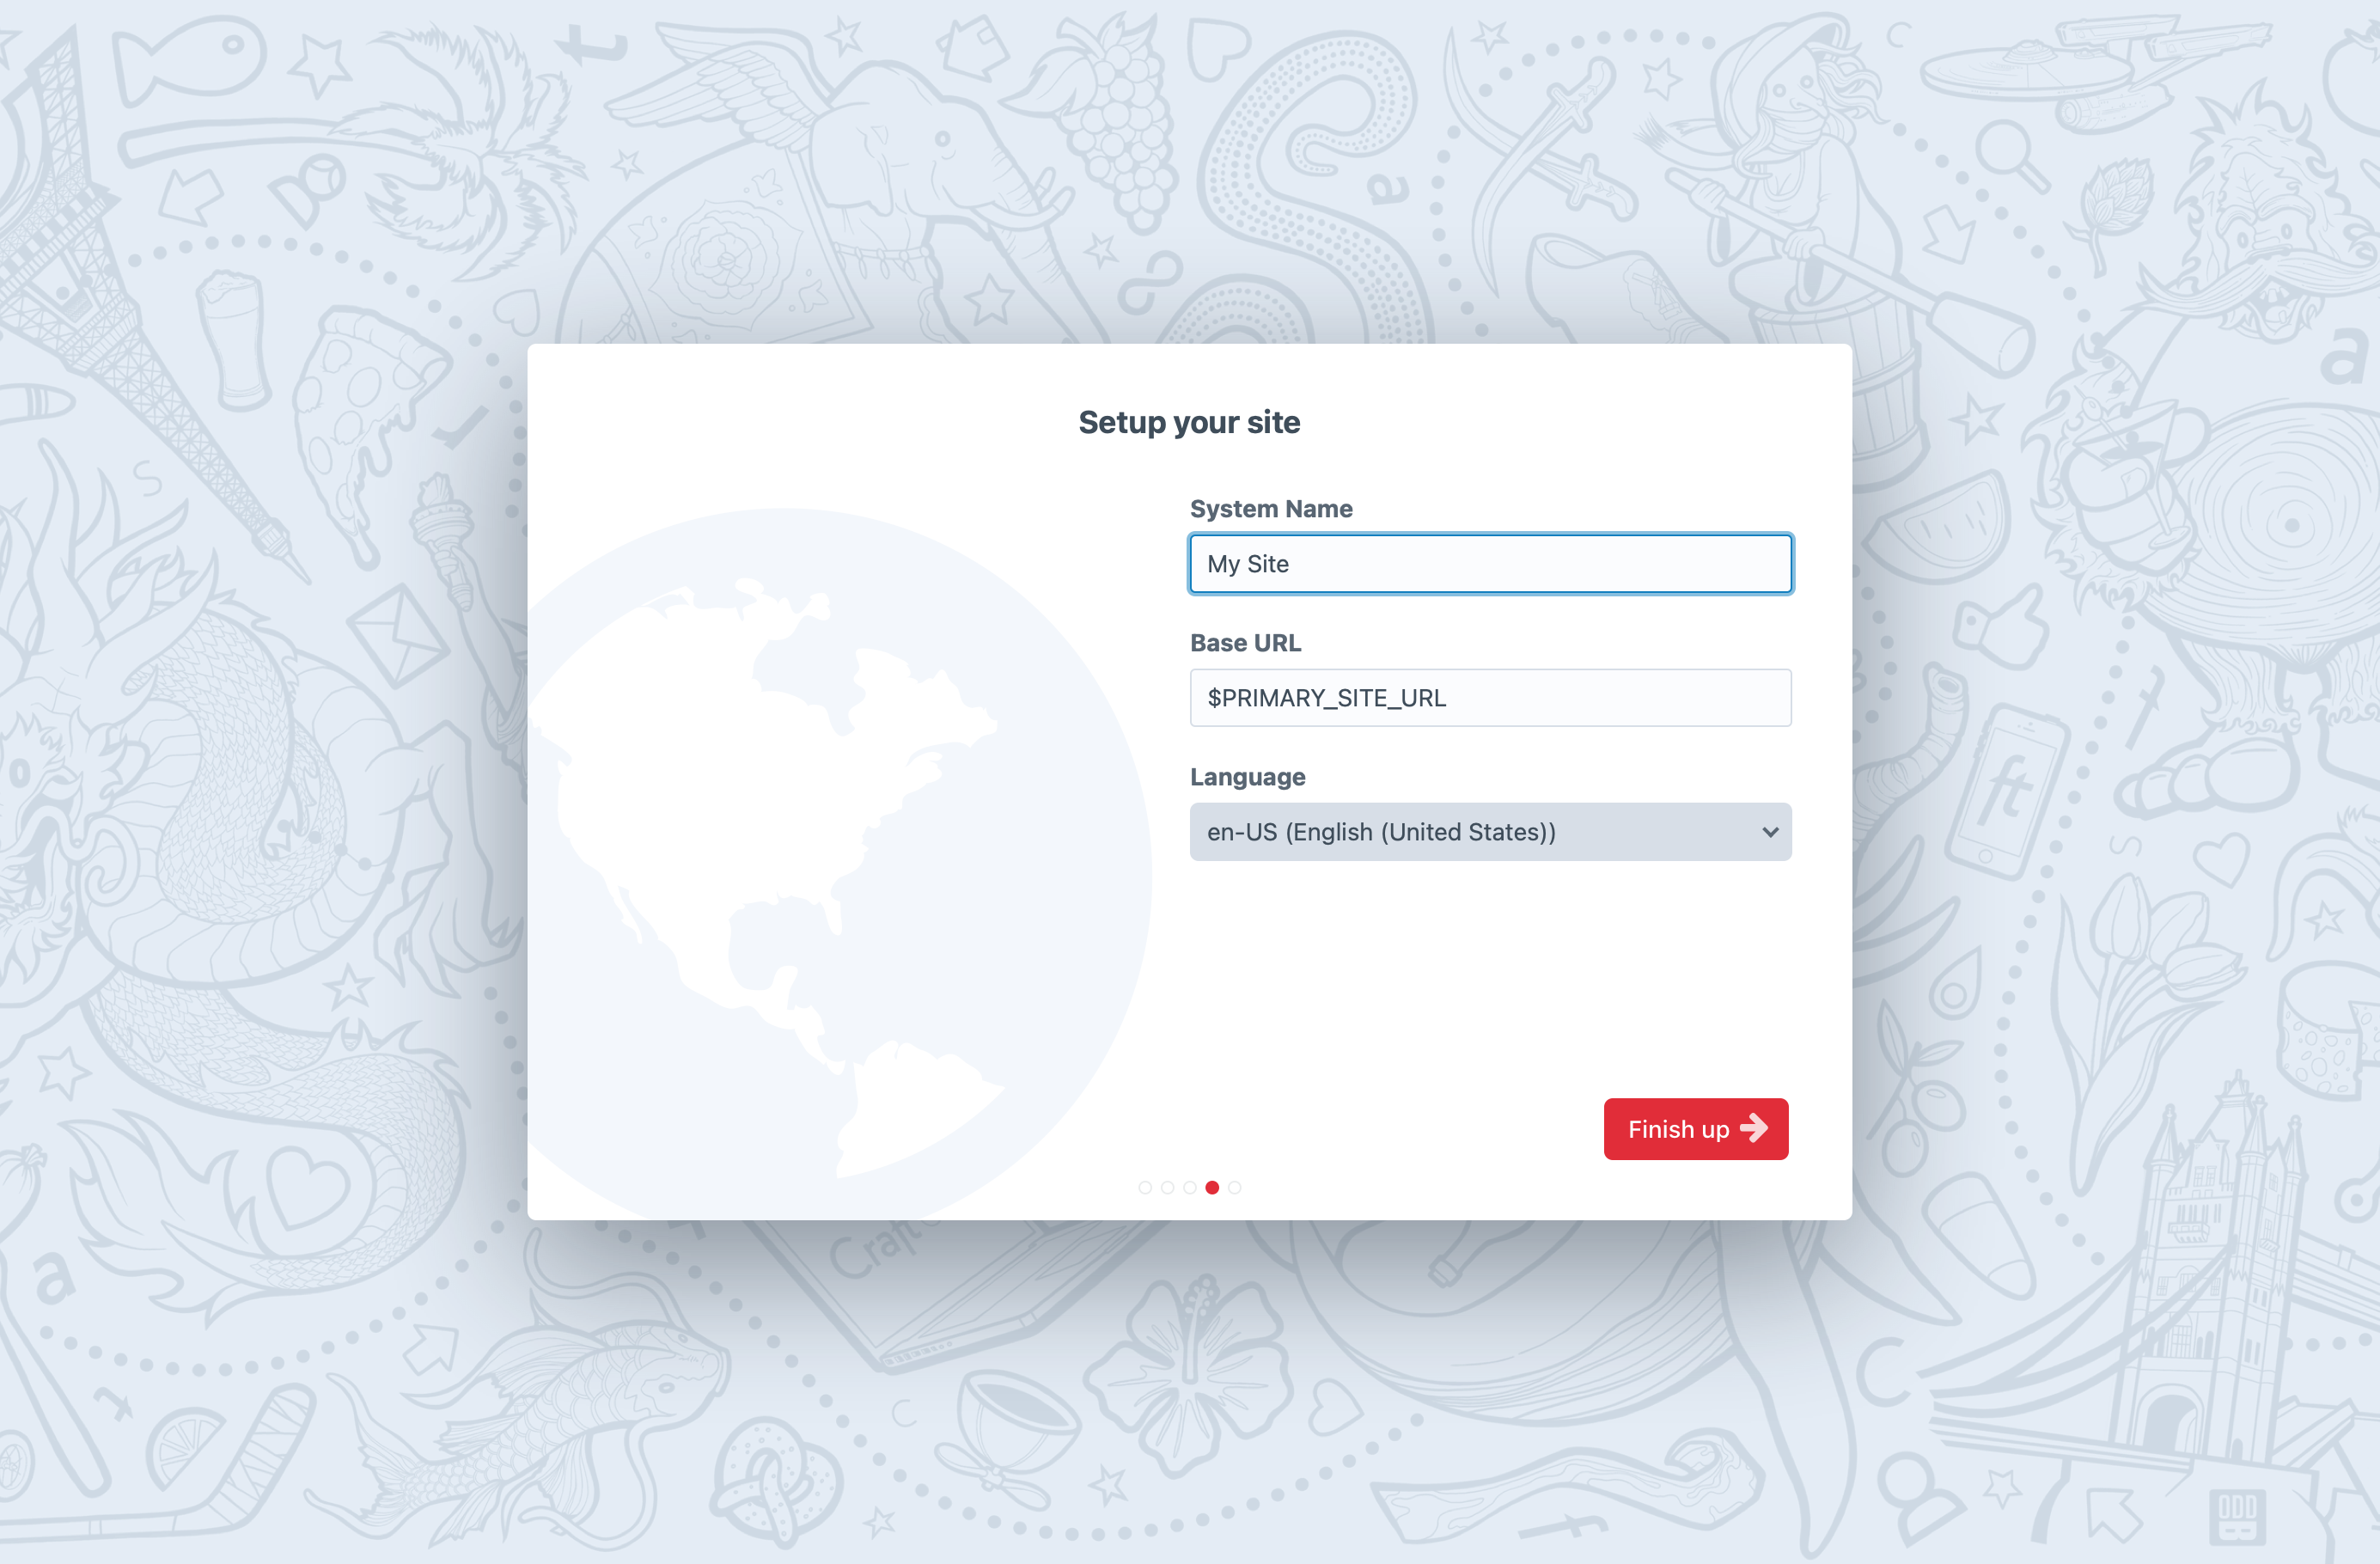
Press Finish up to complete the setup process. A few seconds later, you should have a working Craft install!
If it was successful, Craft will redirect your browser to the control panel:
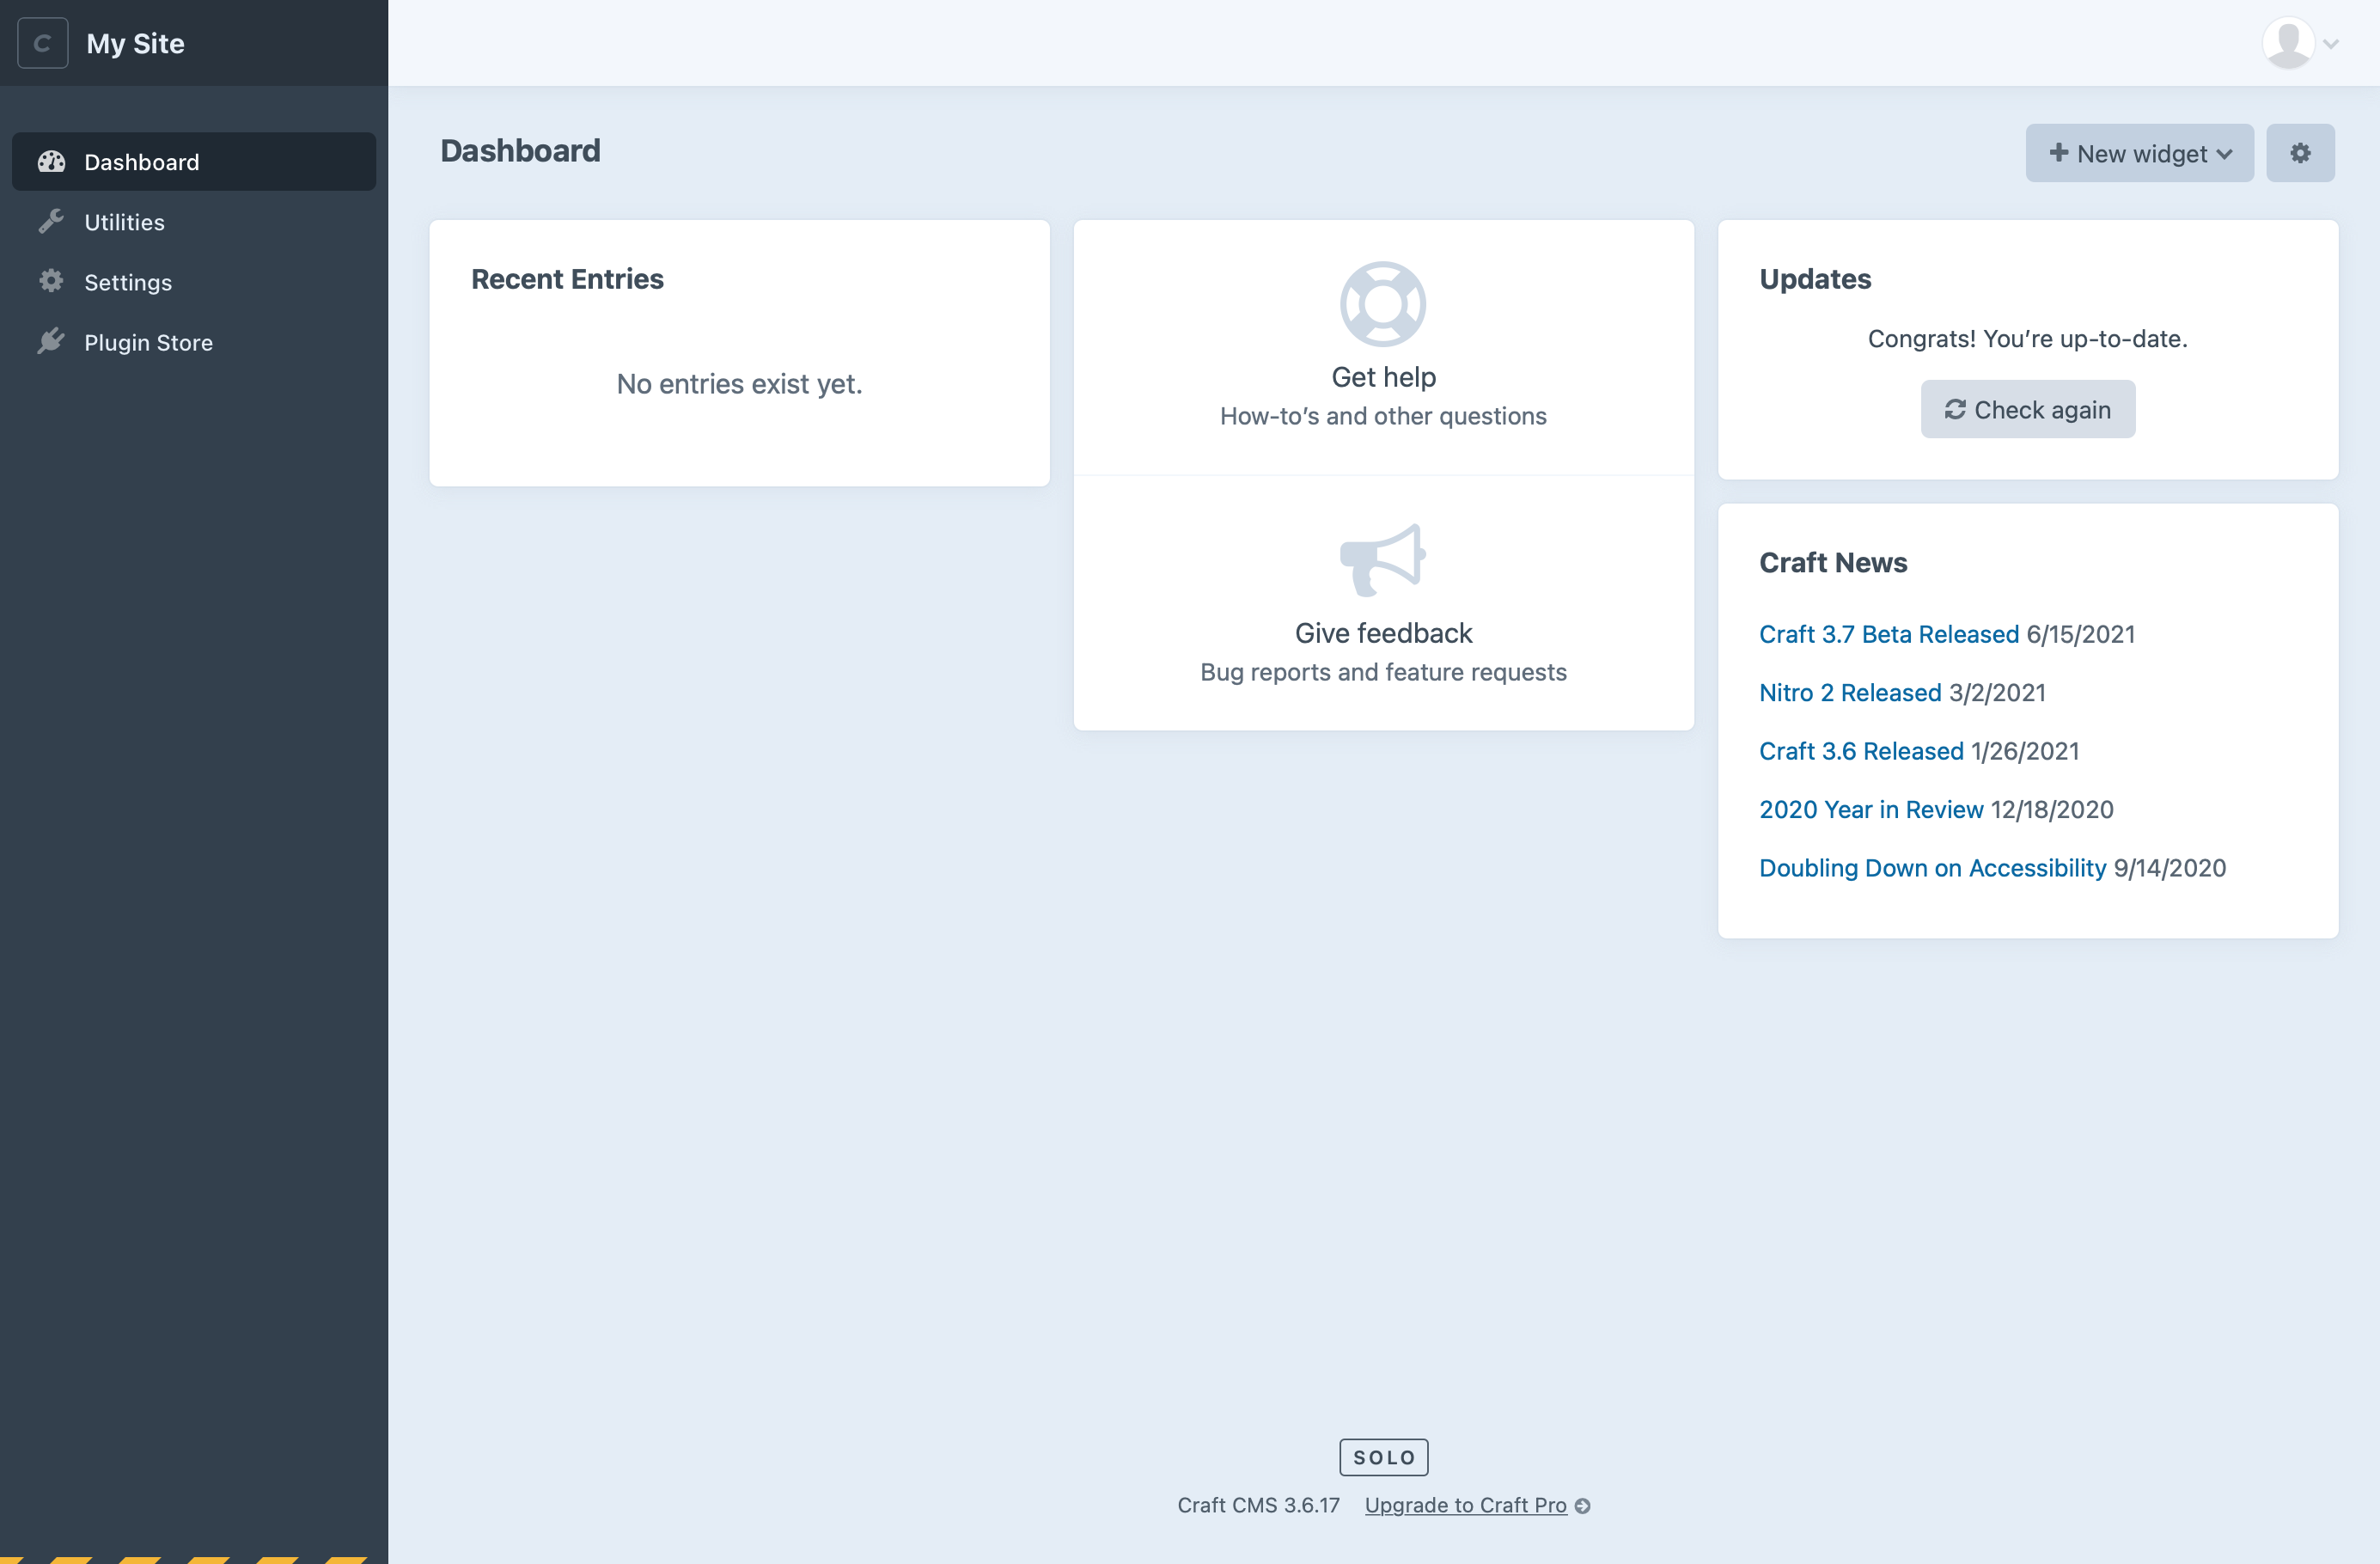
Congratulations, you’ve installed Craft!
Now build something incredible.
# Troubleshooting
See the Troubleshooting a Failed Craft Installation (opens new window) Knowledge Base article if something went wrong along the way.