Assets Fields
Assets fields allow you to select related assets.
#Settings
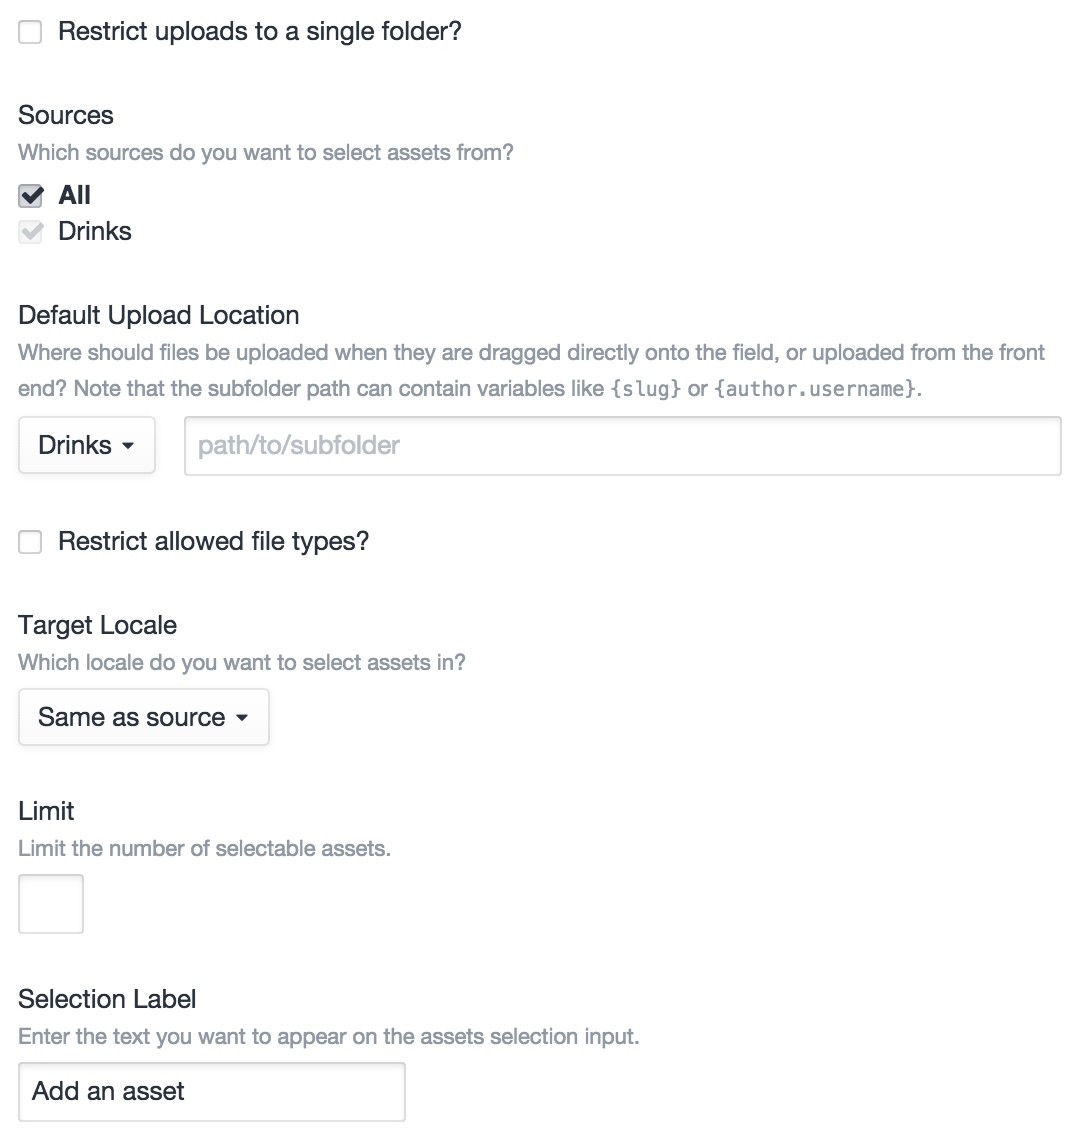
Assets fields have the following settings:
- Restrict uploads to a single folder? – Whether file uploads/selections should be constrained to a single folder
- Sources – Which asset sources the field should be able to select/upload files from
- Default Upload Location – The default location that files dragged directly onto the field should be saved in
- Restrict allowed file types? Whether the field should only be able to select/upload files of a certain type(s)
- Target Locale – Which locale assets should be related with (this setting only appears if you’re running Craft Pro with more than one site locale)
- Limit – The maximum number of assets that can be related with the field at once. (Default is no limit.)
- Selection Label – The label that should be used on the field’s selection button.
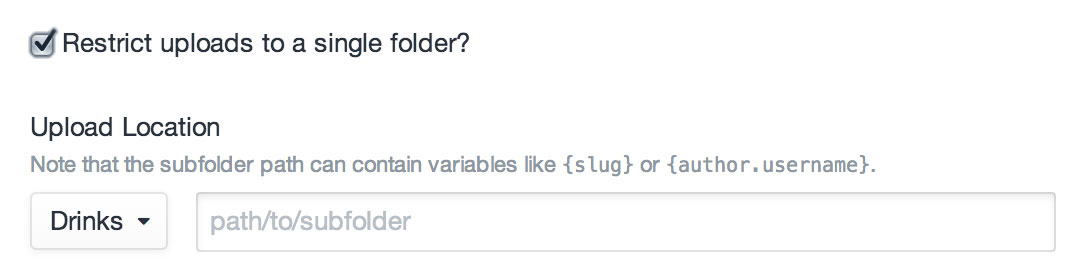
#Restricting Uploads to a Single Folder
If the “Restrict uploads to a single folder?” setting is checked, the “Sources” and “Default Upload Location” settings will be replaced with an “Upload Location” setting.
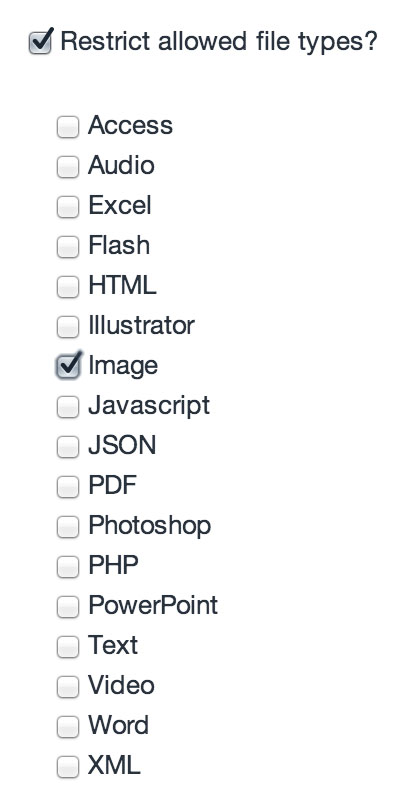
#Restricting Allowed File Types
If the “Restrict allowed file types?” setting is checked, a list of file types will appear below it.
#Dynamic Subfolder Paths
The “Default Upload Location” setting, and the “Upload Location” setting that replaces it if “Restrict uploads to a single folder?” is checked, support dynamic subfolder paths.
After an element is saved, the subfolder path will be parsed for any tags representing properties of the source element. For example, if you intend to use the field with entries, then you can use any properties listed in the EntryModel documentation, such as {id}, {slug}, or even nested object properties like {author.username}.
Normal Twig tags are supported as well, in case you want to include {% if %} conditionals in your path, or access other objects besides the source element, such as {{ now|date('Y-m-d') }} or {{ currentUser.username }}.
If you are using normal Twig tags, you can still access the source element, via an “object” variable. For example, this would output the source element’s slug if it has one, otherwise its ID:
{{ object.slug ?: object.id }}
Note that if you are creating the Assets field within a Matrix field, the source element is going to be the actual Matrix block, not the element that the Matrix field is being created on. So if your Matrix field is attached to an entry, and you want to output the entry ID in your dynamic subfolder path, you would type {owner.id} not just {id}.
#The Field
Assets fields list all of the currently selected assets, with a button to select new ones:

Clicking the “Add an asset” button will bring up a modal window where you can find and select additional assets, as well as upload new ones:

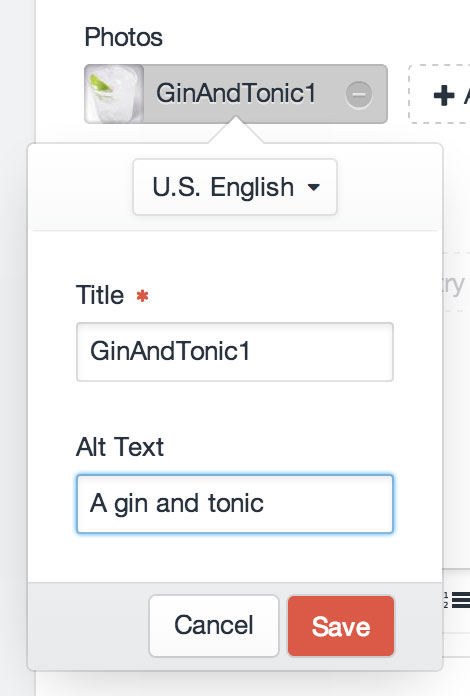
#Editing Asset Content
Double-clicking on a selected asset will open a modal where you can edit the file’s title and any fields you have associated with your assets from Settings → Assets → Fields.
#Templating
If you have an element with an Assets field in your template, you can access its selected assets using your Assets field’s handle:
{% set assets = entry.assetsFieldHandle %}
That will give you an ElementCriteriaModel object, prepped to output all of the selected assets for the given field. In other words, the line above is really just a shortcut for this:
{% set assets = craft.assets({
  relatedTo: { sourceElement: entry, field: "assetsFieldHandle" },
  order:     "sortOrder",
  limit:     null
}) %}
(See Relations for more info on the relatedTo param.)
#Examples
To check if your Assets field has any selected assets, you can use the length filter:
{% if entry.assetsFieldHandle | length %}
  {% for asset in entry.assetsFieldHandle %}
    {{ asset.url }}
  {% endfor %}
{% endif %}
To loop through the selected assets, you can treat the field like an array:
{% for asset in entry.assetsFieldHandle %}
  {{ asset.url }}
{% endfor %}
Rather than typing “entry.assetsFieldHandle” every time, you can call it once and set it to another variable:
{% set assets = entry.assetsFieldHandle %}

{% if assets | length %}

  <h3>Some great assets</h3>
  {% for asset in assets %}
    {{ asset.url }}
  {% endfor %}

{% endif %}
You can add parameters to the ElementCriteriaModel object as well:
{% set images = entry.assetsFieldHandle.kind('image') %}
If your Assets field is only meant to have a single asset selected, remember that calling your Assets field will still give you the same ElementCriteriaModel, not the selected asset. To get the first (and only) asset selected, use first():
{% set asset = entry.myAssetsField.first() %}

{% if asset %}
  {{ asset.url }}
{% endif %}
#Uploading Files from Front-end Entry Forms
If you want to allow users to upload files to an Assets field from a front-end entry form, you just need to do two things.
First, make sure your <form> tag has an enctype="multipart/form-data" attribute, so that it is capable of uploading files.
Add a file input to the form, in the same way you would add a textarea for a Plain Text field:
<input type="file" name="fields[assetsFieldHandle]">
If you want your form to allow multiple files being uploaded at once, just add the multiple attribute, make sure that the input name ends in “[]”:
<input type="file" name="fields[assetsFieldHandle][]" multiple>