Blog Templates
It’s time to bring together everything we’ve learned and create some templates that display data from the blog we set up in Craft.
In the next few sections, you’ll see prompts to “refresh your browser” or “reload the page.” Changes to templates aren’t automatically broadcasted to browsers, but requesting the page again will reflect them.
You can reload a page by pressing Control/Command + R, F5 (Windows only), or clicking the circular arrow icon in your browser’s toolbar.
#Layout
A layout is Twig’s solution for reusable page wrappers. Layouts have all the same features of a regular template. This makes them a perfect place for a global header, navigation, or a footer—as well as invisible metadata in the head of every page that uses one.
Right-click the templates/ folder in VS Code’s file browser, then click New File…, and name it _layout.twig.
The underscore (_) at the beginning of _layout.twig means the template is “private.” Unlike index.twig, you will not be able to view the template by visiting https://tutorial.ddev.site/_layout.
Use an underscore any time a template doesn’t need to be accessible on its own. You can also prefix a subfolder of your templates/ directory with an underscore to hide everything inside it.
Copy the following into the _layout.twig file you just created:
<!DOCTYPE html>
<html lang="{{ craft.app.language }}">
  <head>
    <meta charset="utf-8"/>
    <title>{{ siteName }}</title>
    <meta content="width=device-width, initial-scale=1.0" name="viewport">

    {% do craft.app.view.registerCssFile('@web/styles.css') %}
  </head>
  <body>
    {% block content %}
      {# Nothing here, yet! #}
    {% endblock %}
  </body>
</html>
This is the skeleton of a basic webpage, but it has no content! A layout’s main job is to reduce boilerplate in your templates; here, we’ve defined a few things we want on every page of the site:
- The language content is presented in (on the
<html>tag); - The name of our site, in the
<title>tag (you may recognize this fromindex.html); - A
<meta>tag that tells the browser how we want the page to be sized on small-screened devices; - A reference to a stylesheet;
The last thing to note is the use of the {% block %} tag to define a region where our content will go. Craft doesn’t know anything about _layout.twig yet, so we’ll have to tell it when we want to use this layout, and what we want to go that content block.
#Entry Template
Now that we have a layout template, let’s use it for our individual blog posts.
Create templates/blog/_entry.twig and paste this code to it:
{# You can omit the `.twig` when referencing another template: #}
{% extends '_layout' %}

{# Provide something to the `content` block in `_layout.twig`: #}
{% block content %}
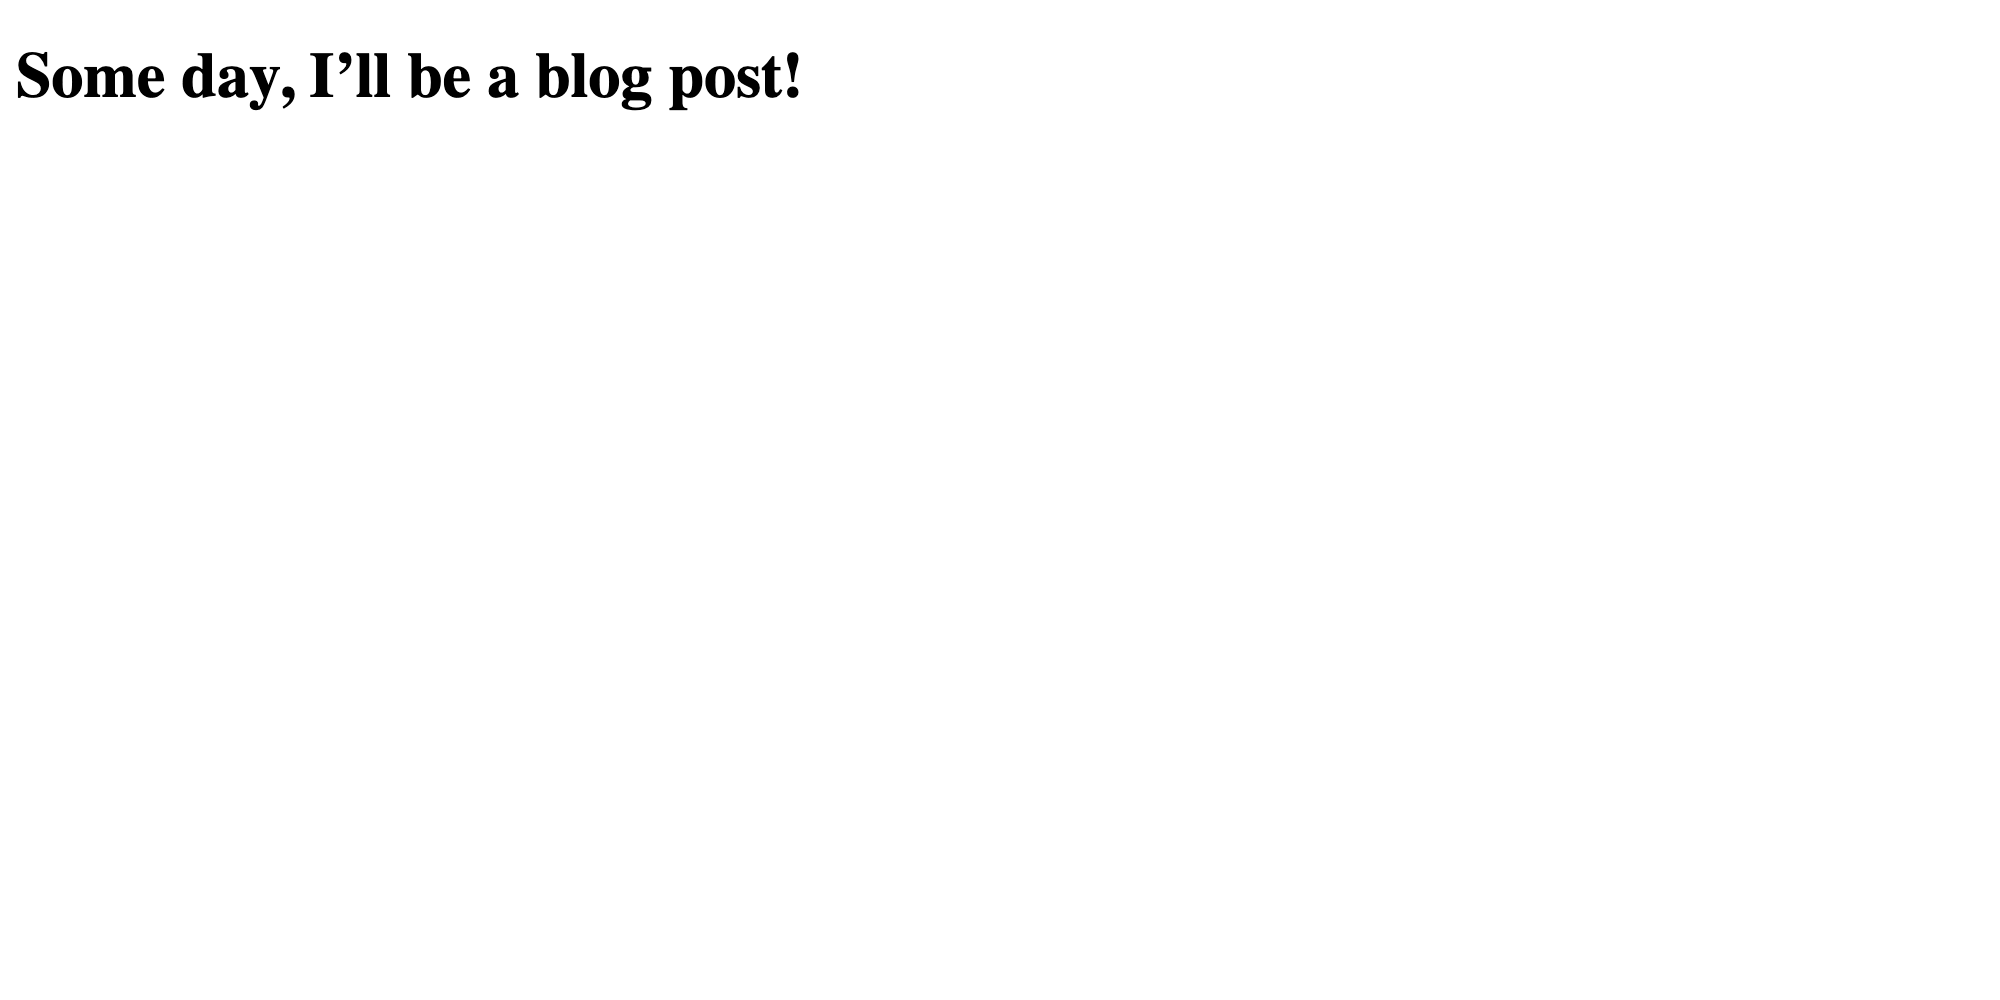
  <h1>Some day, I’ll be a blog post!</h1>
{% endblock %}
The first highlighted line connects our post template with the layout template, using the {% extends %} tag. The second highlight defines a {% block ... %}, the content of which will be output in the corresponding region of _layout.twig.
When extending a layout, all output must be within block tag pairs—but you may have as many block tags as you wish!
Now that the blog section’s template is ready, you can visit the URL for a published post:
Not sure what your post’s URL is? Back in the control panel, navigate to a post, then click the View button in the upper-right corner to open it in a new tab.
If this didn’t work (and you’re still seeing the same error from the last time we accessed this page), double-check your section’s settings and the location and name of your template file!
#Add Dynamic Data
Hard-coding our post’s title isn’t very practical, so let’s bring in some data from the current post.
We know that any time an element (like our blog post entries) matches a request path, Craft will render the template defined in its settings. In this case, the entry belongs to a section that declared blog/_entry as its Template—which is why we had to add this one in a particular spot.
But how do we actually get the content for that post? Craft makes the matched entry available in our template under a special entry variable:
{% extends '_layout' %}

{% block content %}
  {# Access a property of a variable using “dot” notation: #}
  <h1>{{ entry.title }}</h1>

  <time datetime="{{ entry.postDate | atom }}">
    {{ entry.postDate | date }}
  </time>
{% endblock %}
Refresh your browser, and you should see the post’s title and the date it was created:
If you were to go back into the control panel and create some more posts, you could access any of them this same way!
#Feature Image
Let’s display the image we attached via the “Feature Image” asset field. When we attached the assets field to the Post field layout, we gave it a handle of featureImage—so it will be available on the entry variable as entry.featureImage, just like its title was:
{% extends '_layout' %}

{# Load the attached image: #}
{% set featureImage = entry.featureImage.one() %}

{% block content %}
  {# Access a property of a variable using “dot” notation: #}
  <h1>{{ entry.title }}</h1>

  <time datetime="{{ entry.postDate | atom }}">
    {{ entry.postDate | date }}
  </time>

  {# Output the image, if one was found: #}
  {% if featureImage %}
    <div class="feature-image">
      {{ featureImage.getImg() }}
    </div>
  {% endif %}
{% endblock %}
At the top of the template, notice the new set tag. This loads and stores the first image attached to our Feature Image field. We check at the end of the template whether an image is indeed available (say, in case someone deleted the asset), using an if tag (opens new window).
Craft automatically loads the entry for this template, but leaves the rest up to you—entry.featureImage is actually a pre-configured query that will fetch asset(s) we attached to the field. We are using .one() to tell Craft that we want just the first attached asset.
We’ll use a similar query when outputting the post topics and content Matrix field!
We’ve used a convenient feature of the asset object returned by the custom field to generate a complete <img /> tag:
{{ featureImage.getImg() }}
If you would prefer to build the image element yourself, you can get the individual properties from the asset:
<img
  src="{{ featureImage.getUrl() }}"
  alt="{{ featureImage.alt }}"
  width="{{ featureImage.width }}"
  height="{{ featureImage.height }}" />
Note the use of featureImage.alt! Craft automatically adds this attribute when building the tag itself—but it will be empty unless you add the Alternative Text field layout element to the volume’s field layout (and populate it with a description of the image).
Refresh the page to see your changes:
Our sample image was pretty big, so it’s spilling off the page. This isn’t ideal, but it can be fixed with a bit of CSS—or with transforms. We’ll get to both of these solutions in a moment.
If the lack of styles makes it difficult to evaluate whether you are staying on track, jump ahead to the styling section, grab the CSS, and drop it in web/styles.css.
#Topics
Let’s add some more metadata to the top of our post. Our content model included a category field called Post Categories, which we can access in a really similar way to the feature image!
Just below the existing set tag, add another one to fetch the attached categories:
{% set featureImage = entry.featureImage.one() %}

{# Load attached topics: #}
{% set topics = entry.postCategories.all() %}
Because we’re allowing authors to attach multiple topics to a post, we’ve used .all() to fetch all of them, instead of just one. This is important, because we will treat topics (plural) a little bit differently from featureImage (singular).
Our annual conference DotAll (opens new window) is named after this method!
Just below the post title and <time> element, let’s add a new <ul> or “unordered list” element and output a list of categories:
<time datetime="{{ entry.postDate | atom }}">
  {{ entry.postDate | date }}
</time>

{% if topics | length %}
  <ul class="topics">
    {% for topic in topics %}
      <li>{{ topic.getLink() }}</li>
    {% endfor %}
  </ul>
{% endif %}
This introduces two control tags:
- An
{% if ... %}statement, that tests whether any categories are attached and prevents outputting an unnecessary<ul>element; - A
{% for ... %}loop, which (as we saw inindex.twig) lets us repeat a chunk of output for each item in a list;
Within the topics loop, we output an <li> element and use the category’s .getLink() method to generate an anchor tag (<a>) pointing to its URL. This is akin to the .getImg() method we used on the asset attached via our featureImage field.
Clicking any of the links to a topic will result in a similar error to the one we encountered prior to creating the post template. We’ll implement category pages at the same time as the blog landing page, because they’ll share a great deal of logic.
If you pasted this into templates/blog/_entry.twig and the indentation got messed up, select the new lines and press Tab to bump it in. Go too far? Shift + Tab will outdent it again. Command/Control + ] and Command/Control + [ can do the same thing.
#Post Content
Let’s output the post content stored in our Matrix field. This process starts in a familiar way:
- Load the nested entries via the
postContentfield handle and store them in a variable; - Loop over those entries with a
{% for %}tag; - Render different content based on the entries’ types, using an
{% if %}tag;
After the line that declares our topics variable, add a new set tag:
{% set topics = entry.postCategories.all() %}

{# Load content blocks: #}
{% set postContent = entry.postContent.all() %}
With the content loaded into a postContent variable, we can start outputting data for each block. Below the topics list and feature image, add a new for loop:
<div class="post-content">
  {% for contentBlock in postContent %}
    {# Memoize the block type’s handle so we can use it later: #}
    {% set blockType = contentBlock.type.handle %}

    {# Switch what is displayed based on the `type`: #}
    {% if blockType == 'text' %}
      <div class="content-block text">
        {{ contentBlock.text | md }}
      </div>
    {% elseif blockType == 'image' %}
      {% set image = contentBlock.image.one() %}

      <div class="content-block image">
        {{ image.getImg() }}
      </div>
    {% else %}
      <div class="content-block unsupported">
        <p>Unsupported block type: <code>{{ blockType }}</code></p>
      </div>
    {% endif %}
  {% else %}
    {# `for` tags also support an `else` block for when there’s no content! #}

    <div class="content-block empty">
      <p>This post has no content!</p>
    </div>
  {% endfor %}
</div>
Looking at the highlighted lines in this block of code…
- Our
forloop uses thepostContentvariable defined at the top of the template, and makes each nested entry available in turn ascontentBlock; - We capture the “type” of entry in a variable named
blockTypeso we can compare against it later; - The
if,elseif, andelsetags test the value ofblockTypeeach time through the loop and render different parts of the template; - “Image” blocks contain an asset field that can be used exactly the same way as the
featureImagefield is on the main entry; - An
elsetag is used to provide some debugging information for us—but it will only show up if we’ve gotten our block type handles mixed up; - A final
elsetag actually belongs to the mainforloop, and allows us to output a message when there are no blocks to display;
This is right about where the complexity of field data peaks, for modest websites—so don’t worry if it’s a bit overwhelming! We’ve still got a few more things to implement, and will return to most of these concepts a couple of times before sending you on your way.
How could we add a new Quote block type?
Back in the control panel:
- Visit
- Settings
- Fields
- Post Content
- In the Entry Types selector, click + Create;
- Name the new entry type “Quote”, and give it a handle of
quote; - Add our plain text field (Text) to its field layout, leaving the name and label as-is;
- Save the entry type;
At this point, return to one of your blog entries’s edit screens, and add a Quote block to the Post Content matrix field. Reload that post’s page in the front-end, and you should see something like this:
Unsupported block type:
quote
In templates/blog/_entry.twig, add a new elseif comparison tag in the content block loop that tests against the new block type’s handle (quote):
  {# ... #}
{% elseif blockType == 'quote' %}
  <div class="content-block quote">
    <blockquote>{{ contentBlock.text | md }}</blockquote>
  </div>
{% else %} {# This `else` tag already exists, and is what outputs our “unsupported” message. #}
  {# ... #}
This process can be repeated for however many block types you want!
Did you install CKEditor when creating the Post Content field? You can do without the | md filter when outputting contentBlock.text.
#Listing Posts
We’ve set up individual pages for our posts, but there’s no way to discover them from the front-end. We’ll address this with two new templates:
- A blog index page for all posts;
- A topic index template that filters posts by category;
#Blog Index
Our blog’s landing page will live at https://tutorial.ddev.site/blog, and display all posts, in chronological order. This page doesn’t need a corresponding entry in the control panel, because we’ll be naming the template such that Craft’s routing behavior makes it directly accessible.
Create a new template at templates/blog/index.twig, with the following content:
{% extends '_layout' %}

{% set posts = craft.entries().section('blog').all() %}

{% block content %}
  <h1>Blog</h1>

  {% for post in posts %}
    {% set image = post.featureImage.one() %}

    <article>
      {% if image %}
        <div class="thumbnail">
          {{ image.getImg() }}
        </div>
      {% endif %}

      <h2>{{ post.title }}</h2>

      <time datetime="{{ post.postDate | atom }}">{{ post.postDate | date }}</time>

      {{ post.summary | md }}

      <a href="{{ post.url }}">Continue Reading</a>
    </article>
  {% endfor %}
{% endblock %}
In your browser, navigate to https://tutorial.ddev.site/blog, and verify you see all the posts you created via the control panel!
Notice that this template makes no reference to an entry variable. This is because it won’t be rendered based on an element’s URI format—Craft is just matching the request to /blog with a template.
That doesn’t mean we can’t access our content, though! The first highlighted line uses what’s called an element query. Element queries are different from the automatically-injected entry variable: instead of containing a specific entry object, they define some parameters for loading one or more entries from the database.
Element queries are designed to be written and read in relatively plain language. Let’s break this one down:
craftis a global variable that collects a number of functions and features;.entries()creates a new element query with specific functionality for fetching entries;.section()configures that query to select only entries from the passed section(s);.all()executes the query and returns all matching entries;
Most element queries will have steps 1 and 4 in common, but steps 2 and 3 are specific to our need to fetch entries in a particular section. We’ll have a chance to use some more element query features in the next step!
Craft sorts entries by their postDate (newest to oldest), by default.
#Topic Pages
Now that our blog index displays a list of posts, let’s implement the topic index pages. Much of the display logic will remain consistent between them, so this template will look pretty familiar.
Create templates/blog/_topic.twig (the path we defined when setting up the Category Group) and add the following:
{% extends '_layout' %}

{% set posts = craft.entries().section('blog').postCategories(category).all() %}

{% block content %}
  <h1>Topic: {{ category.title }}</h1>

  {% for post in posts %}
    {% set image = post.featureImage.one() %}

    <article>
      {% if image %}
        <div class="thumbnail">
          {{ image.getImg() }}
        </div>
      {% endif %}

      <h2>{{ post.title }}</h2>

      <time datetime="{{ post.postDate | atom }}">{{ post.postDate | date }}</time>

      {{ post.summary | md }}

      <a href="{{ post.url }}">Continue Reading</a>
    </article>
  {% endfor %}
{% endblock %}
From the blog index, click through to one of your posts, then click the topic link at the top. You should land on a topic index page:
Like the blog index, we get a list of posts that each link out to their individual pages.
Unlike the blog index, our topic template automatically has access to a category variable. This is because every topic page is backed by a category element, just like our post entries. It’s still up to us, though, to decide what other data should be displayed—and to fetch it with element queries.
We’ve used the category variable in a new entry query, near the top of the template:
{% set posts = craft.entries().section('blog').postCategories(category).all() %}
When we set up the Post Categories field, Craft added a corresponding postCategories() method to all element queries that we can use to filter results by category. Craft’s understanding of our content model is also why we can access the attached categories via entry.postCategories in our individual post template! This functionality is present for all custom fields—but the kinds of values they return (or expect) will differ based on the type of field.
#Summary
Let’s take a moment to review some key takeaways from our first few templates.
#Twig Features
Our templates included examples of working with…
- Tags:
set,if,for, etc; - Filters:
date,length,md, etc; - Variables:
entry,category,craft, and others that we created;
…as well as a number of other language constructs that allowed us to access Craft features:
- Custom fields (
entry.featureImage,contentBlock.text, orpost.summary); - Element queries (like
craft.entries()); - Asset/category/entry methods (like
getImg()andgetLink());
Psst! There’s one more big Twig feature that we’ll look at in the optimizations section.
#Routing
We used three key routing tools:
- Directly-accessible static files (
styles.css); - Rendered templates (
blog/index.twig); - Content-driven element URIs (
blog/_entry.twigandblog/_topic.twig);
#Data
We saw a number of different ways to gather and display data from Craft:
- Via global variables (
now,siteName, etc.); - Via properties on magic template variables (
entryandcategory); - Looping over results of a query that used fixed criteria (blog index);
- Looping over results of a query that used dynamic criteria (topic index);
