Extra Templates
Now that we’ve scaffolded our core blog templates, we can turn to some ancillary features. If you have your own ideas, or want to continue tinkering with the Blog section, go for it! This section is mostly an opportunity to practice using tools you’ve already seen.
#About Page
Our original content plan included an “About” page, which we’ll set up as another section. Back in the control panel:
- Navigate to
- Settings
- Sections
- Click + New section;
- Provide these settings:
- Name: “About”
- Handle:
about - Section Type: Single
- URI:
about - Template:
_singles/about
- In the Entry Types selector, click + Create, and use these settings:
- Name: “About”
- Handle:
about - Show the Title field, Show the Slug field, and Show the Status field: Off
- Add the base Image field to the Content tab in the field layout designer, and apply these overrides:
- Label: “Profile Image”
- Handle:
profileImage - Optional: Enable the Use for element thumbnails in the field layout element’s action menu ;
- Add the base Text field to the Content tab in the field layout designer, with these overrides:
- Label: “Bio”
- Handle:
bio
- Save the entry type and section;
With that, our new page is configured! Let’s head over to Entries → Singles, then click About to add some content.
#Template
Create templates/_singles/about.twig (the Template path we used when setting up the section) and add the following to it:
{% extends '_layout' %}

{% set profileImage = entry.profileImage.one() %}

{% block content %}
  <h1>{{ entry.title }}</h1>

  <div class="about">
    {% if profileImage %}
      <div class="photo">
        {{ profileImage.getImg() }}
      </div>
    {% endif %}

    <div class="bio">
      {{ entry.bio | md }}
    </div>
  </div>
{% endblock %}
This template builds upon features we’ve already seen in other places—layouts, element queries, if tags, and filters. We’ve interspersed a few class attributes in the HTML so that we can come back and target it with CSS, later.
Navigate to /about (the About section’s URI) in the front-end—you should see our page’s title and the profile image we uploaded:
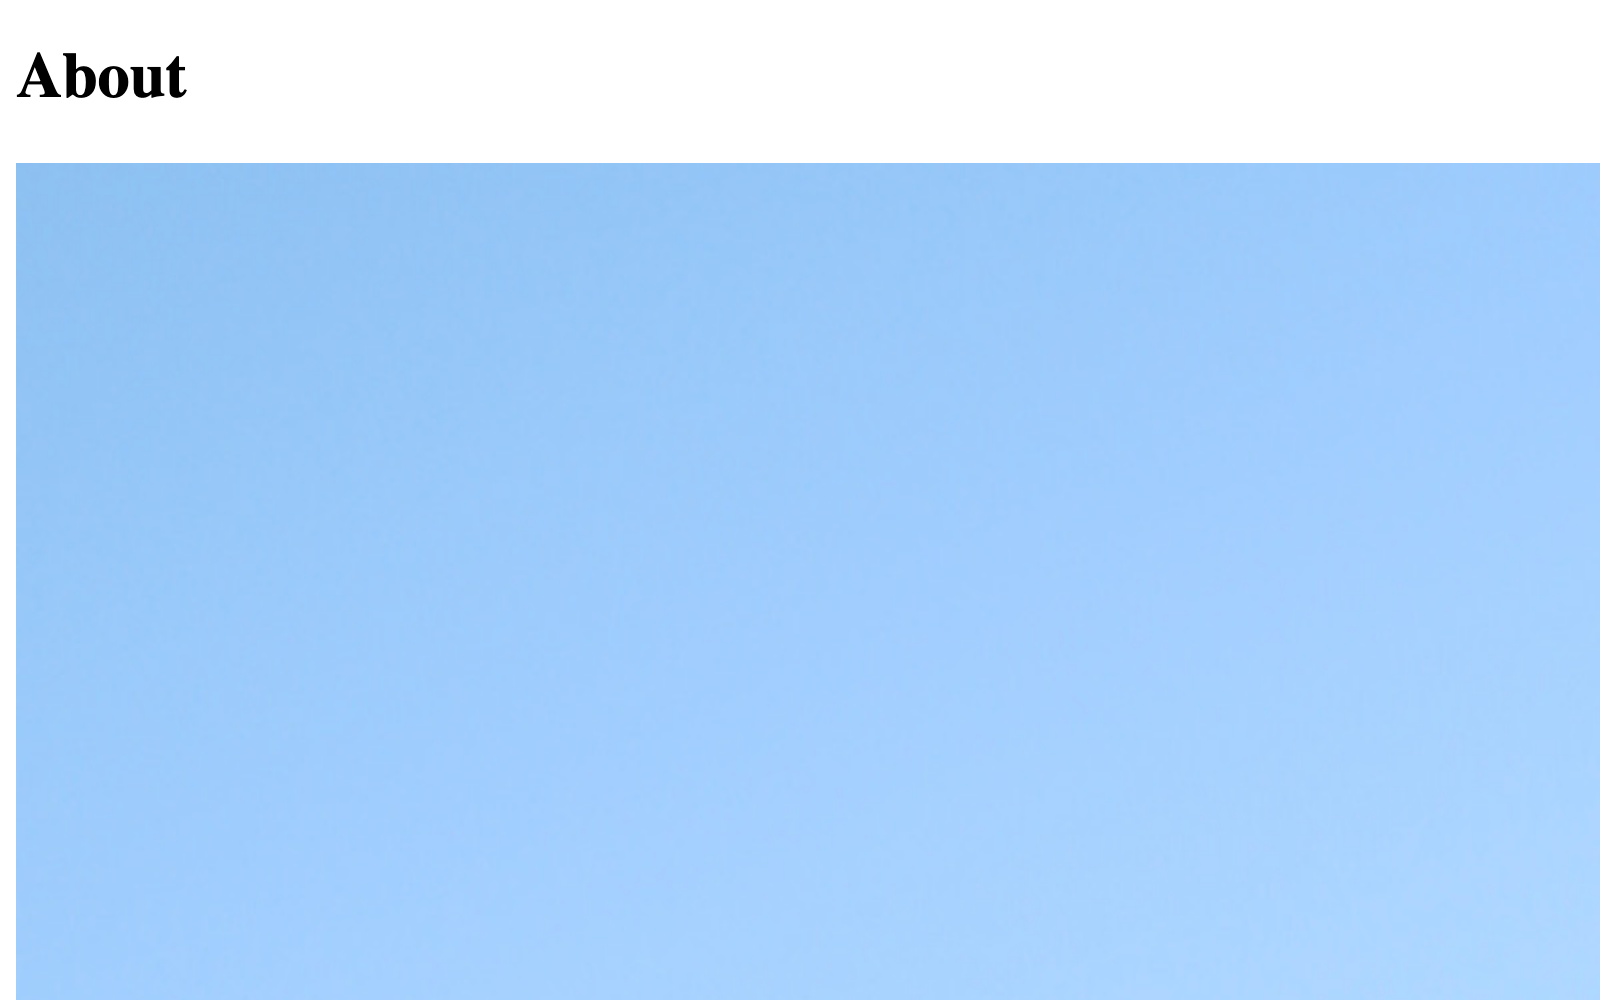
These big images really are a hassle! We’ll look at Craft’s built-in tools for transforming images in the optimization section.
#Global Features
Our site is taking shape, but it’s difficult to move from page-to-page, outside of the blog.
#Page Structure
Our pages’ content is currently output directly into the <body> element, but it would be nice to have a bit more structure—and carve out some space for a header and footer.
Back in templates/_layout.twig, make these updates:
<!DOCTYPE html>
<html lang="{{ craft.app.language }}">
<head>
<meta charset="utf-8"/>
<title>{{ siteName }}</title>
<meta content="width=device-width, initial-scale=1.0" name="viewport">
{% do craft.app.view.registerCssFile('@web/styles.css') %}
</head>
<body>
<header>
<a class="home" href="{{ siteUrl }}">{{ siteName }}</a>
</header>
<main>
{% block content %}
{# Nothing here, yet! #}
{% endblock %}
</main>
<footer>
<div class="copyright">©{{ now | date('Y') }} {{ siteName }}</div>
<div class="colophon">Built with <a href="https://craftcms.com/" target="_blank">Craft CMS</a></div>
</footer>
</body>
</html>
This small change gives our content a dedicated region, and separates it from any global features we might add… like navigation!
#Navigation
The new <header> region is a great place to put a globally-available menu. Just below the anchor tag (<a>), add a new <nav> element:
<a class="home" href="{{ siteUrl }}">{{ siteName }}</a>

<nav>
  <ul>
    <li>
      <a href="{{ url('/') }}">Home</a>
    </li>
    <li>
      <a href="{{ url('blog') }}">Blog</a>
    </li>
    <li>
      <a href="{{ url('about') }}">About</a>
    </li>
  </ul>
</nav>
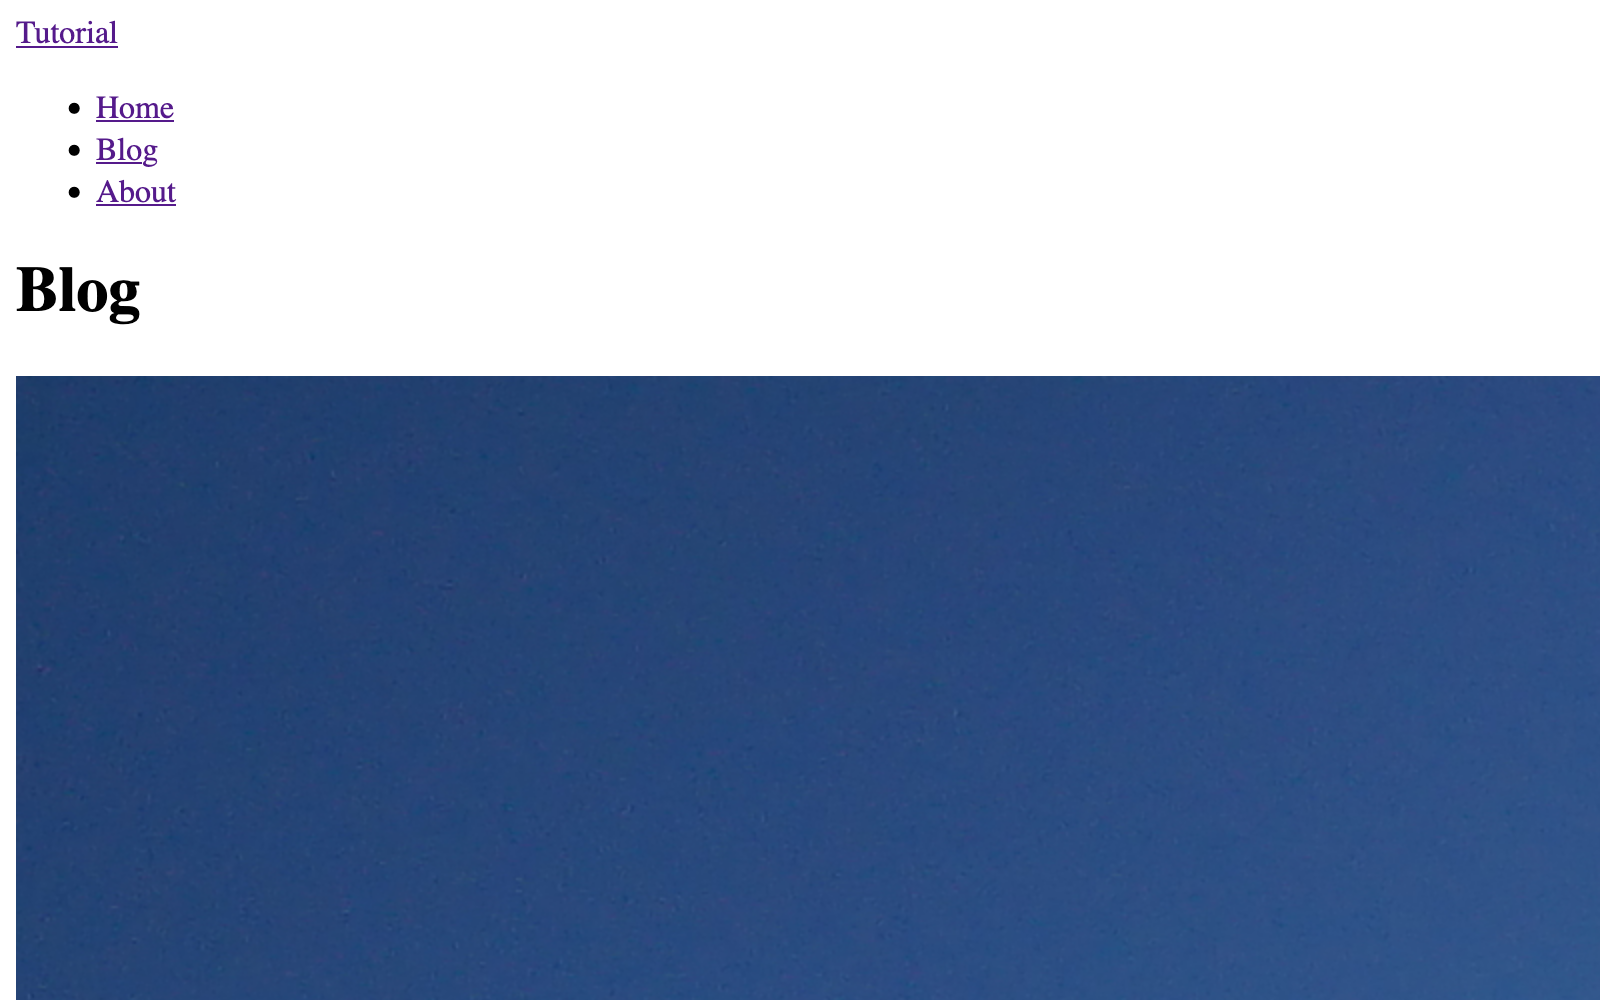
What a relief—we can finally click around the site, and every page that extends _layout.twig gets our centrally-defined menu without any additional work!
#Footer
The updates above included a couple of items in the footer, but it’s worth taking a moment to make this space even more useful.
#Global Sets
Global sets are Craft’s way of storing a data that should be accessible everywhere in our templates. They function almost exactly like the Single section we defined for the About page, except that global sets don’t get their own URLs.
In the control panel, navigate to
- Settings
- Globals
- Click + New global set;
- Name the set Site Info and use
siteInfofor the handle; - Click + New Tab in the field layout designer, and name it Settings, Content, or something else generic (when there’s only a single tab, Craft will hide the UI for it—but its name can’t be empty);
- Drag in the base Text field, and override these settings:
- Label: “Description”
- Handle:
description
- Click Save or press Ctrl/Command + S;
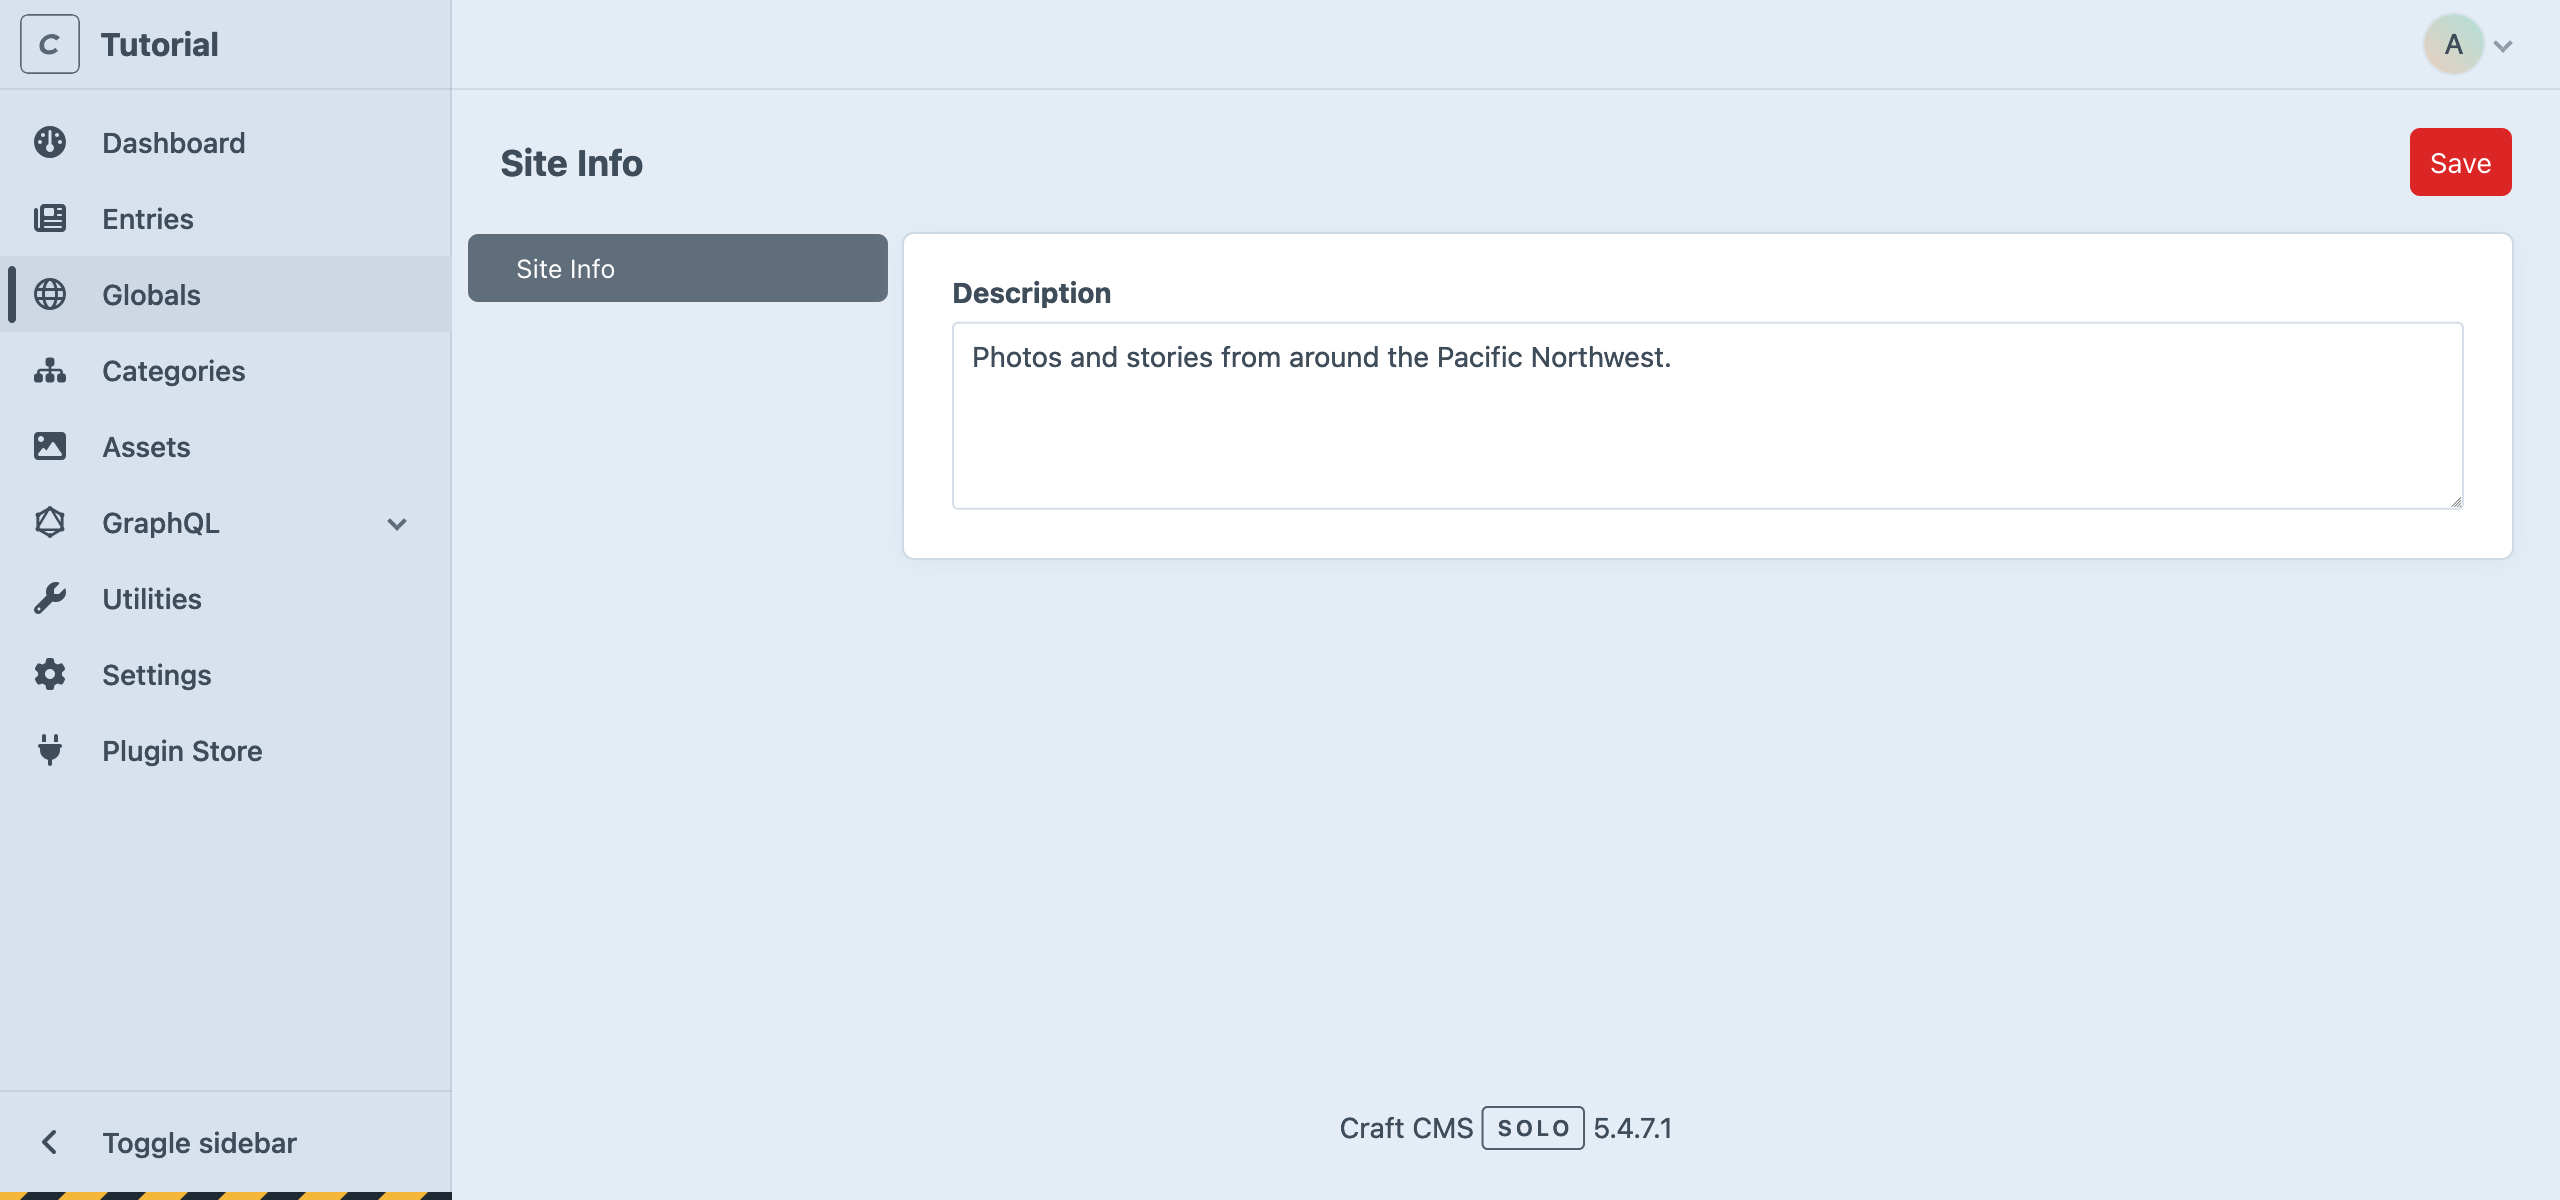
A new Globals item should appear in the main navigation. Click that, populate the Description field, and save it:
Back in templates/_layout.twig, output that blurb in the footer:
<footer>
<div class="description">
{{ siteInfo.description | md }}
</div>
<div class="copyright">©{{ now | date('Y') }} {{ siteName }}</div>
<div class="colophon">Built with <a href="https://craftcms.com/" target="_blank">Craft CMS</a></div>
</footer>
Craft makes the siteInfo variable available on every page and in every template, so its fields are always within reach.
Let’s put HTML aside for a moment and get some styles applied!