MailHog
Nitro comes with an easy way to set up and configure MailHog for local email testing. To enable MailHog, run the following command:
#Enabling MailHog
To enable MailHog in Nitro, run the following command:
nitro enable mailhog
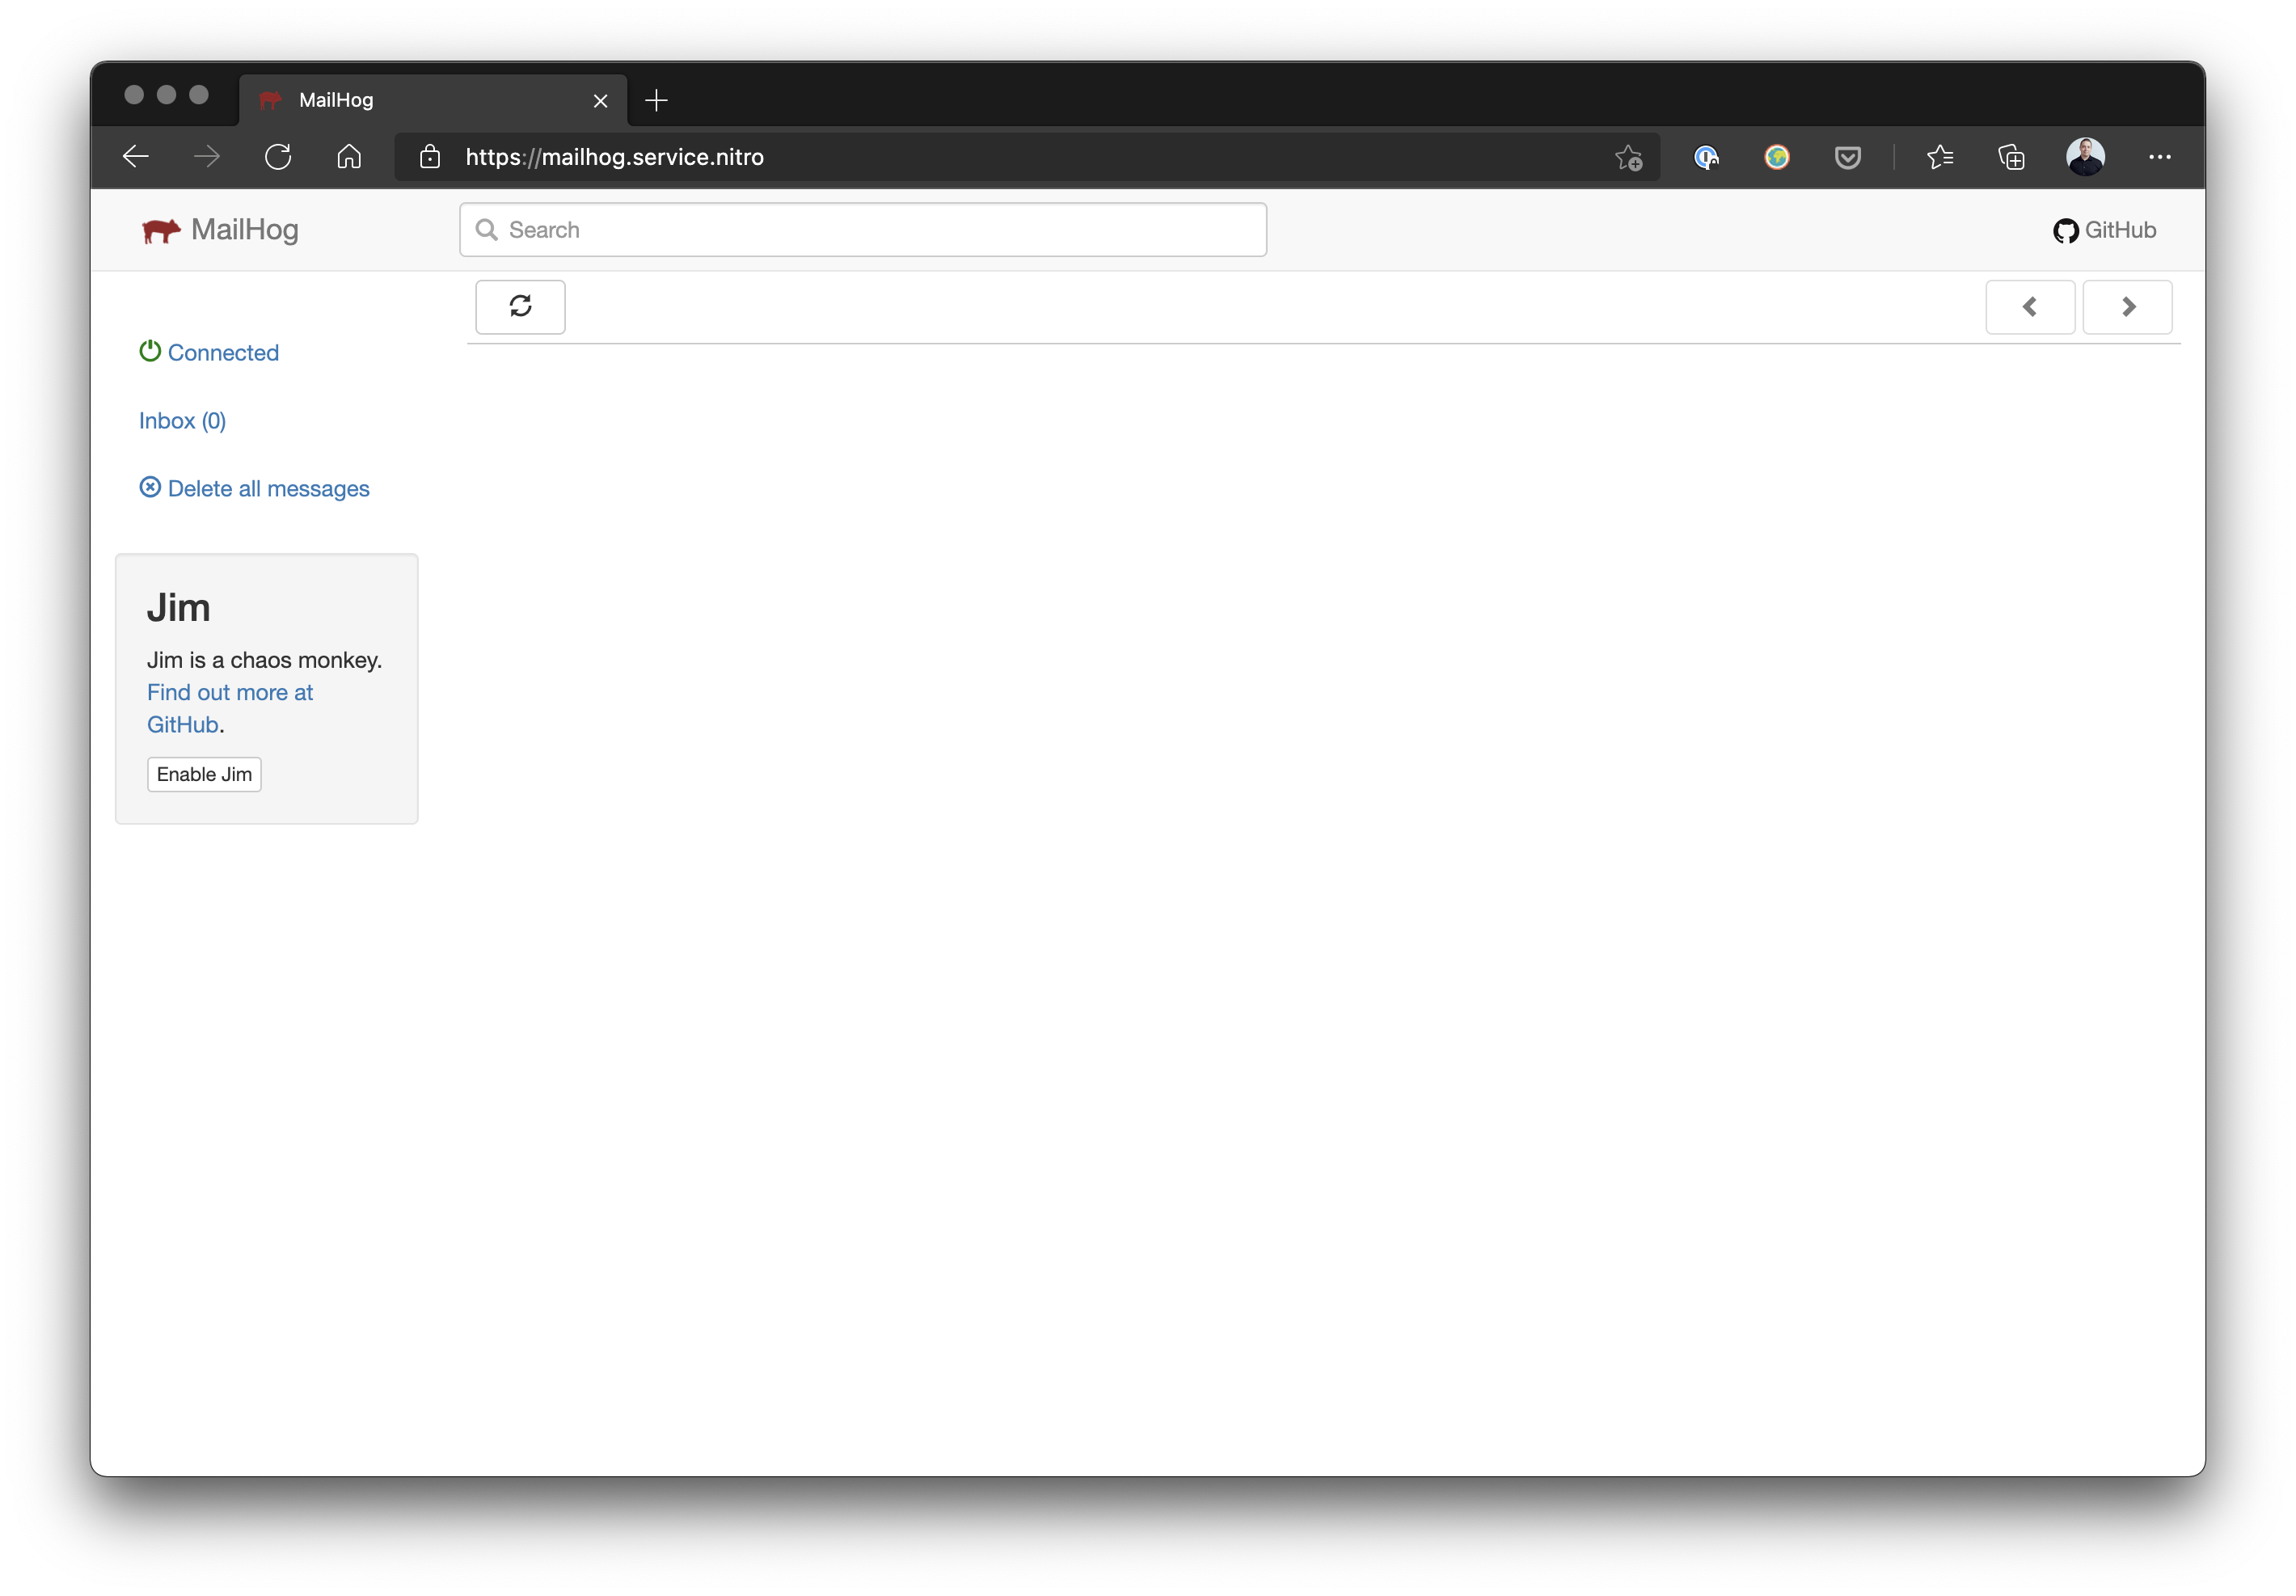
Nitro will then prompt you to nitro apply the changes. After the changes have been applied the MailHog web UI will be available at https://mailhog.service.nitro (opens new window).
#Using MailHog
MailHog’s ready to be used once it’s running, but it doesn’t change any of your mail settings by default. You can tell Craft or any app to send mail using MailHog’s SMTP settings.
From the Craft control panel, visit Settings → Email and enter the following:
- Transport Type:
SMTP - Host Name:
mailhog.service.nitro - Port:
1025 - Use Authentication: Unchecked (default)
- Encryption Method:
None(default) - Timeout:
10(default)
Note: The SMTP port 1025 will always be the port to use even if you override the default SMTP port using an environment variable.
#Disabling MailHog
Removing MailHog is as simple as enabling the service. Simply run nitro disable mailhog and apply the changes. The MailHog service will be removed from Nitro and your hosts file.
#Overiding MailHog Default Ports
Make sure the MailHog service is not enabled before overriding the variables.
By default, MailHog uses port 1025 for SMTP and 8025 for the Web UI. These ports may collide with another service on your machine so Nitro includes an easy way to overide the ports. You can set the following environment variables in your terminal shell to override the defaults.
NITRO_MAILHOG_SMTP_PORT
NITRO_MAILHOG_HTTP_PORT
Change these ports only affects the ports on the host machine (aka 127.0.0.1:port) and does not change the internal port used to connect to MailHog from a Craft installation/container.