Control Panel Tour
You should have three project windows up, at this point:
- A terminal, which we used to install DDEV and Craft;
- An editor, open to your project folder;
- A browser, with Craft’s default welcome page loaded;
#Signing In
You can reach the control panel in a few ways:
- Add
/adminto tutorial project’s URL in your browser; - Enter
ddev launch adminin your terminal to open a second browser; - Click the Go to your control panel → link from the welcome screen;
Because this is the first time accessing the control panel, you will be greeted with a login screen:
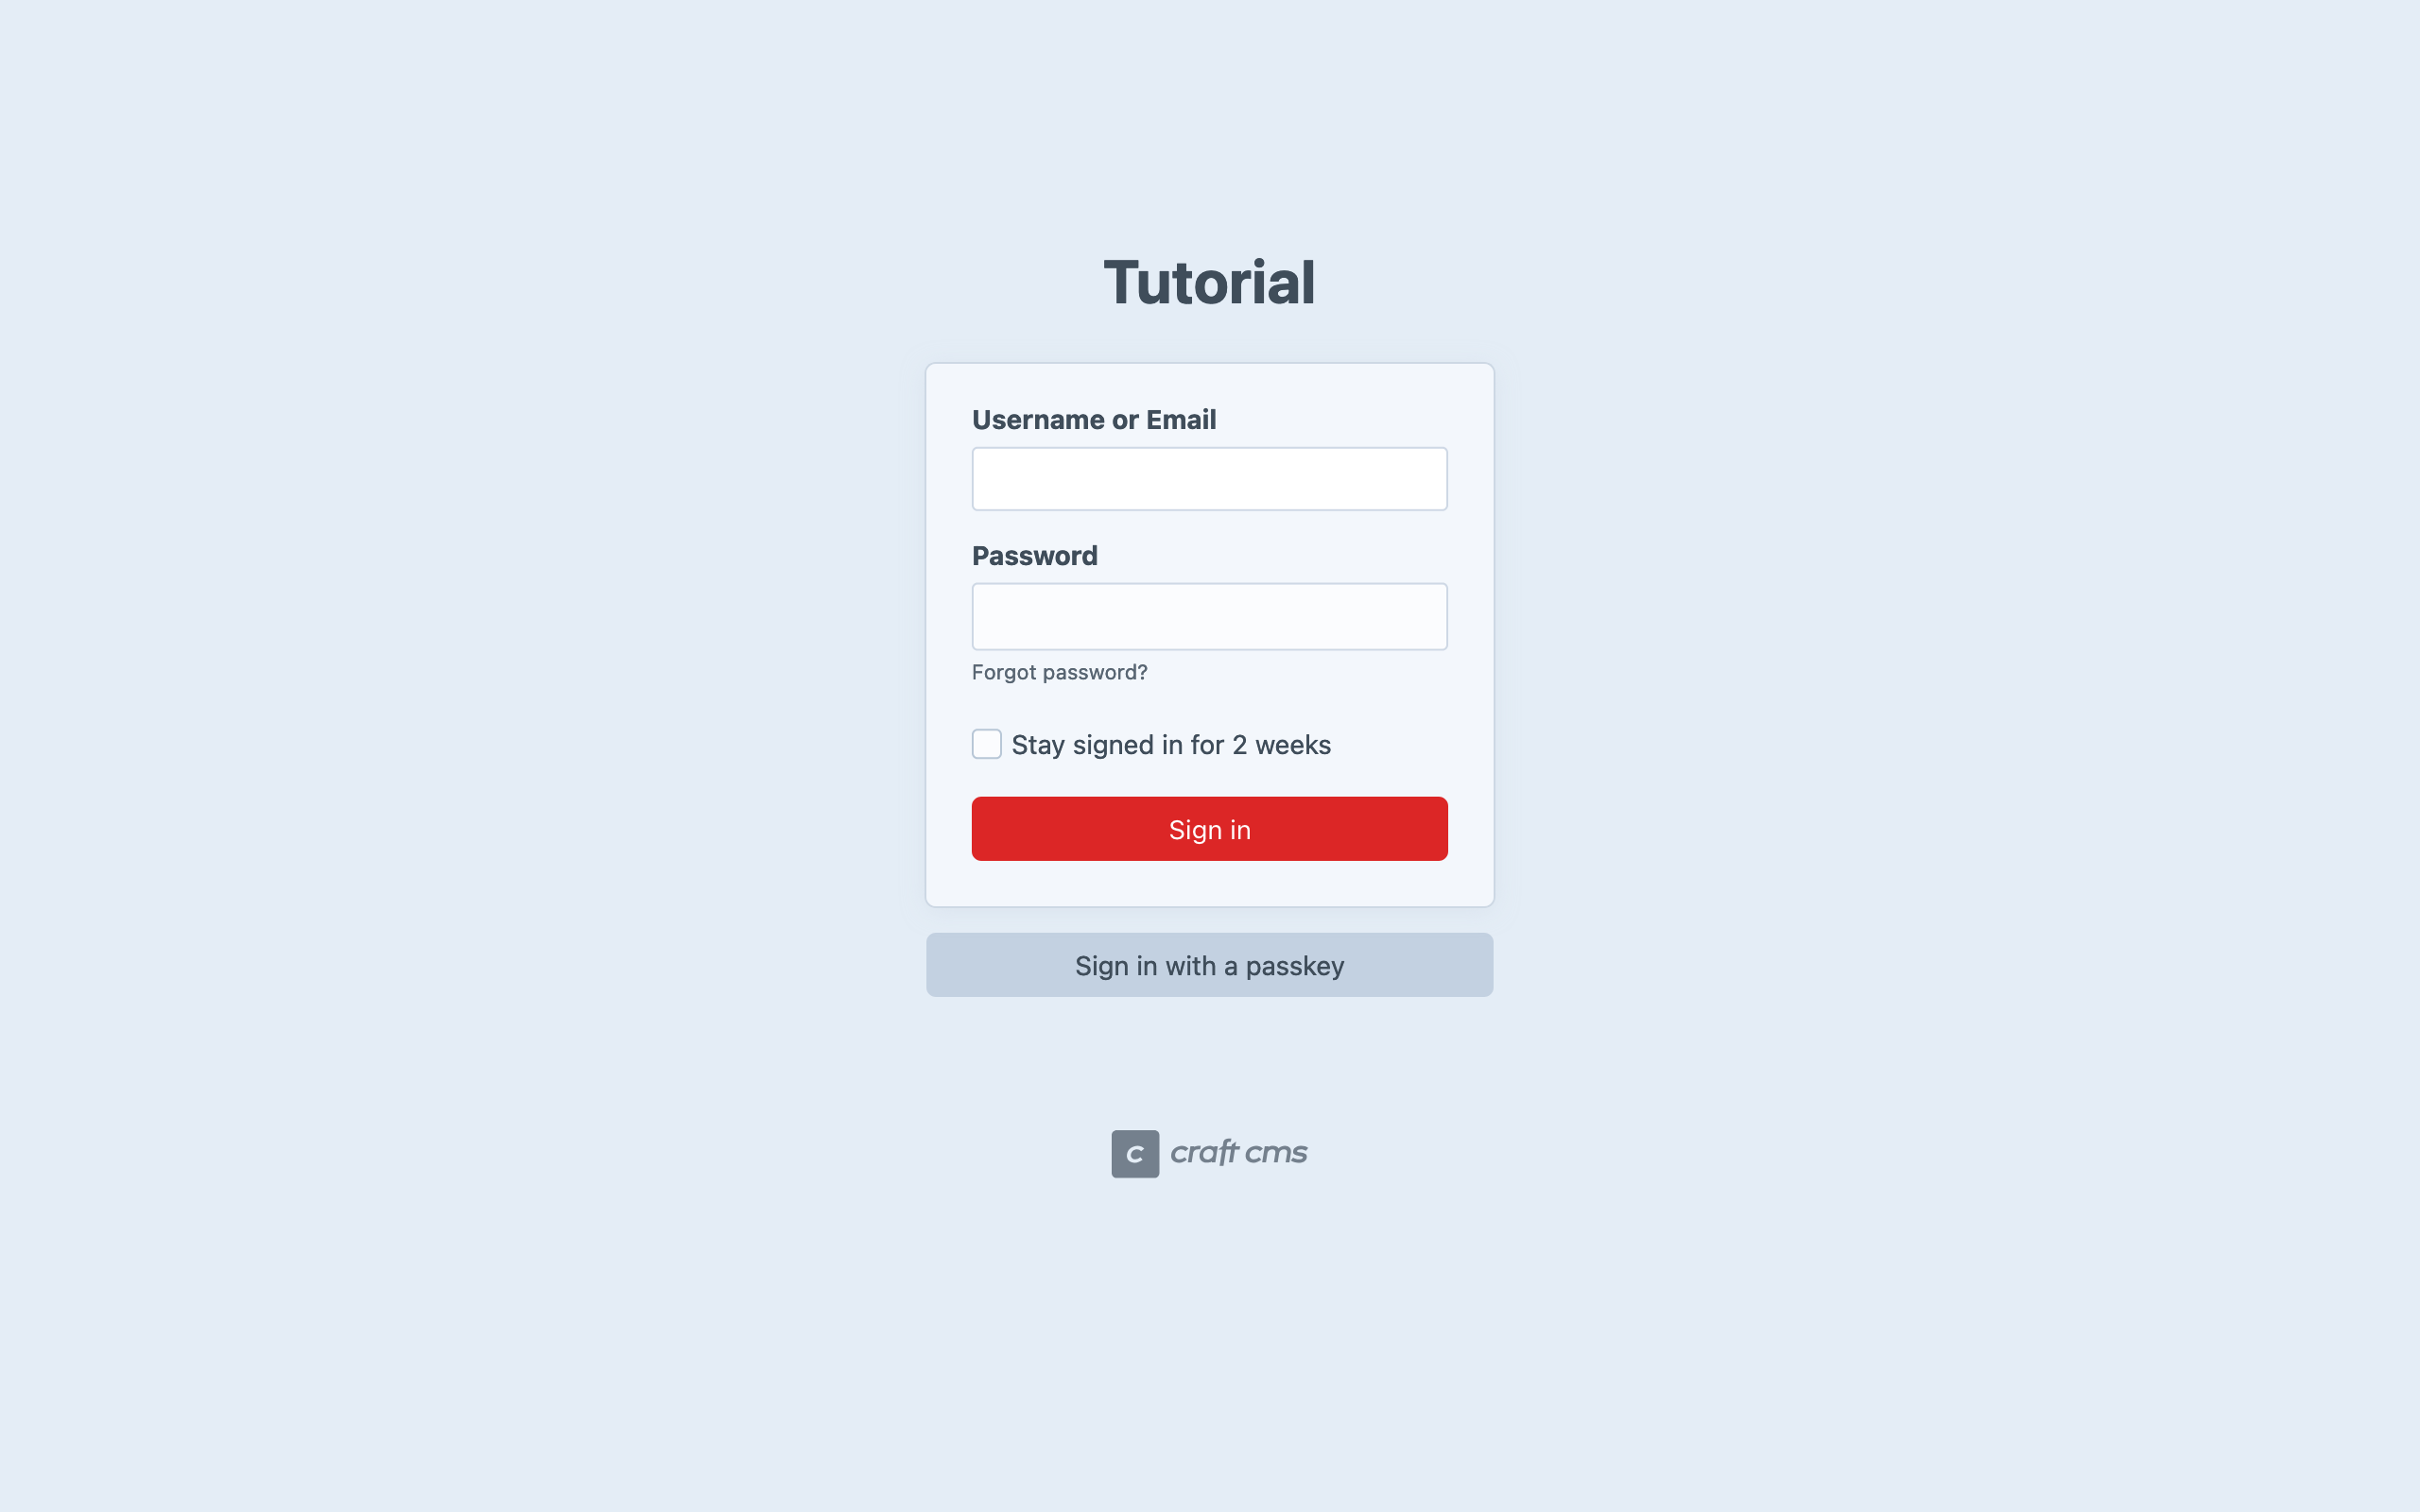
Enter the username and password you provided during installation, then click Sign In.
Forgot to write down your credentials? No problem—just run this command in your terminal:
ddev craft users/set-password me@domain.com
me@domain.com should be the email or username you provided during setup. If you lost track of both of those values, try 1—that will always be the ID of the first user.
#Dashboard
Upon signing in, you will be sent to your Dashboard, a space you can customize with widgets.
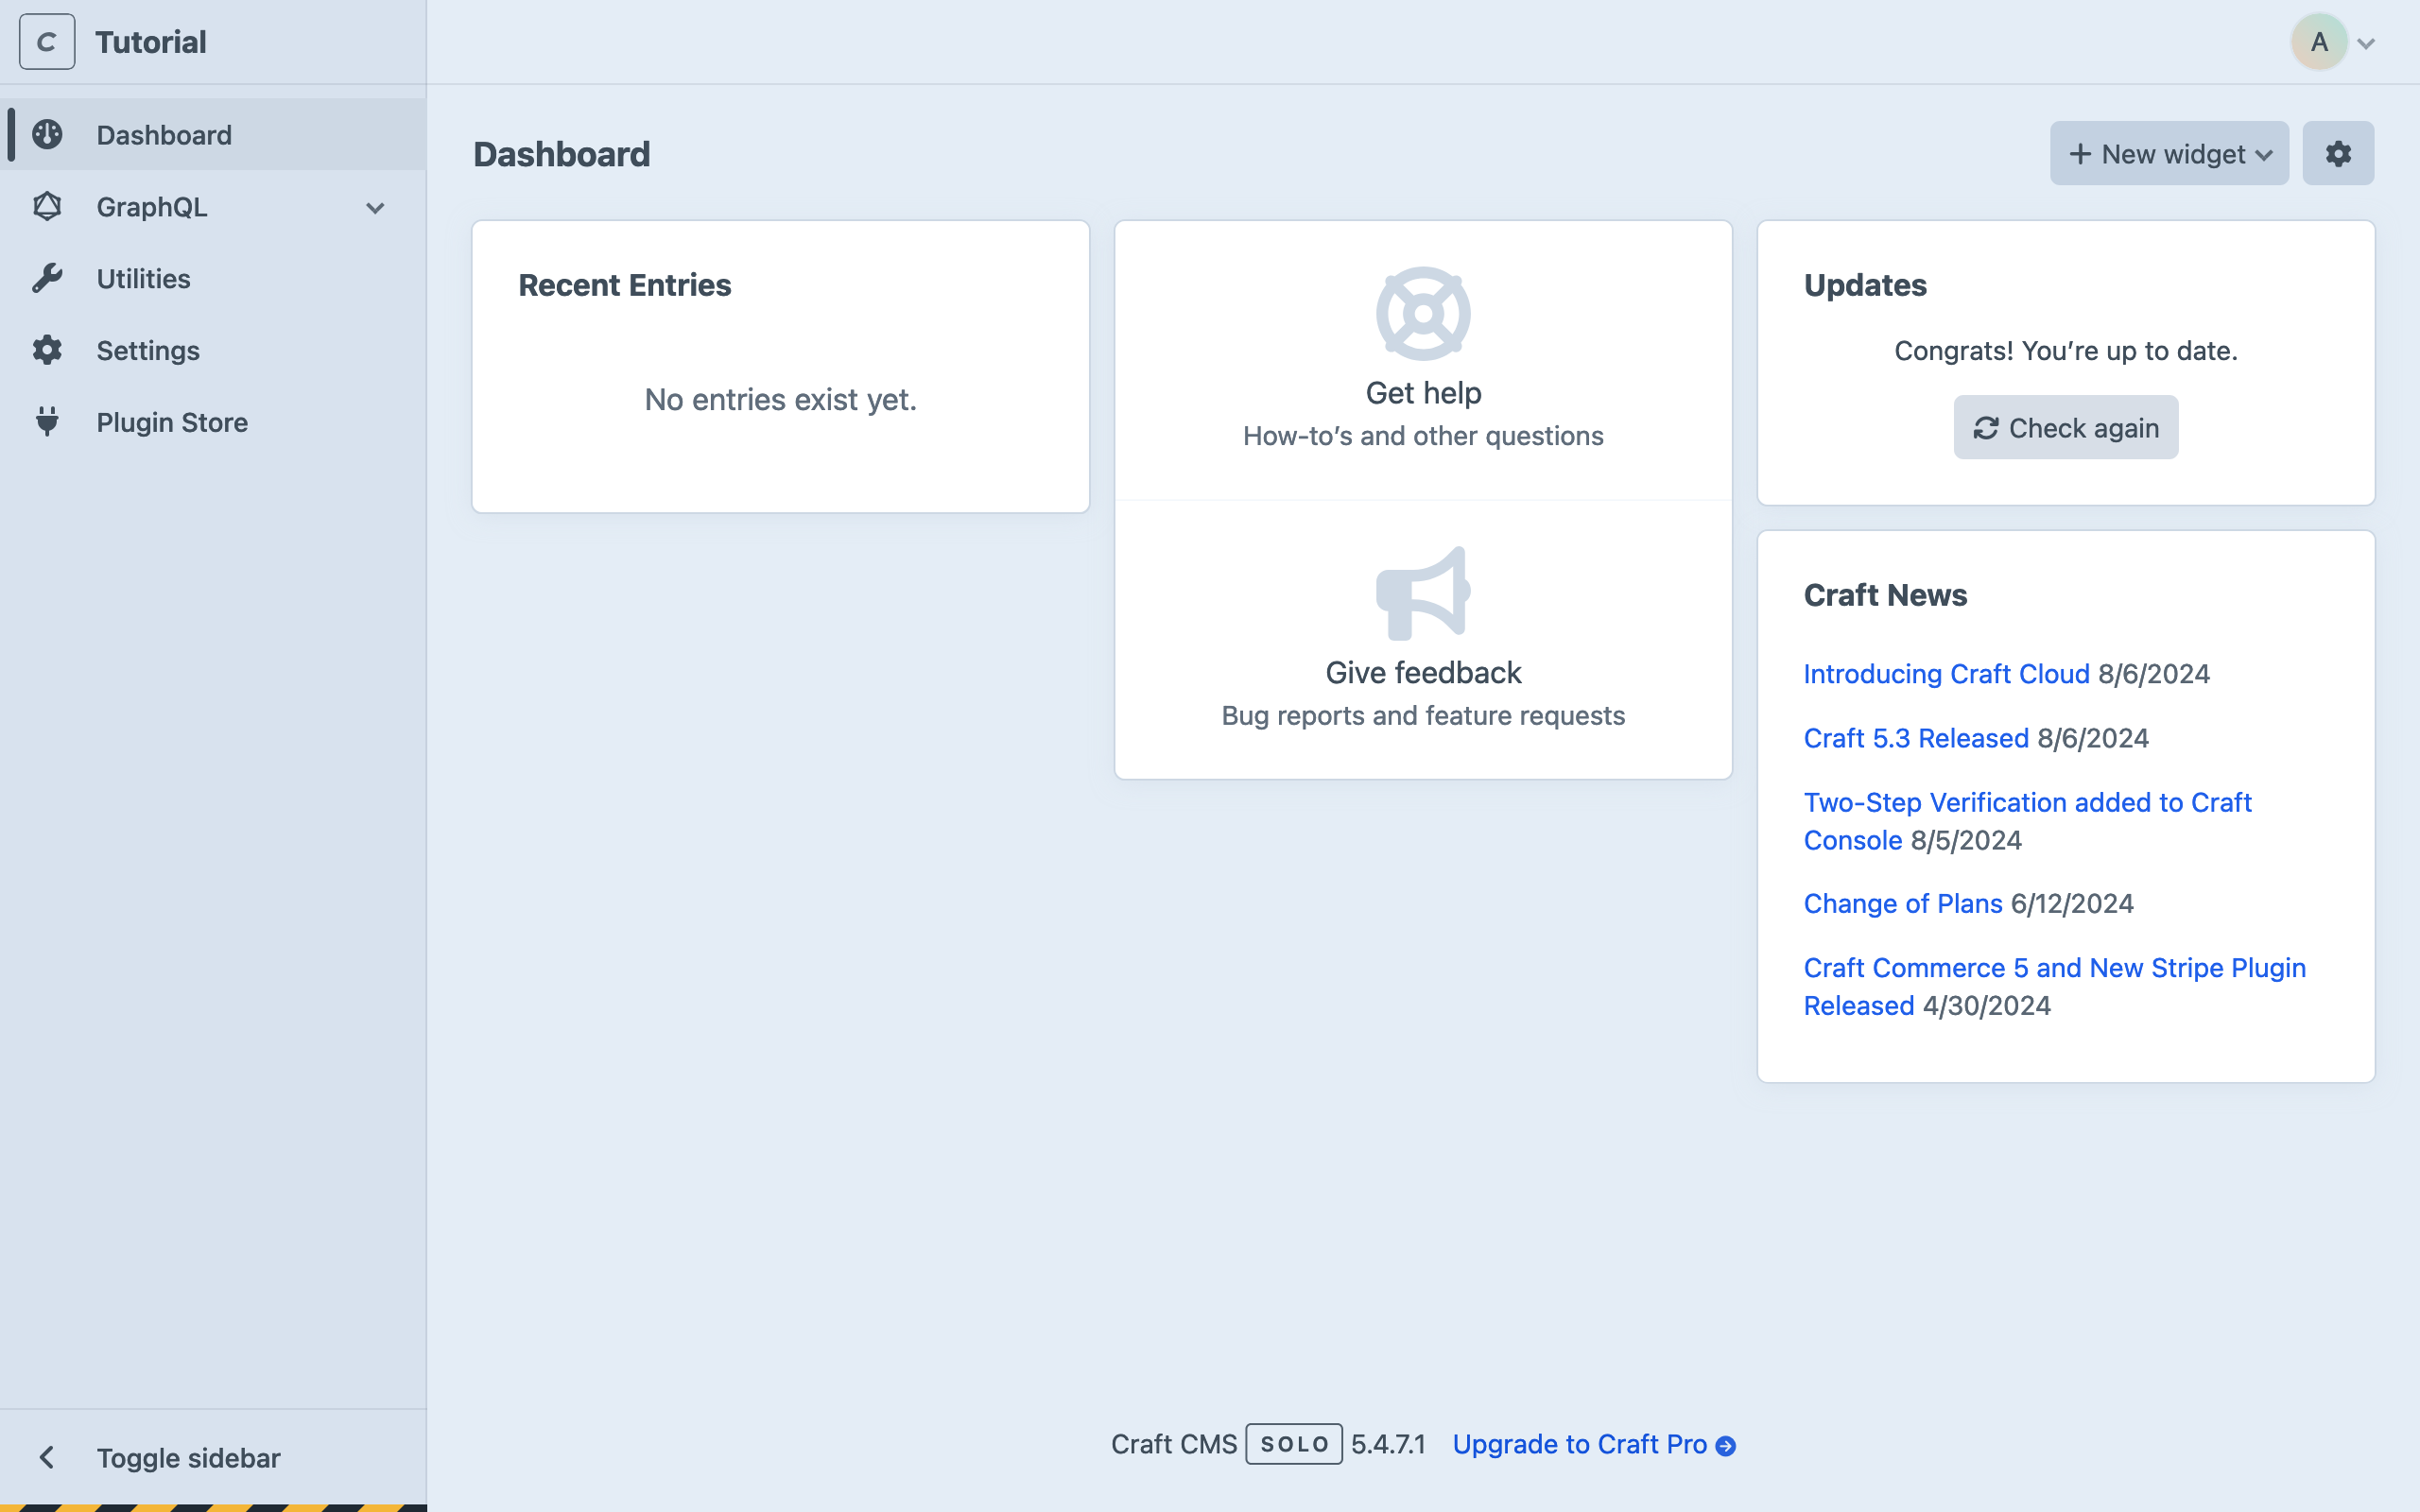
Craft adds four widgets by default:
- Recent Entries: Empty, as we haven’t created any content yet.
- Craft Support: Find help in the community, or get official support.
- Updates: Check for Craft and plugin updates.
- Feed: An RSS widget, set to display the latest posts from the official Craft blog.
In the upper right corner, the account menu gives you access to your user’s settings, and a link to sign out.
Craft’s edition (Solo) and current version number appear at the bottom.
The main navigation appears in the sidebar. If your browser is narrow, you may need to use the “hamburger” icon in the upper-left corner to expand the main navigation.
If the control panel looks a little empty right now, don’t worry; this is by design! Craft is a blank slate—new projects don’t presuppose anything about your content model. You will designing all of your own content tools.
#Utilities
In the main navigation, click Utilities. By default, you’ll land on the System Report utility, which displays key details about your Craft installation and server:
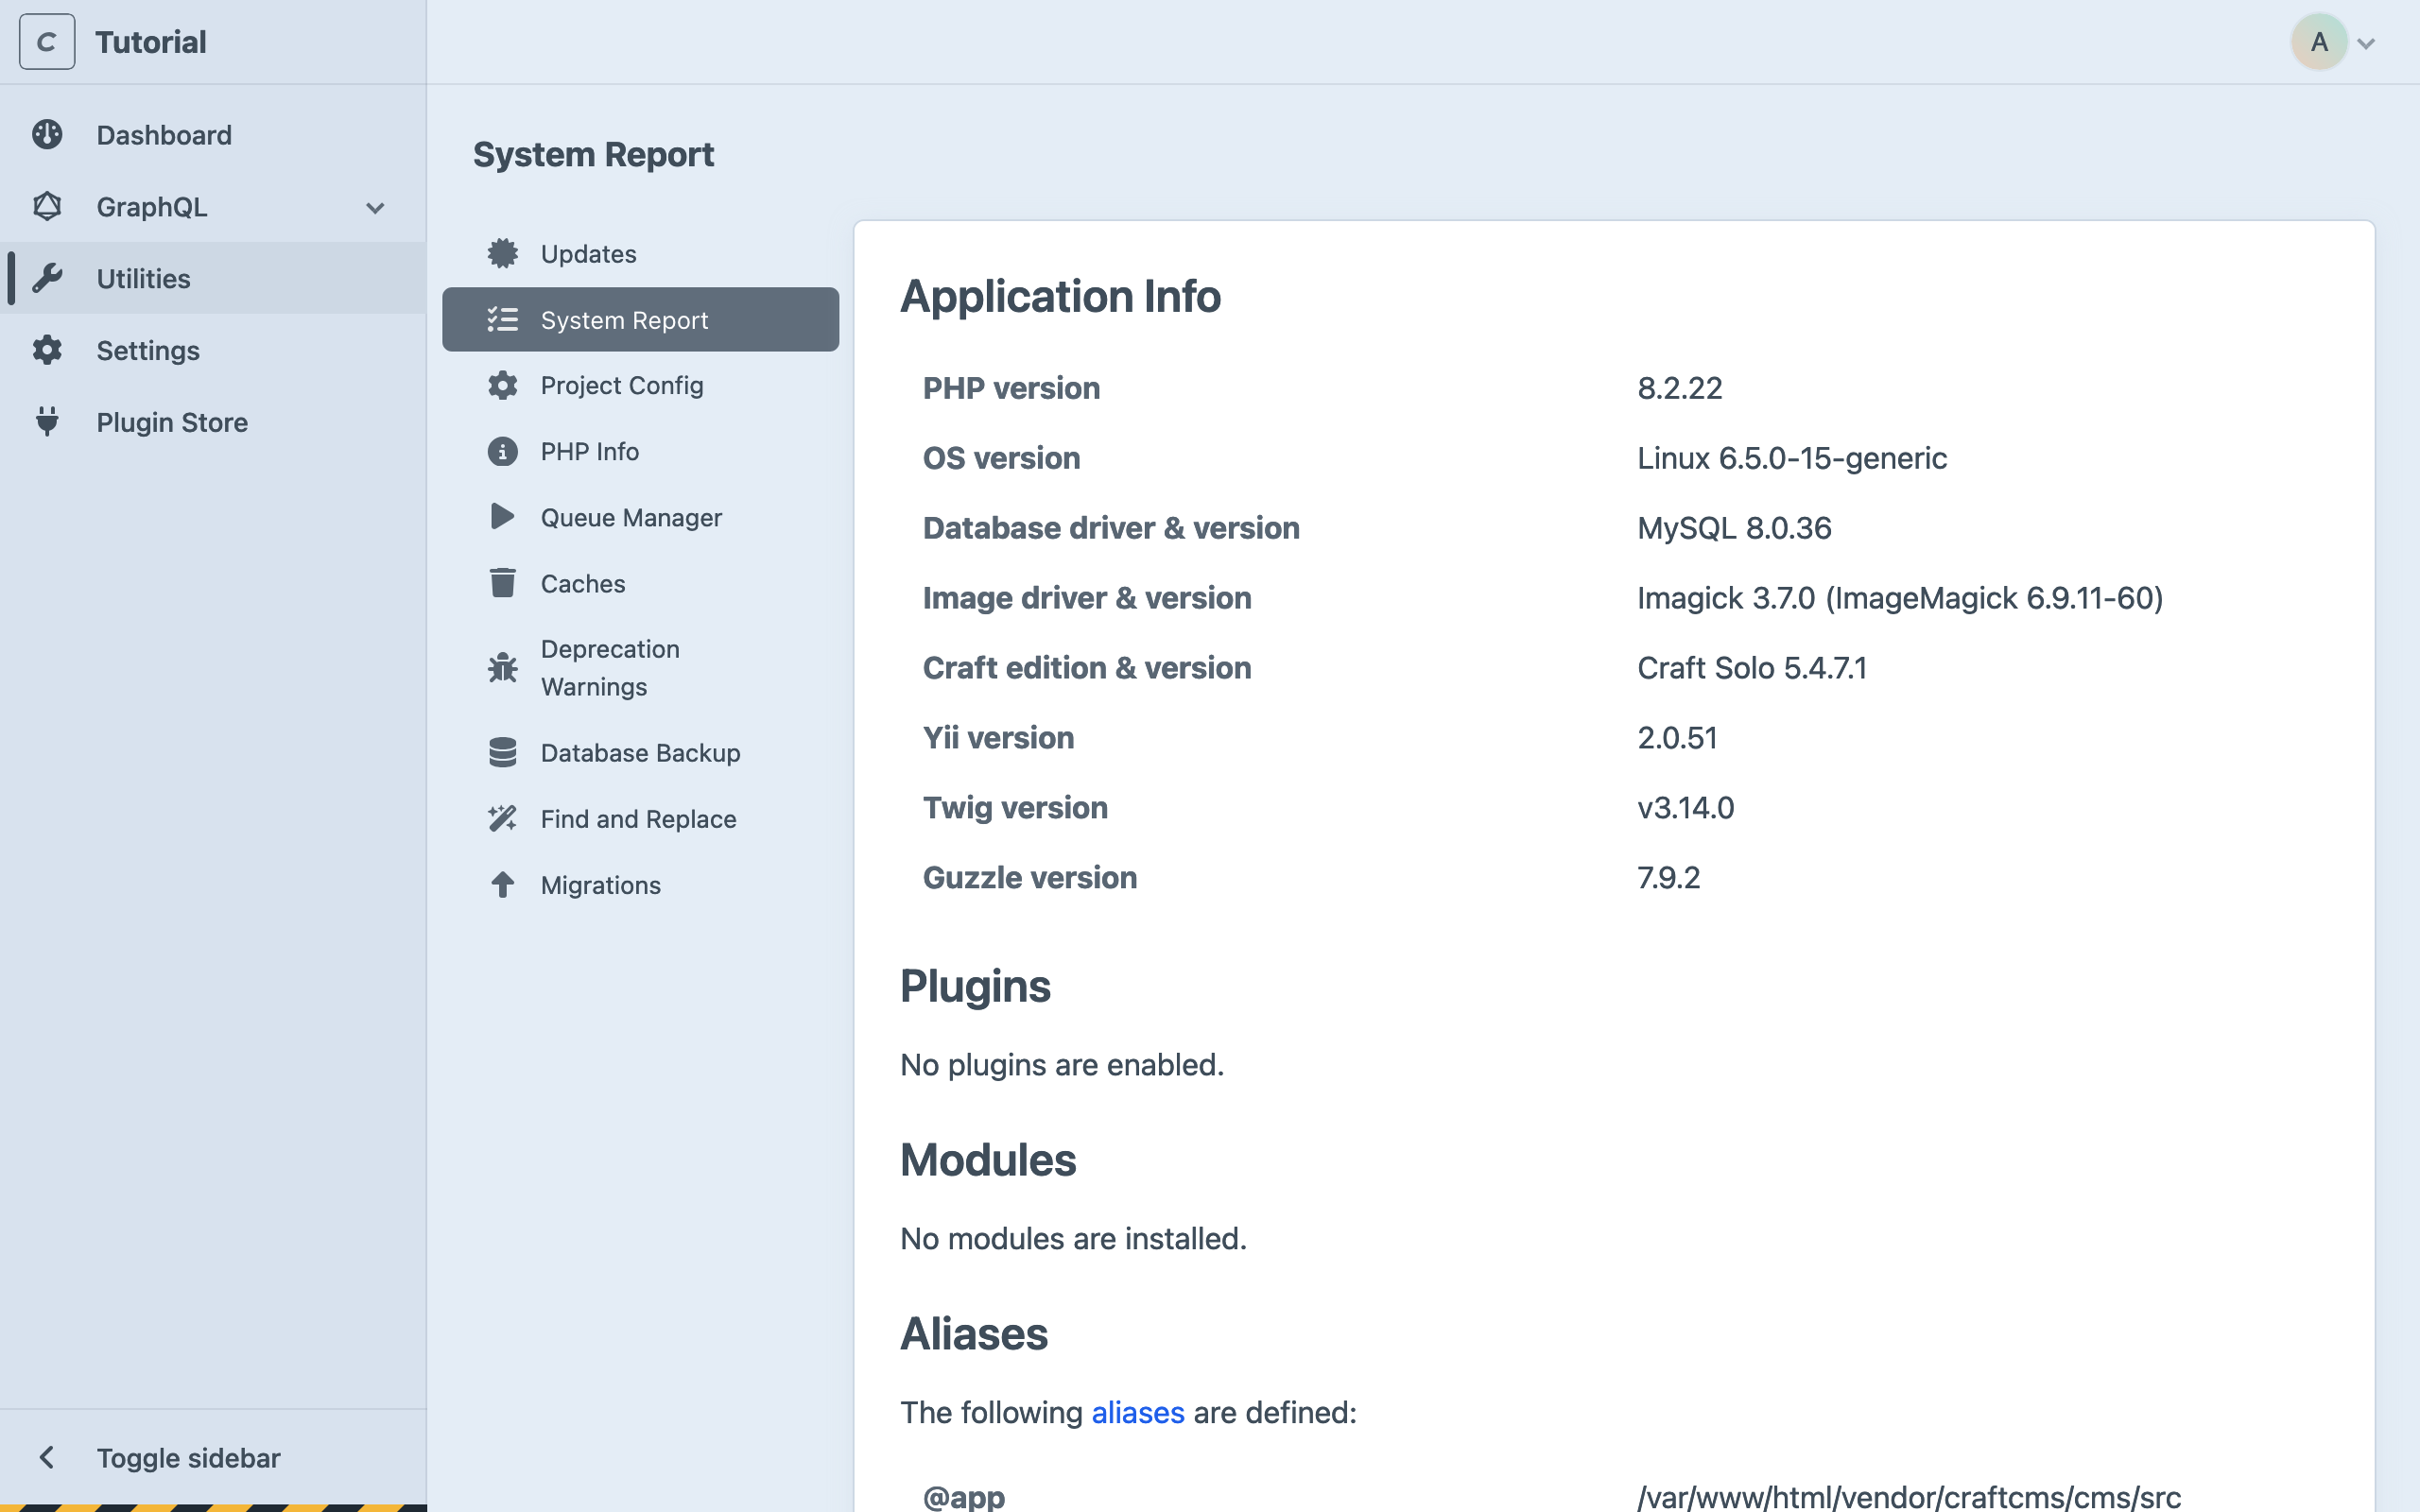
If you used something other than DDEV to set up the project, you may want to take a moment and ensure everything under the Requirements heading has been satisfied! If you see a warning about a “@web alias,” it’s safe to ignore for now.
Feel free to explore the other built-in utilities at your leisure. This is the only one we’ll highlight, for now.
#Settings
The Settings screen is a place of great power. The next few pages will introduce you to just a few of the many ways Craft (and your content model) can be configured.
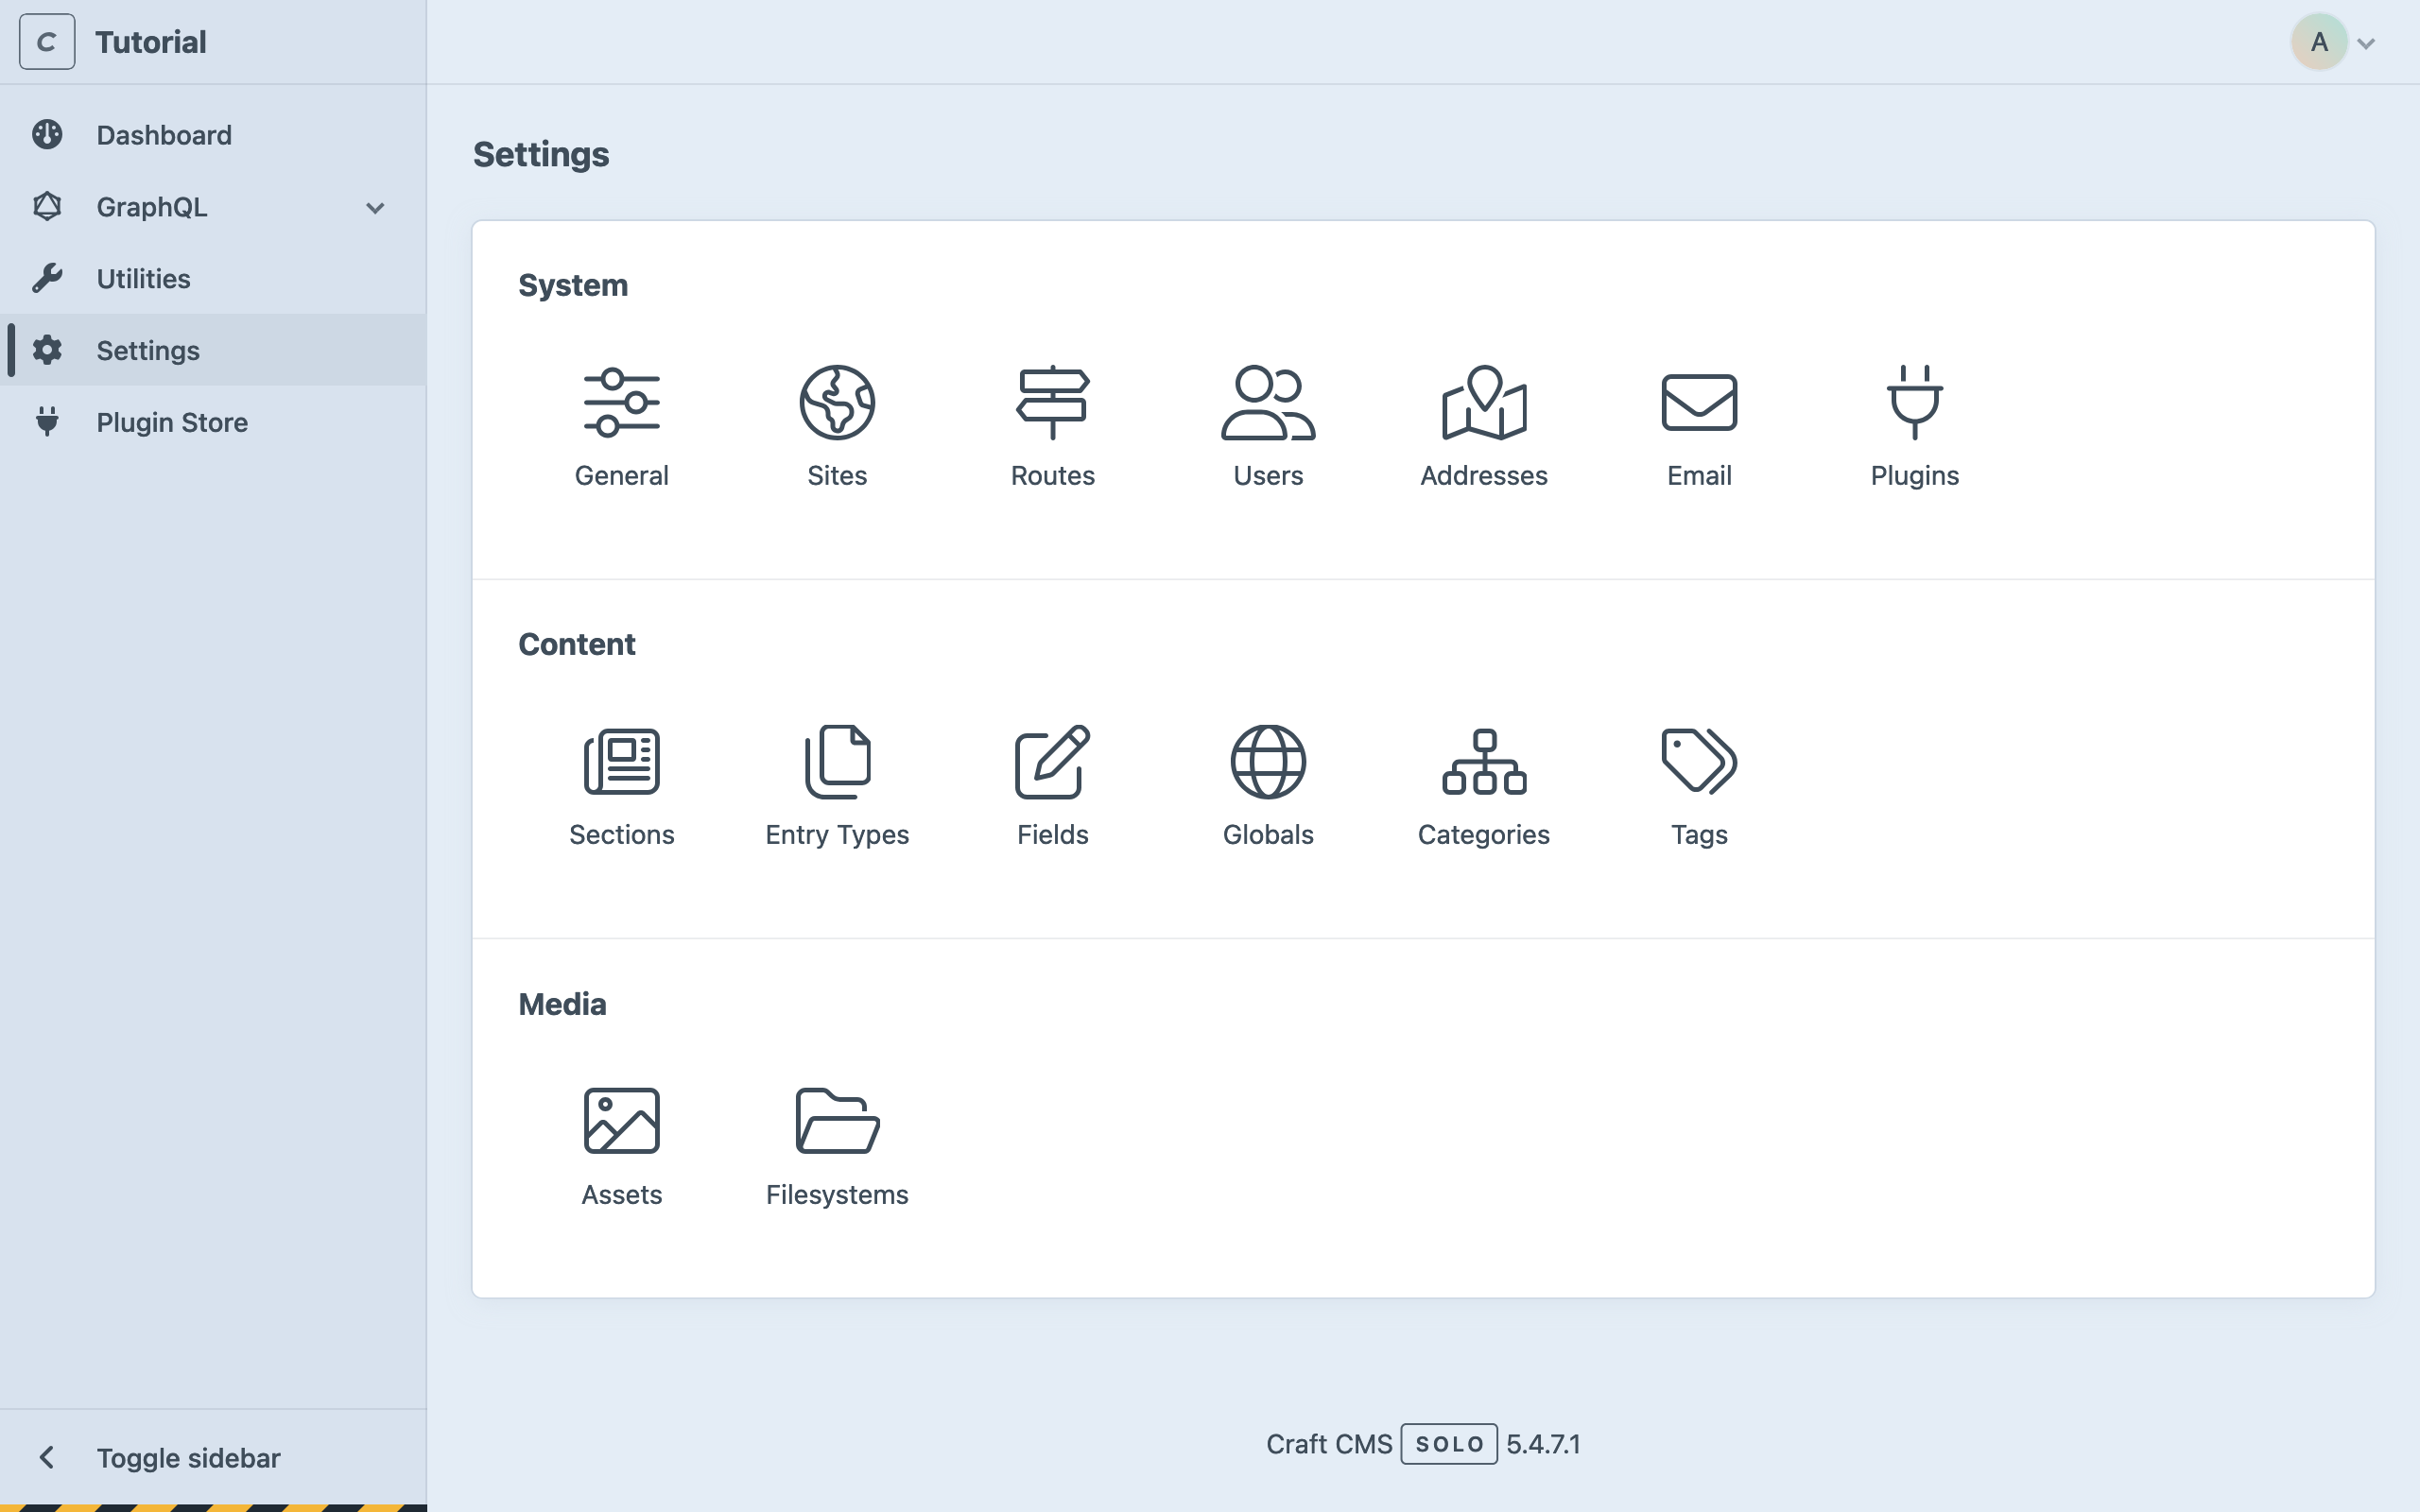
Check the Settings screen any time you install a new plugin! It may add its own icon to a Plugins row, at the bottom.
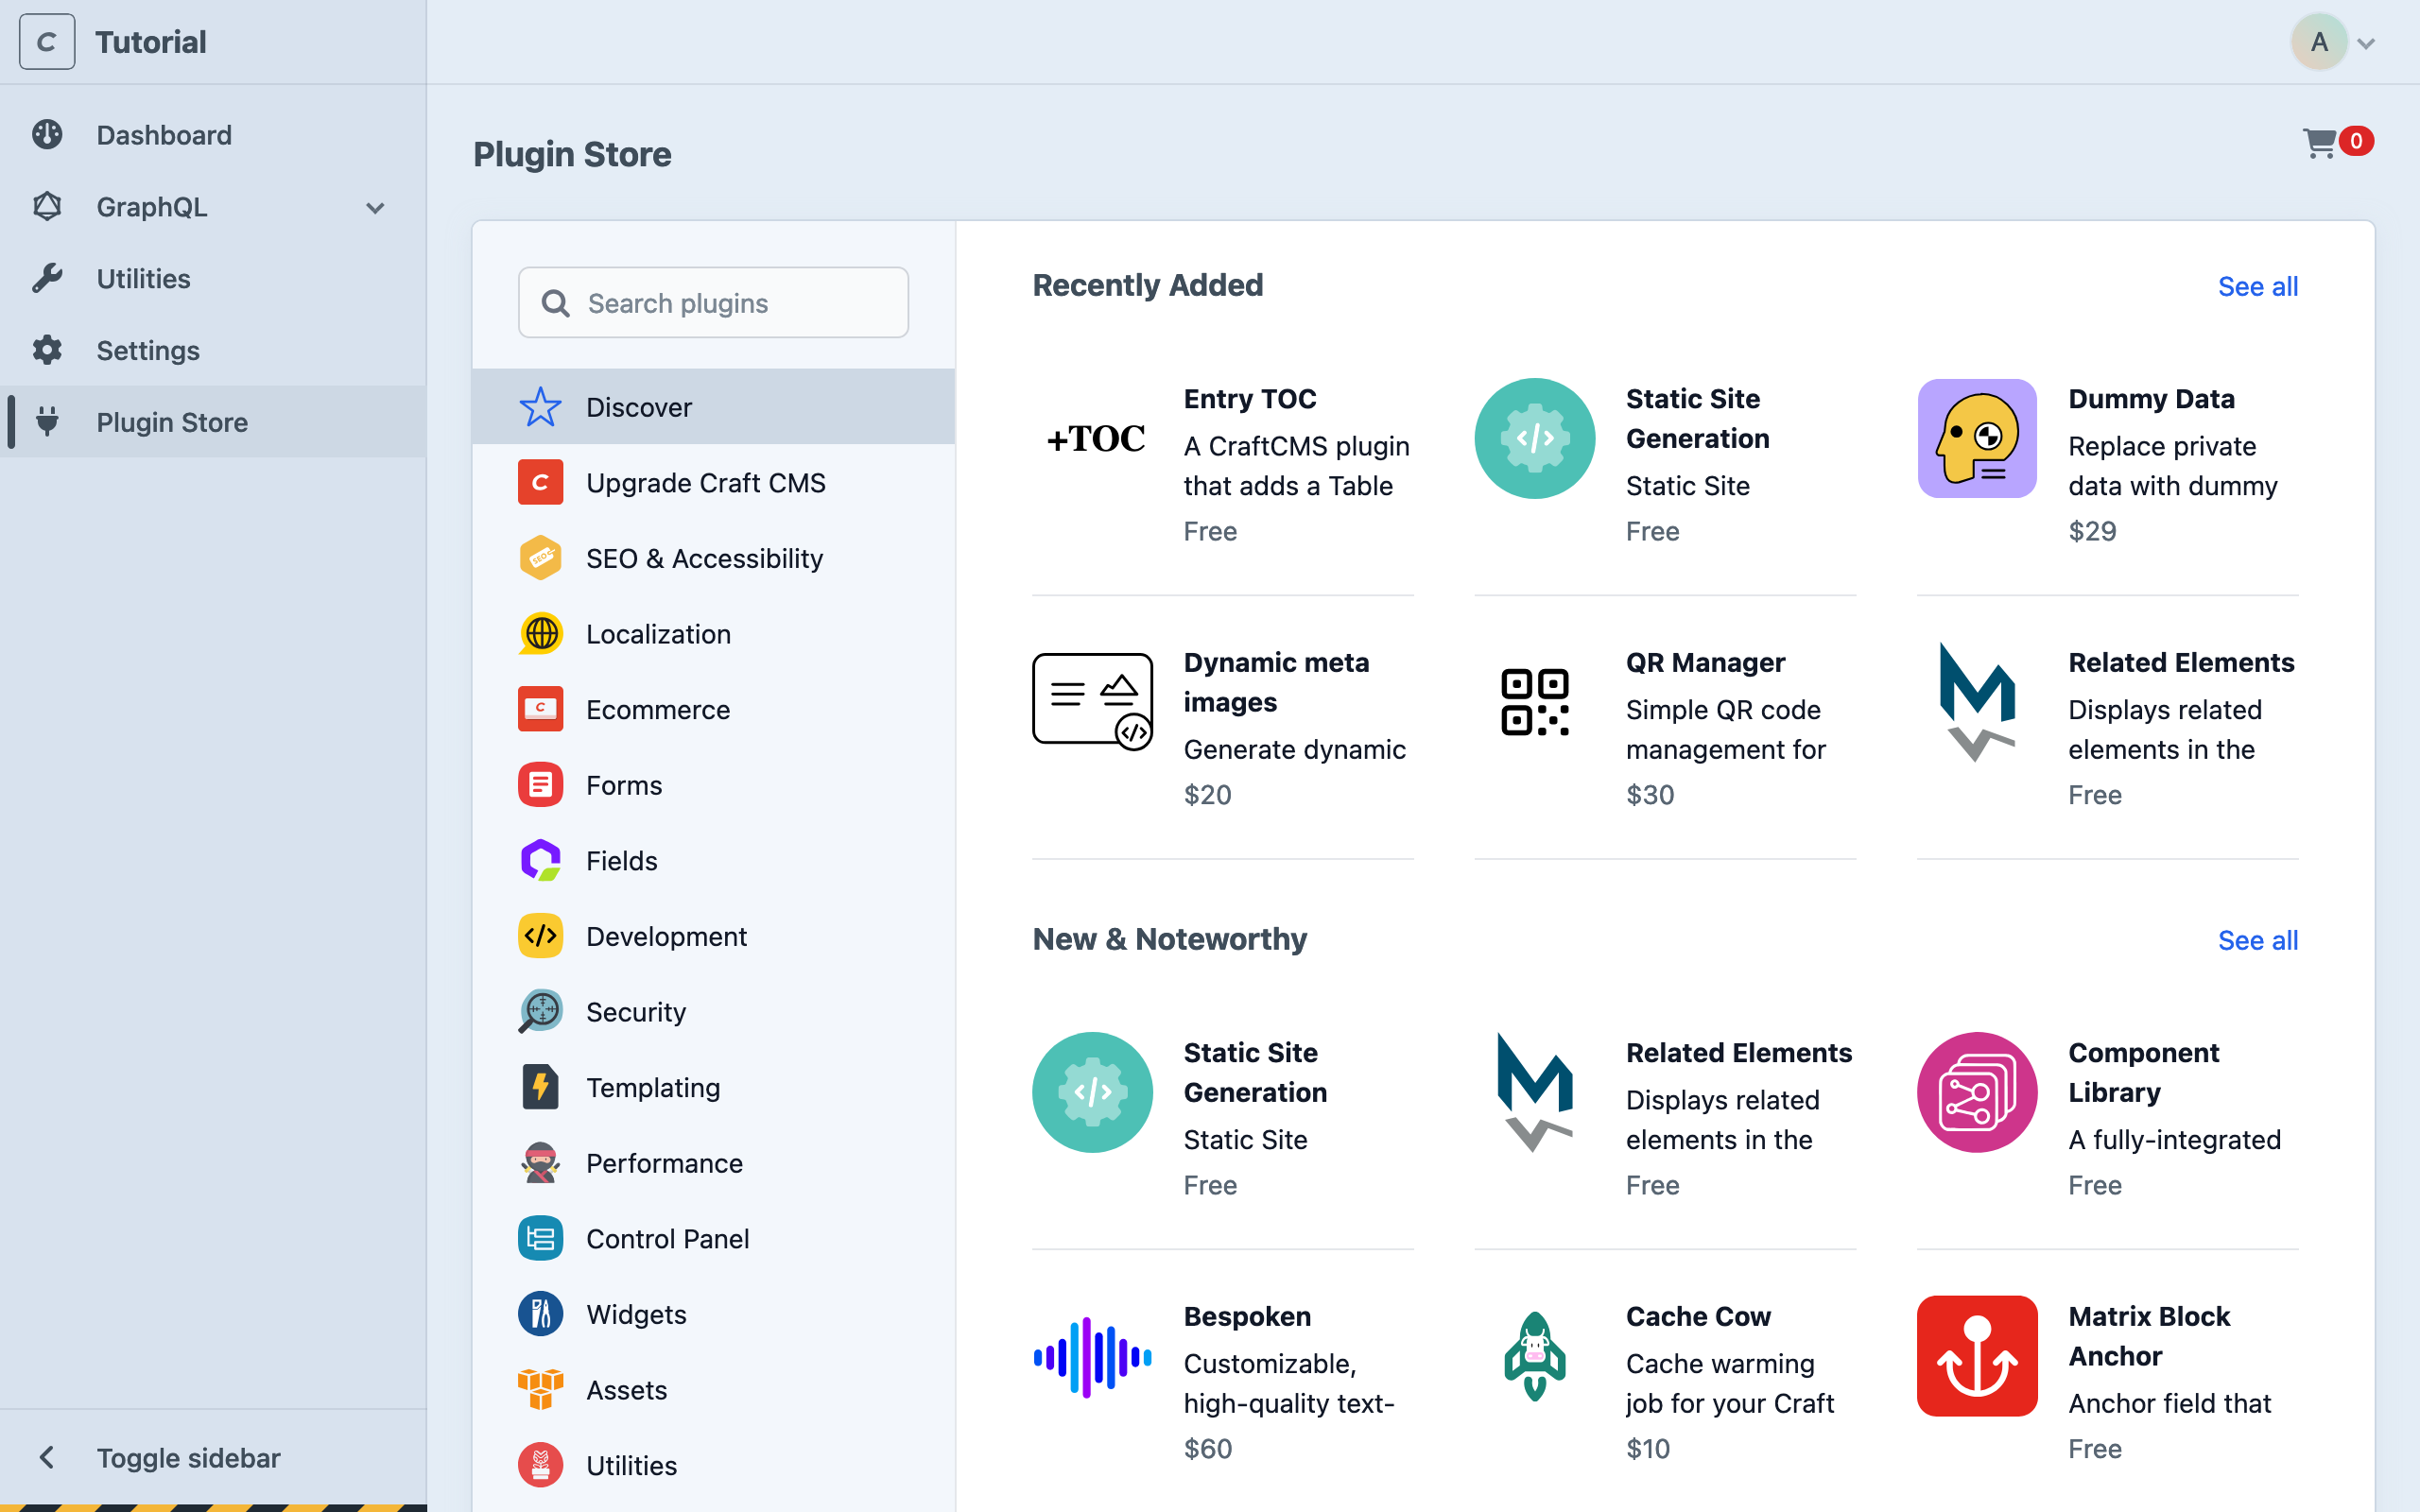
#Plugin Store
Craft’s Plugin Store offers free and paid plugins that add functionality to your project. You’ll have an opportunity to install a plugin later in the tutorial!
You can also access the Plugin Store (opens new window) from outside the control panel.
With the main control panel sections covered, let’s start unpacking Craft’s content modeling tools!