Installation
The prevalence of modern, mature PHP development tools and infrastructure makes Craft easy to install, run, upgrade, and deploy.
This quick-start guide focuses solely on setting up a local Craft development environment. If you’re ready to launch, jump to the hosting or deployment section.
If at any point you feel stuck, the Tutorial is a comprehensive guide for anyone who wants to get set up with a fast, reliable development environment.
Downloading or installing Craft by any means binds you to its license (opens new window).
#Quick-Start
Your journey with Craft begins on your local machine, using DDEV (opens new window). DDEV is a Docker-based PHP development environment that streamlines the creation and management of resources required by a Craft project.
While we strongly recommend DDEV for new Craft projects, alternate installation methods are available for anyone with a preexisting environment or preferred workflow that meets its requirements.
Install or update DDEV (opens new window), then follow these steps:
Create a project directory and move into it:
mkdir my-craft-project
cd my-craft-project/
Create DDEV configuration files:
ddev config --project-type=craftcms --docroot=webScaffold the project from the official starter project (opens new window):
ddev composer create-project "craftcms/craft"The setup wizard will start automatically! Accept all defaults (in
[square brackets]), and note your chosen username and password.Our First-Time Setup (opens new window) guide in the Knowledge Base has more information about what to expect during setup.
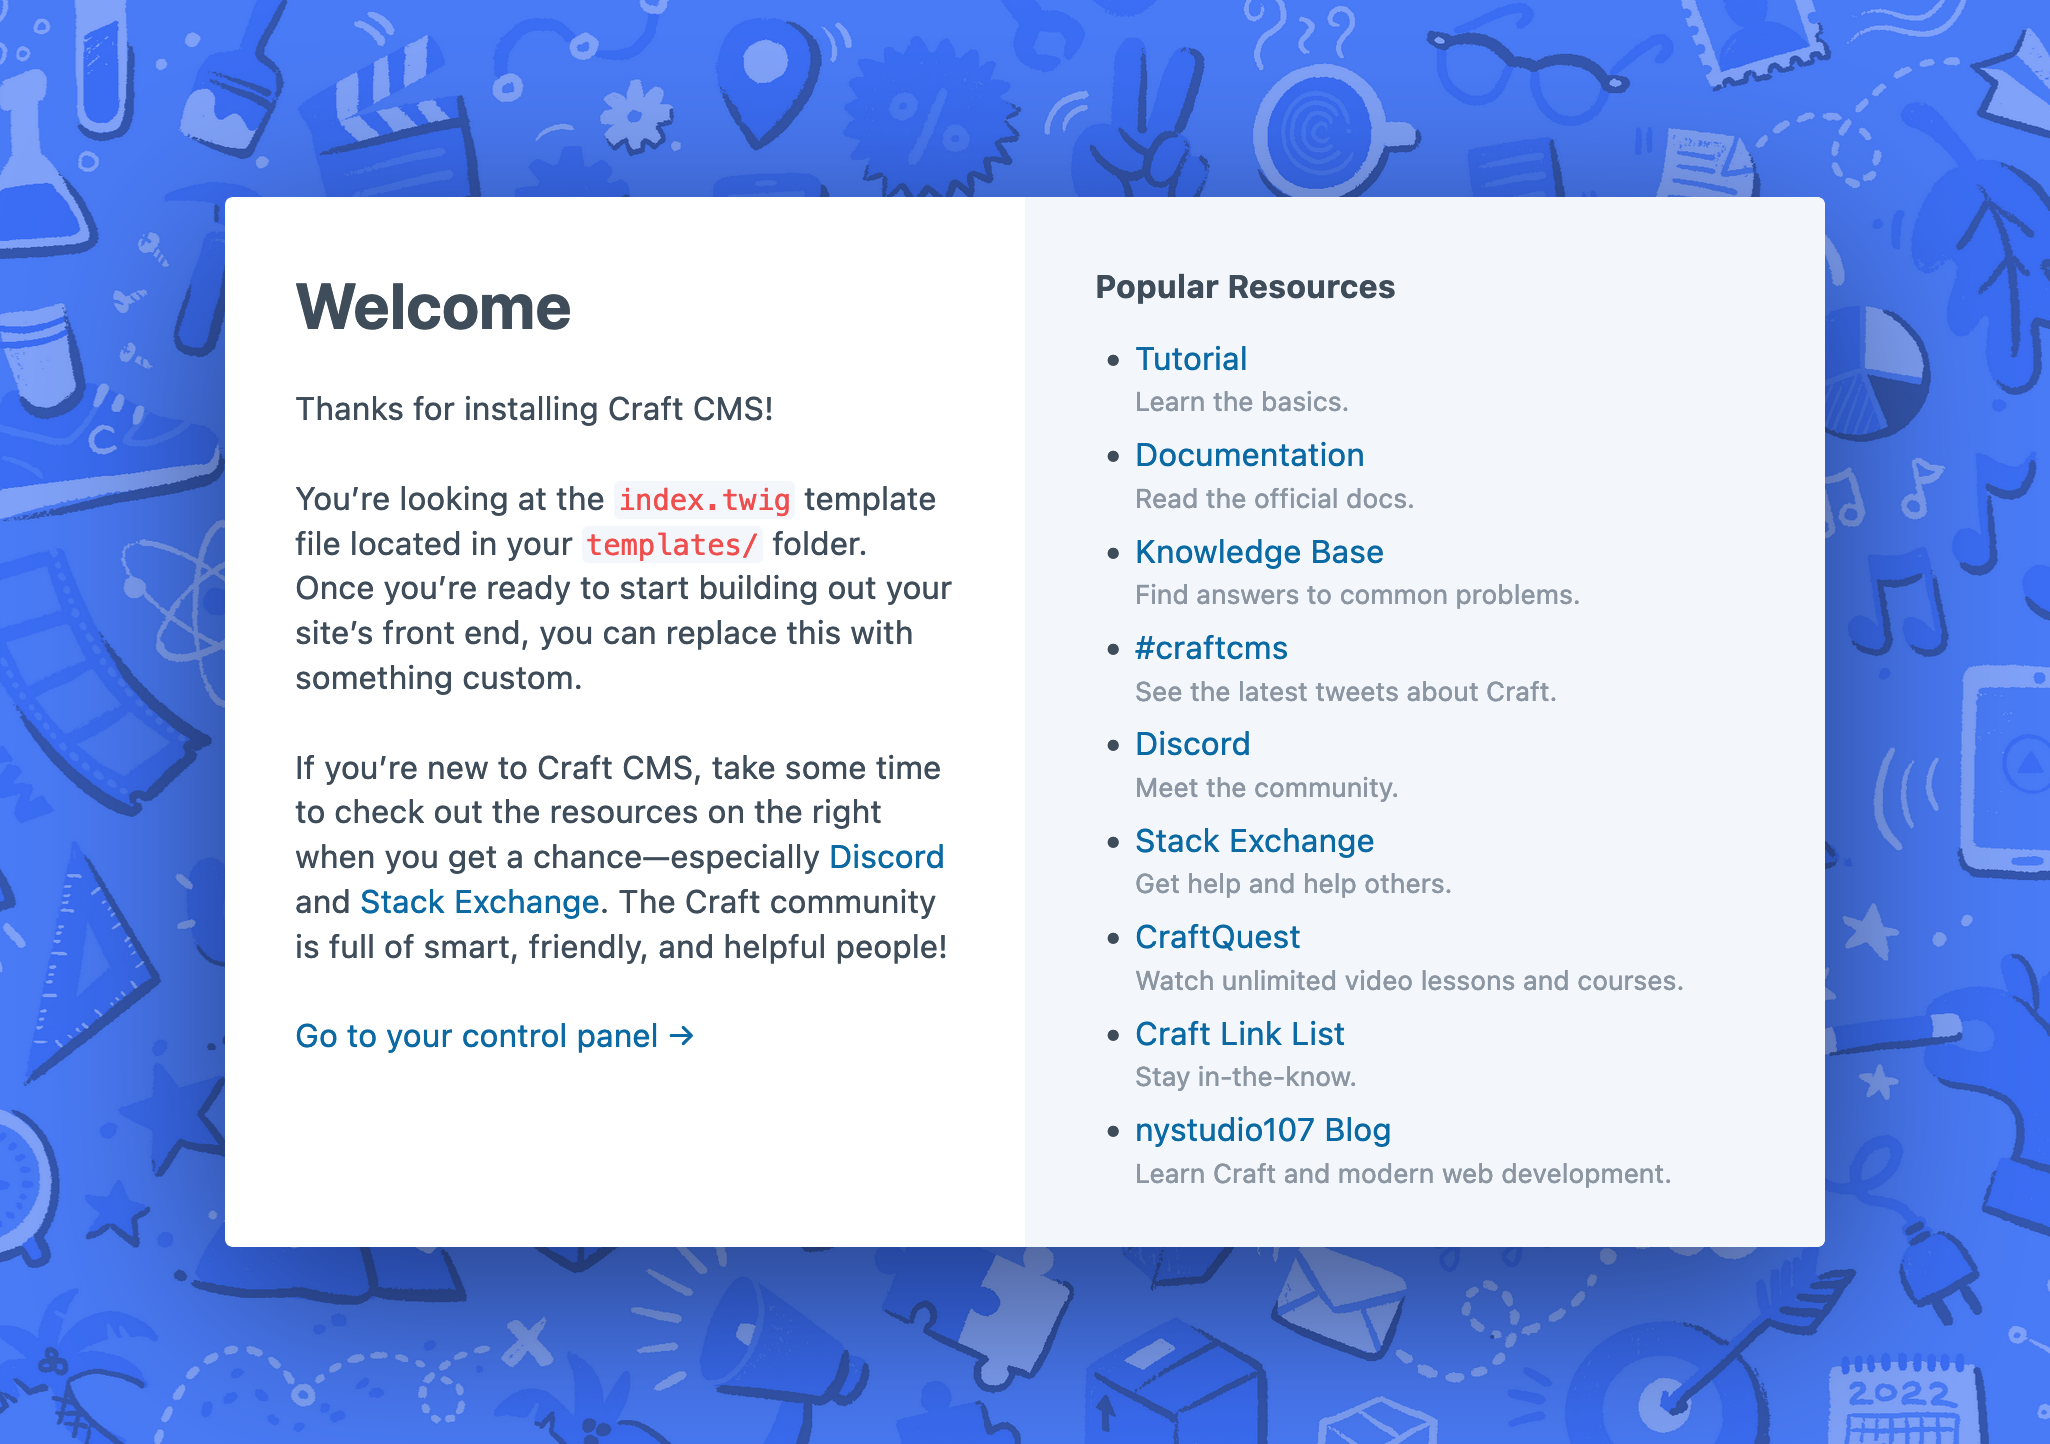
Congratulations! You now have a fully-functional Craft application installed and configured. Run ddev launch to view the starter project’s welcome screen:
#Next Steps
Ready to dive in? Sign in to the control panel by clicking Go to your control panel from the welcome screen, or running ddev launch admin. The username and password you provided during setup (opens new window) were used to create the first admin user.
You’re welcome to explore things at your own pace—but here are some great starting points:
- Get familiar with the directory structure that was created during installation;
- Review configuration methods and options;
- Explore Craft’s main content tools: elements and custom fields;
- Run a console command using
ddev craft ...to explore the CLI; - Discover plugins to add features or integrate with other services;
- Find help and inspiration within our vibrant community (opens new window)!
Done for the day? ddev stop (opens new window) will spin down any containers for the project and free up system resources. ddev start (opens new window) boots everything back up, right where you left off.
#Workflow + Collaboration
We believe that starting with a local development environment (rather than directly on a remote server) fosters a workflow that will support the reliability and longevity of your project.
To get a collaborator set up, commit your working folder to git (including the .ddev/ directory) and create a database backup. Have them clone the project, download the backup, and run:
ddev start
ddev import-db < path/to/backup.sql
#Further Reading
#Why DDEV?
DDEV is our recommended development environment because it isolates software required to run Craft from your local machine—and from your other projects. Each of your sites can be spun up with its own database and PHP version, without the need to manage or switch between specific software packages.
The environment for each project is defined as YAML files (opens new window), meaning ddev start is usually the only thing required to start working on a project on a new machine—or with a collaborator.
The Docker requirement is not taken lightly! We believe that this one-time installation is much more sustainable for new and returning Craft developers than managing a bare-metal development environment—locally or on a remote server.
#Alternative Installation Methods
Depending on your experience and preferred development environment, you may find one of these platform-agnostic installation processes more comfortable:
- For most environments meeting Craft’s requirements, see Using the Starter Project (opens new window) to get started with Composer.
- Especially adventurous users may want to read about Setting up a Craft Project from Scratch (opens new window).
- If you are unable to start a project locally—or are constrained by a hosting service—you can directly download (opens new window) the latest Craft release as a blank starter project.
Pre-built starter project ZIPs should only be used for evaluating Craft in limited circumstances.
#Hosting
The fastest way to share your work is with a free seven-day trial of our first-party hosting platform, Craft Cloud (opens new window).
Craft’s own footprint is relatively light, but it’s important to choose a platform that matches your traffic, storage, and redundancy needs. We maintain a list of Craft-friendly hosting products (opens new window) for projects of varying scale.
#Deployment
There is no one-size-fits-all deployment strategy for a Craft project, but we’ve collected our most salient advice in the Deployment Best Practices (opens new window) Knowledge Base article.
Regardless of your target infrastructure, it’s important to define a workflow for yourself and your collaborators. Starting a project from a local environment sets a precedent for the flow of code and configuration; while it is possible to scaffold a project directly on a remote host, maintaining a single source of truth for the site will become difficult with changes being made in multiple places, by multiple parties, or without a means of testing those changes in isolation.
#Troubleshooting
Having trouble with DDEV? Make sure your Docker (opens new window) installation is working properly, then head to their troubleshooting (opens new window) page for specific issues.
See the Troubleshooting a Failed Craft Installation (opens new window) Knowledge Base article for more common installation hang-ups.
